

Key Takeaways
- This origami frog that jumps easy project uses one square piece of paper and is suitable for kids.
- You’ll use clear terms like fold in half horizontally, dotted lines, bottom section, left edge, and bottom edge.
- Thin 15 x 15 cm origami paper is easiest, but stiffer paper can add bounce.
- The frog jumps because a Z-fold at the back stores and releases energy.
- Use the written instructions with a video tutorial if you learn better from images and arrows.
Introduction: A Simple Jumping Origami Frog for Everyone
An origami frog, jumping origami frog, or origami jumping frog is a cute action model that can actually hop across a table. This 2026-friendly tutorial keeps the folds simple, so beginners can make an origami animal without scissors or glue.
Unlike complex origami frogs with many layers, this jumping frog origami design starts from a square, becomes a rectangle, and uses a springy back. It is fun to teach, play with, and repeat with a friend.
Supplies You Need for a Jumping Frog
Use one square sheet, ideally 15 x 15 cm or 6 x 6 inches. Origami frogs can be made from any square piece of paper, but using actual origami paper is recommended as it is thinner and easier to fold.
If you don’t have origami paper, you can use ordinary printer paper, but avoid construction paper as it is too thick for the folds. Thin paper can enhance the jumping ability of the origami frog because it allows better flexibility and springiness in the folds.
There is a tradeoff: using slightly thicker, stiffer paper such as cardstock provides more spring tension, propelling the frog further. Elephant Hide paper is preferred for distance, while cardstock offers excellent bounce; construction paper is often too thick for proper folds.
Choose a colour for the frog’s back. The white side usually becomes the inside and bottom section. To decorate, use pens, stickers, or light spots; big googly eyes add weight and may weaken the jump.
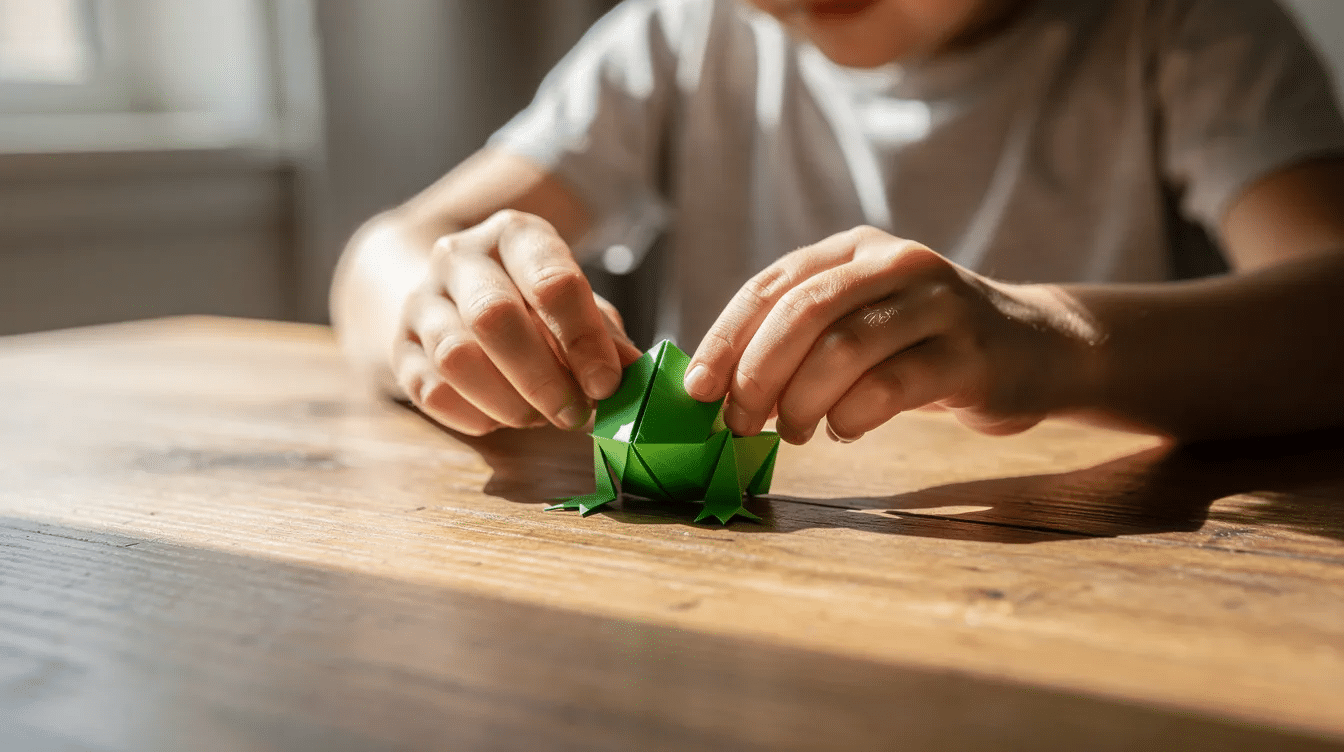
- Before You Fold: Reading Diagrams and Dotted Lines
- Step‑by‑Step Instructions: Easy Origami Frog That Jumps
- Step 1: Start With a Rectangle Base
- Step 2: Create Reference Folds
- Step 3: Fold the Top Into a Triangle
- Step 4: Collapse the Triangle for the Frog’s Head
- Step 5: Shape the Front Legs
- Step 6: Fold the Bottom Section Up
- Step 7: Narrow the Frog’s Body
- Step 8: Build the Jumping Mechanism in the Bottom Section
- Step 9: Final Adjustments and Shaping
- How to Make Your Origami Frog Jump
- Decorating and Customising Your Origami Frogs
- Games and Activities With Jumping Frog Origami
- Origami Frog Video Tutorial (Optional Companion)
- FAQ: Common Questions About Jumping Origami Frogs
Before You Fold: Reading Diagrams and Dotted Lines
In diagrams, solid lines show an existing edge, while dotted lines show where to fold. They are not cut lines. Arrows may mean valley fold, mountain fold, flip to the other side, or turn the model.
Sharp, well-defined folds reduce resistance when the spring releases, resulting in a cleaner, more powerful jump. Run your fingernail along every crease.
Step‑by‑Step Instructions: Easy Origami Frog That Jumps
Follow each step in order. Keep the top, bottom, left, right, center, corners, point, sides, and direction clear.
Step 1: Start With a Rectangle Base
Start with the white side of the paper facing up and fold it in half horizontally, then unfold. Fold the square in half vertically from left edge to right edge, crease, and cut or tear on that line to create two rectangles. Use one half.
Step 2: Create Reference Folds
Place the rectangle on the table. Fold the bottom right edge to the horizontal centerline, crease well, then unfold. Repeat if needed on the left to create guide creases.
Step 3: Fold the Top Into a Triangle
Fold the top left corner down, crease, and unfold. Repeat with the top right corner. The creases form an X of dotted lines that will create the frog head.
Step 4: Collapse the Triangle for the Frog’s Head
Flip the paper over. Fold the top edge down to the X center, crease, then push both sides inward. The paper should collapse into a triangle. A bit of fiddling is normal.
Step 5: Shape the Front Legs
Fold each lower triangle corner outward to form the front legs. Try to keep both legs balanced so the frog does not twist when jumping.
Step 6: Fold the Bottom Section Up
Turn the model 180 degrees. Fold the bottom edge up to meet the nearest horizontal line to form the frog’s body. Press this crease firmly.
Step 7: Narrow the Frog’s Body
Fold the left edge of the bottom section toward the center. Fold the right edge inward too, making a long thin flap on each side. These layers help the spring.
Step 8: Build the Jumping Mechanism in the Bottom Section
Fold the lower flap in half, then fold it back down to create a tight Z-fold. The jumping ability comes from the “Z-fold” at the back of the frog, which acts like a physical spring.
The base of the frog acts as a coil; folding the lower flap in half and pressing down creates potential energy for a big launch.
Step 9: Final Adjustments and Shaping
Turn the smooth side up. Adjust the legs and back corners until the frog sits flat. Your origami frog is ready to test.
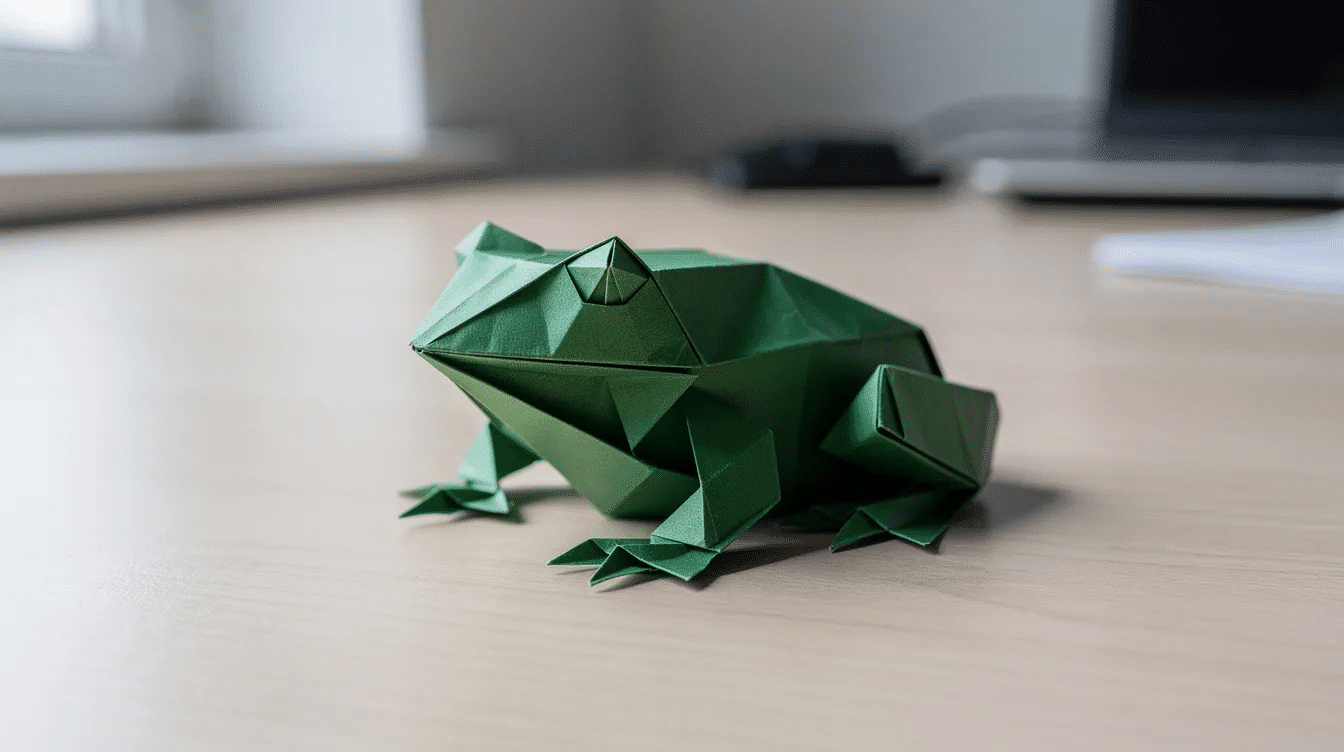
How to Make Your Origami Frog Jump
Place the frog on a smooth table with its head forward. To make the frog jump forward, place two fingers on its back, press down, then quickly slide your finger backward and off the frog’s rump to release the tension.
To make the origami frog jump effectively, press down on the folded legs with your finger and then quickly slide your finger off to release it, allowing the frog to hop. The jumping mechanism of the origami frog relies on the tension created in the folded legs, which, when released, propels the frog into the air.
Decorating and Customising Your Origami Frogs
Draw eyes, spots, stripes, numbers, or seasonal ideas. Make a cute family in different colours, or add a matching origami duck for a simple pond scene. Don’t forget: lighter decoration keeps the jump stronger.
Games and Activities With Jumping Frog Origami
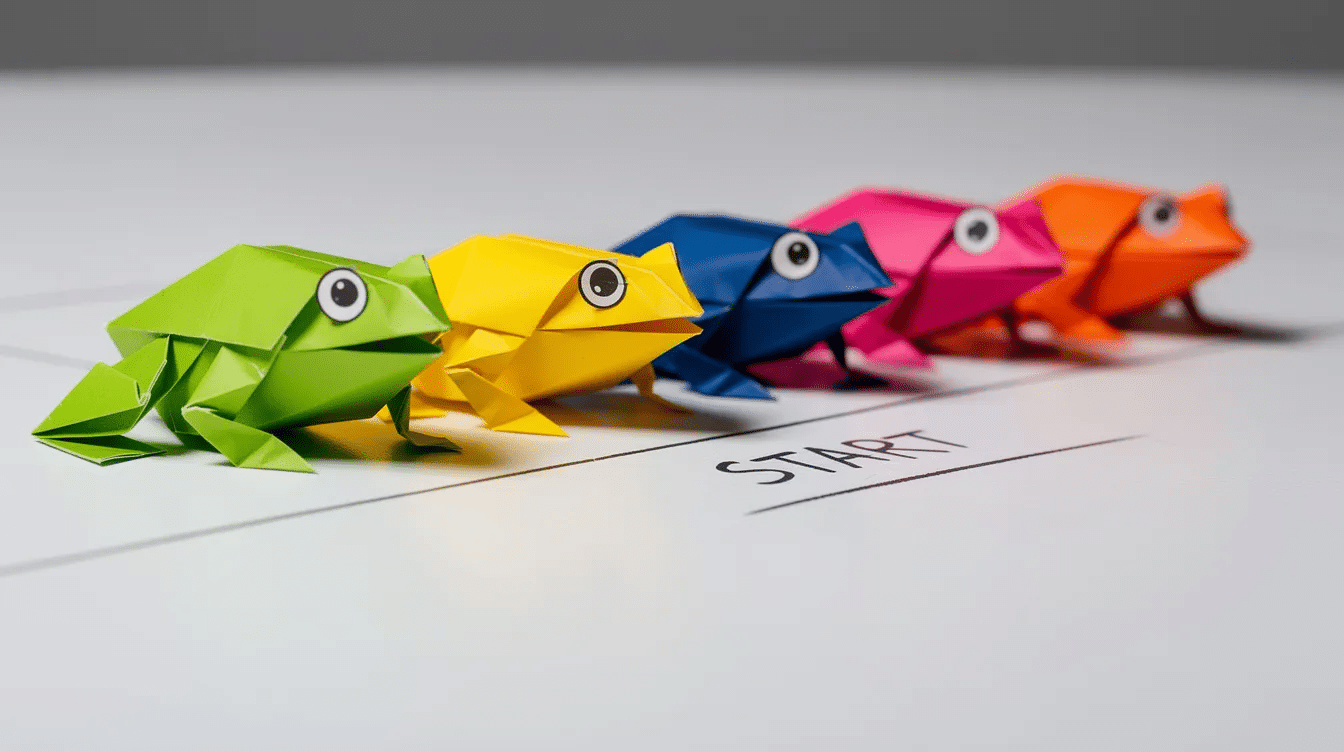
Create a start line and finish line for a race. Or draw a pond target and score each frog jumps by distance or accuracy. This is an easy way to explore measuring, probability, and STEM play.
Origami Frog Video Tutorial (Optional Companion)
A youtube video tutorial can help visual learners. Watch once, then pause and fold along with the arrows. Add your own images to this post for inspiration, and invite readers to comment with results.
FAQ: Common Questions About Jumping Origami Frogs
Why doesn’t my origami frog jump very far?
Weak jumps usually come from soft creases, thick paper, poor Z-folds, or rough surfaces. Press closer to the back edge and release quickly.
What size paper works best for a beginner jumping frog?
A recommended size for the paper is at least 15 x 15 cm (6 x 6 inches) for easier folding and better jumping performance.
Can I use printer paper instead of special origami paper?
Yes. Trim it into a neat square first. It is thicker than kami, so the frog may jump a bit less.
How can I make this project easier for young children?
Pre-cut rectangles, draw light dotted lines, and help collapse the triangle. Larger paper can make the first attempt easier.
Is this the only way to fold an origami frog that jumps?
No. Traditional and modern versions exist. Smaller frogs typically jump higher but less far, while larger frogs cover more distance but may be heavier. Once you master this one, explore another tutorial.



