

Key Takeways
- You’ll learn two beginner-friendly methods: a flat 5-pointed origami star from a pentagon and small 3D origami lucky stars from paper strips.
- You only need light origami paper or printer paper, scissors, and optional string or glue for displaying your paper stars.
- The written instructions below show how to cut a perfect pentagon, then fold it into a pointed origami star with accurate creases.
- You’ll also learn an easy origami trick for cutting a pentagon from a square, plus a quick method for making stars from strips.
- These are easy origami stars for beginners and kids; your first star may feel slow, but the same fold sequence becomes much easier with practice.
Introduction: Why Learn to Fold an Origami Star?
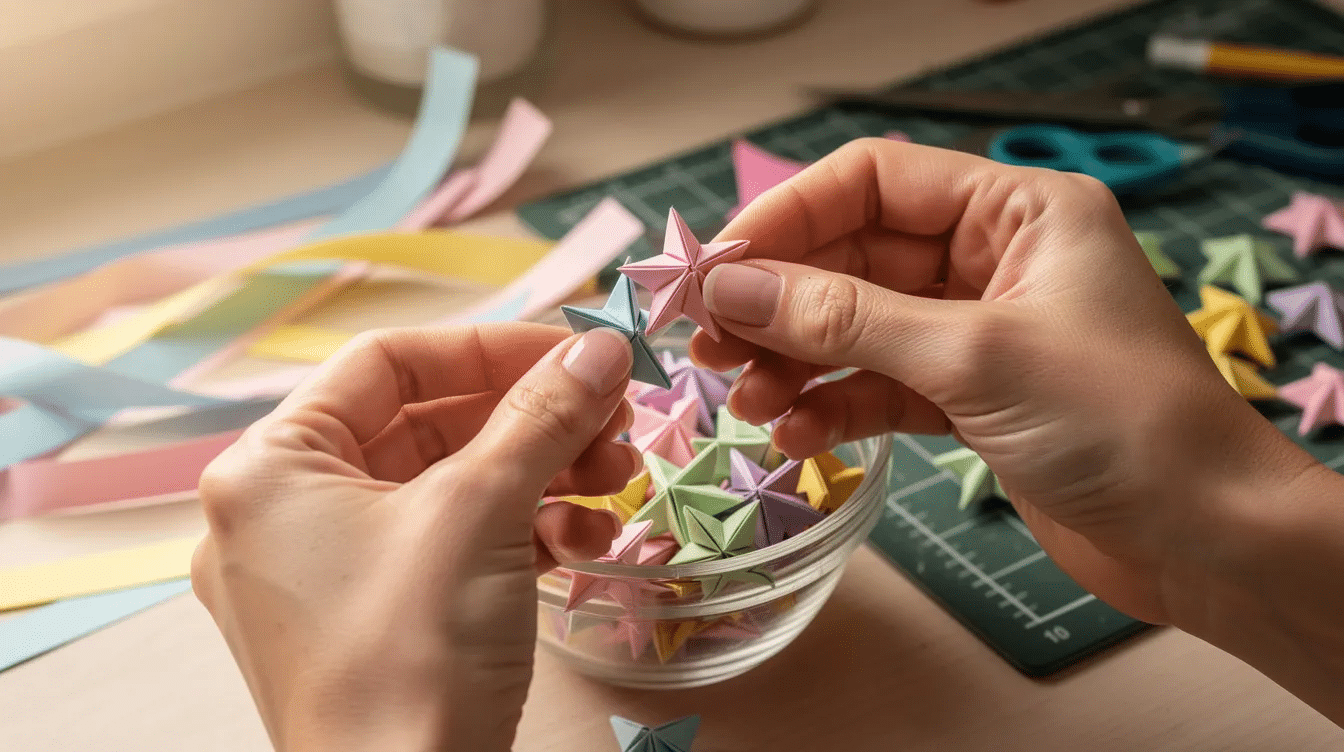
An origami star is a classic easy origami project because it turns a simple sheet of paper into a clean star shape with only folds, a pair of scissors, and a little patience. If you searched for how to fold origami stars easy, this guide covers the two most useful styles: a flat 5-pointed origami star made from a pentagon shape and small puffed origami lucky stars made from strips.
Use them as christmas tree ornaments, gift toppers, bedroom garland pieces, table decorations, or a lucky star jar. In modern paper-craft culture, little paper stars often symbolize luck, hope, and good wishes.
Video tutorials are often considered the easiest way to learn how to fold origami stars, as they provide detailed visual instructions for each step. Many origami tutorials recommend video formats because they can demonstrate complex folding techniques more clearly than written instructions or photos, so watch a video tutorial alongside these steps if you prefer moving pictures.
- Supplies You’ll Need for Easy Origami Stars
- The Easy Origami Trick: Cutting a Pentagon from a Square
- How to Fold a 5-Pointed Origami Star (Flat Star from a Pentagon)
- Shaping and Decorating Your Flat Paper Star
- How to Make Origami Lucky Stars from Paper Strips
- Creative Ways to Use Your Origami Stars
- FAQ: Common Questions About Easy Origami Stars
Supplies You’ll Need for Easy Origami Stars
Most supplies are probably already at home if you enjoy simple paper crafting projects. For the flat star, use a 6 in x 6 in or 15 cm x 15 cm square sheet of origami paper, scrapbook paper, or printer paper cut into a square piece.
A 12 in square makes roughly a 7 in finished star, while an 8.5 in square makes about a 5 in star. Cardstock is generally too heavy for folding origami stars, while normal copy weight paper or slightly heavier scrapbook paper works well. According to Canson’s guide to choosing origami materials, lighter paper is easier to crease cleanly.
You’ll need:
- Scissors for trimming the square and pentagon
- Optional butter knife, spoon, or bone folder to smooth each fold
- Optional small hole punch, string, or glue for hanging
- For origami lucky stars: long strips about 1 cm x 30 cm, or 3/8 in x 12 in
Long, narrow strips of paper are required for making origami lucky stars, which can be pre-cut or cut from a standard sheet. You can use various types of paper to make origami stars, including printer paper, scrapbook paper, magazines, and even sheet music, just like other fun paper activities for all ages. Old paper, calendar pages, and recycled print sheets also create wonderful vintage paper stars.
The Easy Origami Trick: Cutting a Pentagon from a Square
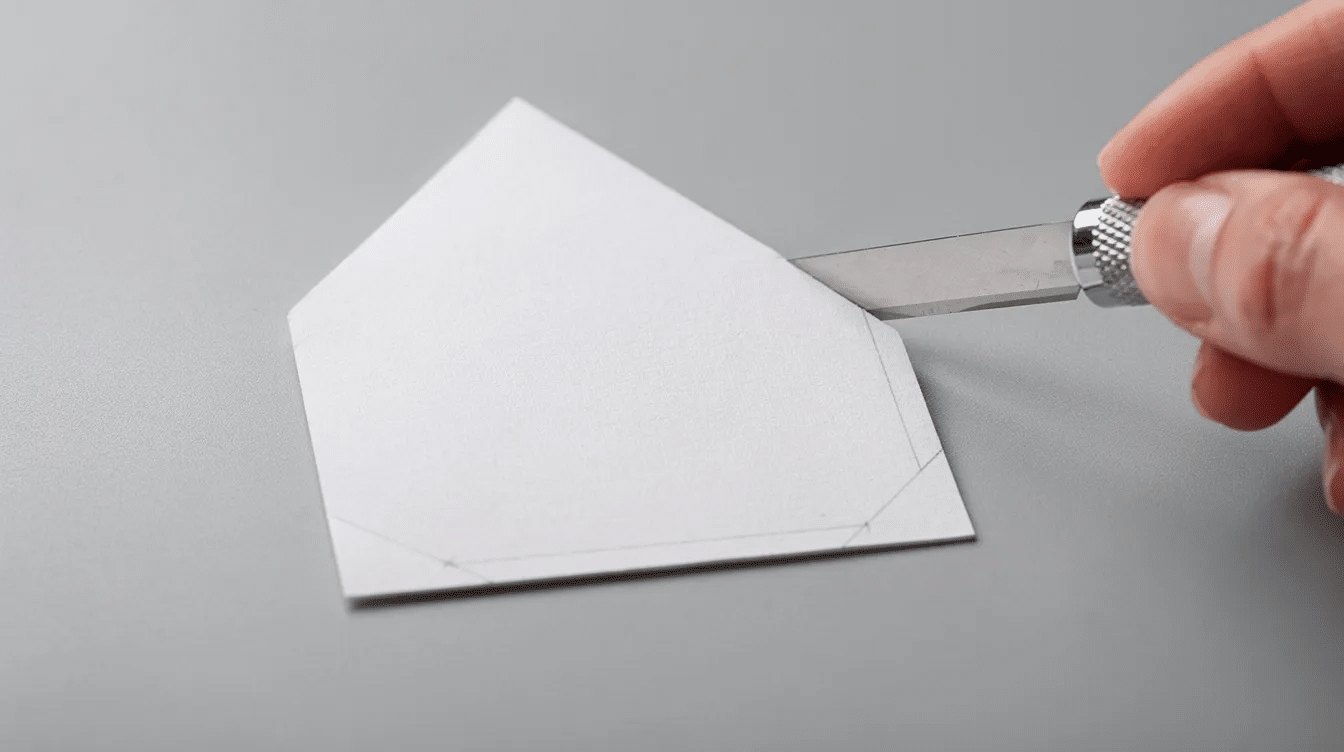
To create an origami star, start with a pentagon shape cut from a square piece of paper, which can be achieved using templates or an origami trick, and is one of several easy methods for making paper stars. A neat pentagon matters because the sides of the pentagon become the guide for even points.
- Start with any square sheet, such as 12 in scrapbook paper or a 21 cm square cut from A4 or Letter paper.
- Fold the square in half, smooth the crease, then unfold.
- Bring the top left corner toward the middle to mark a diagonal guide. Repeat from the opposite direction to create an “X” of light creases.
- Bring one corner to the center where the creases meet. Fold the bottom section upward, aligning the left edge carefully.
- Rotate the paper, repeat the same fold pattern, then trim across the top layer to reveal a small pentagon.
Check that all the corners and flat sides look even before you begin folding. If one side is much longer, refold or print a pentagon template on cardstock, cut it once, and trace it onto lighter paper.
How to Fold a 5-Pointed Origami Star (Flat Star from a Pentagon)
This method turns a pentagon into a flat, pointed origami star for cards, banners, christmas decor, and simple wall art. The folding process for an origami star involves a series of precise folds, including folding the pentagon in half multiple times and pinching the corners together to form the star shape, similar to other beginner-friendly origami designs.
Step 1: Make the guide creases
Place the pentagon nice-side down. Fold one point to the opposite bottom flat side, press, then unfold. Rotate and repeat until each point has a crease running toward the center.
Next, fold each edge up toward the nearest spoke crease. Smooth down each fold with your thumbs. When folding an origami star, it is important to make accurate creases and to smooth down each fold with your thumbs to ensure a clean finish.
Step 2: Build the squash folds
Choose one edge and fold it inward. Then fold the bottom edge upward so the corner pops outward into one point. Flatten gently.
Repeat around the pentagon. This creates intersecting creases that help the whole star collapse later. If a flap resists, do not force it; open the paper and reinforce the crease.
Step 3: Collapse the star shape
Hold the pentagon with both hands. Pinch all five corners toward the center at once. The paper should begin to rise and collapse into a rough star.
Flatten the model slowly so the arms spread evenly. Make sure the corners meet neatly near the middle without tearing the paper.
Step 4: Sharpen the points
Flip the star over. On each arm, fold the right edge toward the center line to sharpen the point. Work clockwise, rotate after each point, and repeat until the finished star looks balanced.
Tighten the creases, adjust one point if needed, and tuck any small flaps on the back.
Shaping and Decorating Your Flat Paper Star
This section turns a folded star into a polished decoration.
If one-sided paper leaves a pale pentagon on the back, snip tiny visible flaps and tuck them under the arms. Add glitter glue along the points, draw metallic gel-pen lines, or glue sequins in the center of each arm.
For hanging, make a small hole in one point or near the center, then thread twine, clear fishing line, or embroidery floss. Flat stars can become christmas ornaments, window decorations, gift wrap accents, scrapbook pages, or handmade greeting cards with a whimsical touch.
How to Make Origami Lucky Stars from Paper Strips
Origami lucky stars are puffy 3D stars, not flat stars. The classic 3D origami “lucky star” is made by tying a single, narrow strip of paper into a pentagon knot and winding the strip around itself, using many of the same careful folding skills you might apply to creative origami duck ideas.
For making origami stars, a strip of paper approximately 1cm x 30cm is commonly used, which can be cut from a larger sheet. You can also use 1 cm x 25 cm strips for smaller stars or 1.5 cm strips for kids.
- Hold one end of the strip and tie a loose knot near it.
- Flatten the knot into a small pentagon, then tuck the short tail inside.
- Wrap the long end around the pentagon, following the existing edge each time.
- The strip of paper is wrapped around the edges of a flat pentagon shape without creating hard creases to ensure proper inflation later.
- When the remaining tail is too short to loop again, tuck it securely into a pocket or fold.
- Place the small pentagon flat on the table. Gently pinch the middle of each edge with your thumbnails to puff the center into a 3D lucky star.
Several websites offer video tutorials for folding origami stars, which can be more accessible for beginners compared to traditional written guides. The puffing step is the trickiest part, so practice on a few test strips.
Creative Ways to Use Your Origami Stars
Do not leave your stars in a drawer. Origami stars can be used as Christmas decorations, making beautiful ornaments for trees or garlands.
Try these ideas:
- String flat stars into a garland for a christmas mantel or party wall.
- Hang stars in windows for New Year’s Eve.
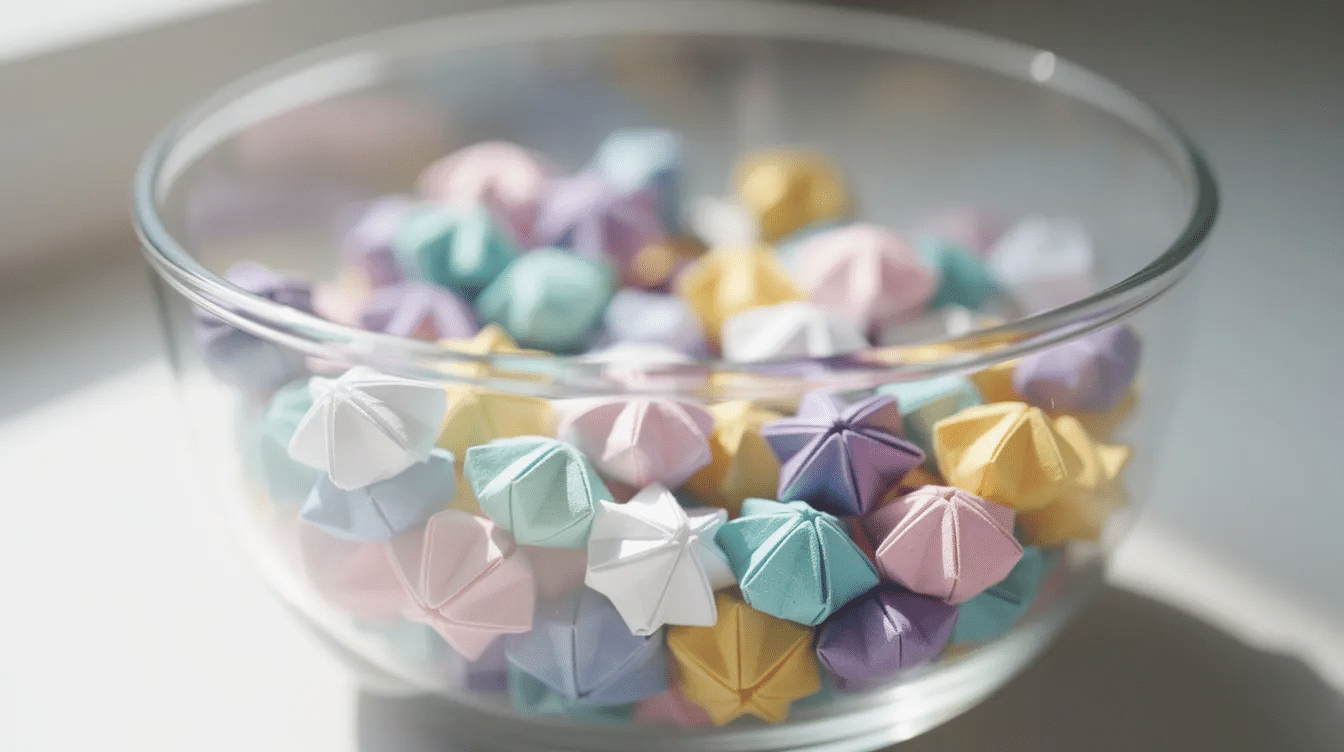
- Fill a jar with origami lucky stars and a handwritten note.
- Tape flat stars onto wrapped gifts.
- Let kids write wishes inside each strip before folding lucky stars.
- Mix metallic paper, book pages, colored origami paper, magazines, and sheet music for different themes.
Origami stars can be strung together to create garlands, perfect for festive decorations or party embellishments. They can also be incorporated into greeting cards, adding a whimsical touch to gifts and messages.
FAQ: Common Questions About Easy Origami Stars
What is the easiest origami star for complete beginners?
The puffed lucky star is usually easiest because it uses one strip, one knot, and a repeating wrap. Young children may prefer wider 1.5 cm strips because they are easier to hold and puff.
Can I make origami stars without special origami paper?
Yes. Origami paper helps, but printer paper, wrapping paper, scrapbook paper, and magazine pages all work. Avoid stiff cardstock because it is hard to squash and may crack on tight creases.
How do I keep my origami stars from unfolding?
Press every crease firmly with a fingernail, bone folder, or spoon. For stubborn flaps, hide a tiny dot of clear-drying glue under the flap or inside a point.
What paper size should I use for classroom or group projects?
Use 6 in x 6 in squares for flat classroom stars. For lucky stars, precut strips about 1 cm x 30 cm from A4 or US Letter paper so everyone can begin folding quickly.
How long does it take to learn to fold an origami star well?
Most people finish their first simple star in 10–15 minutes, including cutting. After 4–5 stars, each new one often takes only 3–5 minutes. Keep the early practice stars; they make progress easy to see.



