

Key Takeaways
- This is an easy origami paper ring tutorial for kids and beginners.
- You only need a small rectangular strip of paper; no glue or tape is required.
- You’ll learn a basic paper ring, an origami heart ring variation, and decorating ideas.
- Adjust the right size by changing paper length or tightening the ring band as you fold.
- Crisp lines are the secret to keeping origami rings together without glue.
Introduction: What Is a Paper Ring and Why It’s Fun
Paper rings are tiny wearable crafts made by folding paper into a band that fits around your finger. An origami ring is usually made with paper folding, while looser diy versions may use decorations, stickers, or a little tape. According to Britannica, origami is the art of folding paper into shapes, and an origami paper ring is one of the quickest models to try. These paper rings are fun for birthdays, Valentine’s Day, classroom crafts, rainy afternoons, or gifts for friends. Even complete beginners can make a simple ring in under 10 minutes, then try a cute origami heart ring next. You can use scrap paper, patterned paper, washi, gum wrappers, receipts, or origami paper-no special tool required.
Supplies You Need for an Easy Origami Paper Ring
For this origami project, start with light or medium-weight colored craft paper for best results when making a paper ring. Good quality paper should not be too thick or too thin; it should crease easily without tearing.
- One strip around 5 x 10 cm, a common size for paper rings and a typical size for making a basic origami ring.
- Standard copy paper, colorful sticky notes, or lightweight origami paper hold creases beautifully without tearing.
- Origami paper rings can be made from traditional origami paper, washi paper, patterned paper, or recycled materials like gum wrappers and receipts.
- Optional: ruler, pencil, scissors, markers, washi tape, or a bone folder.
- Avoid stiff cardboard when choosing paper for making rings.
- Glue is not needed, but kids can add a tiny piece of clear tape if they want the band extra secure.
Making a simple paper ring is a fun, no-glue, no-scissors project that requires only a single piece of paper if you begin with a pre-cut strip.
- Preparation: Getting the Paper Strip Ready
- Step‑by‑Step: How to Make a Simple Paper Ring (Beginner‑Friendly)
- Origami Heart Ring: Turn a Simple Paper Ring into a Heart
- Adjusting Size and Fit of Your Paper Ring
- Decorating and Personalizing Your Origami Rings
- Other Easy Origami Ring Ideas to Try Next
- Safety and Durability Tips for Kids’ Paper Rings
- FAQ
Preparation: Getting the Paper Strip Ready
Wash your hands, clear the table, and keep the sheet clean before creating the ring. If you want photos or images, place one here showing a strip wrapped around a finger.
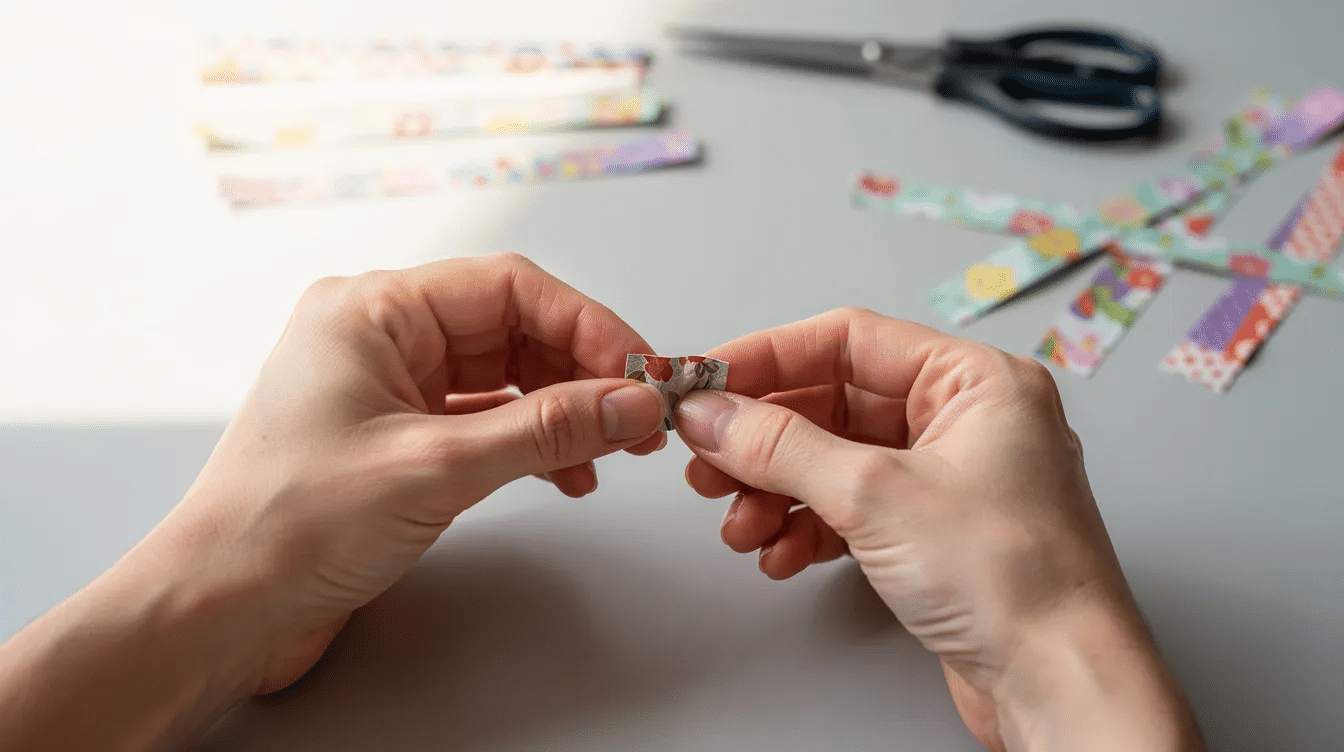
- Wrap scrap paper around the finger, somewhat loosely at first, and mark the overlap with a pencil.
- Cut a clean rectangular shape: about 1.5–2 cm wide and 10–12 cm long for kids, or 12–14 cm for adults.
- Keep each edge straight; neat lines make the ring band look more elegant.
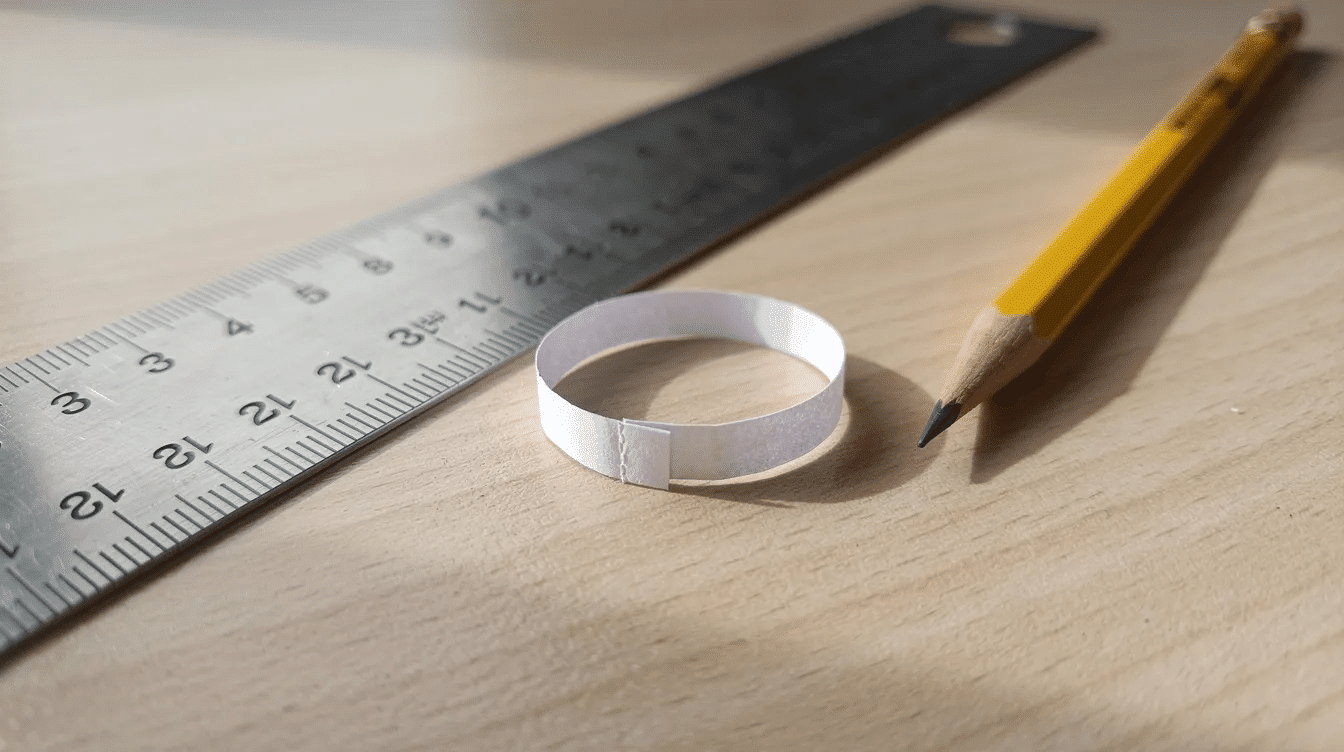
- A 5×10 cm piece works well, but you can adjust the dimensions to fit your finger size comfortably.
- Use any type of paper to make paper rings, including origami paper, washi paper, gum wrappers, and receipts, allowing a wide range of designs and styles.
Step‑by‑Step: How to Make a Simple Paper Ring (Beginner‑Friendly)
Here is how to make a paper ring easy, using the same technique many written instructions and video demonstrations teach. Once you are comfortable with this project, you can explore other popular origami designs for every skill level to keep practicing your folding skills.
- Step 1: Place the right side or pattern facing down. Fold the strip in half lengthwise, hot-dog style, then press the long edge flat.
- Step 2: Unfold it. Fold both long sides inward to meet the central line, also called the centre crease, then fold in half again to form a strong band.
- Step 3: At the left end, fold a small square flap, about 0.5–1 cm wide, straight up. This flap is the locking tab.
- Step 4: Bend the right end gently so the band begins to pop into a circle. Use your finger as the model for the hole.
- Step 5: Wrap the band around your finger so the right end overlaps the base of the flap. Do not forget to test comfort before locking.
- Step 6: Slide the right end under the square flap, flatten the flap, and tuck it down to complete the ring band.
- Step 7: Remove the ring and tighten or loosen it by changing where you insert the end under the flap.
Always use a bone folder, a ruler, or your fingernail to press down folds flat for crisp creases. If you noticed the ring band keeps unravelling, secure the overlapping ends discreetly on the underside with a tiny piece of double-sided tape.
Origami Heart Ring: Turn a Simple Paper Ring into a Heart
An origami heart ring is slightly more advanced, but it is still easy origami for beginners with patience. Start with a 9 x 9 cm square sheet or square piece; a red or pink square works well for Valentine’s Day.
- Step 1: Fold the square in half horizontally, then vertically, to find the center lines. Fold it into a long narrow strip like the basic band.
- Step 2: Fold both ends toward the center at 45° angles so they meet and form the top V sign of a heart.
- Step 3: Fold each small corner triangle at the top to round the heart and soften sharp points.
- Step 4: Flip the piece. Wrap the remaining long ends behind the heart to form the ring band.
- Step 5: Tuck one tail into the other behind the heart to lock the ring without glue.
Red, pink, metallic, or patterned paper makes the heart look special. For example, metallic pens can outline the heart and make it look like a tiny piece of jewelry.
Adjusting Size and Fit of Your Paper Ring
The easiest way to change size is to use a longer strip for bigger fingers and a shorter strip for smaller fingers.
- Test the fit while folding by wrapping the unfinished band around the finger before locking the flap.
- Trim excess length if the strip feels bulky.
- For kids, 10 cm is often enough; older teens and adults may prefer 12–14 cm.
- Try one free test ring from scrap paper, then save your favorite paper for the final project.
- When shaping a paper ring band, wrap it somewhat loosely at first so it does not pinch.
Decorating and Personalizing Your Origami Rings
This is where creativity turns a simple craft into something personal, and browsing inspiration from Simply Paper Crafts can give you fresh decorating ideas.
- Draw tiny hearts, stars, faces, symbols, or geometric patterns on the band.
- Use metallic pens to mimic gold or silver bands.
- Add small stickers, washi tape strips, or initials for friendship rings.
- Make a pair of matching rings for friends or family.
- Try rainbow bands, animal faces, mini flowers, or lucky star toppers.
Creating modular origami rings allows for the combination of different decorative elements, such as flowers or geometric shapes, which can be crafted separately and then assembled for a unique piece of jewelry, much like how paper bead jewelry projects turn simple strips into wearable art.
Other Easy Origami Ring Ideas to Try Next
Once you have discovered the basic technique, experiment with these ideas and branch out into other fun paper activities for all ages to build a whole collection of crafts:
- The Origami Diamond Ring is a popular design that symbolizes love and commitment, and it can be made using a 5×10 cm piece of paper, preferably in dual colors for a striking effect.
- Make a tiny square “diamond” top for an elegant jewelry look.
- Attach a small butterfly, crane, or flower to a basic band, or even a simple folded paper duck design.
- Try dollar bill origami rings for older kids and teens, or make matching bands decorated with tiny paper stars.
- Glue a 3D lucky star to a thin band for a playful design.
These ideas can inspire your next blog-worthy craft session.
Safety and Durability Tips for Kids’ Paper Rings
Supervise young kids when scissors are used. Paper rings are not waterproof, so remove them before washing hands, bathing, or playing in rain. Slightly thicker paper, around copy-paper weight, can help the ring keep its shape longer. These rings are for fun dress-up wear, not rough sports or outdoor play.
FAQ
How can I stop my paper ring from falling apart?
Press every fold firmly with a fingernail, ruler edge, or bone folder. Tight tucks matter because crisp creases and crisp lines keep the band locked.
If needed, add a tiny strip of clear tape or double-sided tape on the inside underside where the flap tucks in.
What is the easiest paper for a first origami ring?
Standard copy paper, lightweight origami paper, or a colorful sticky note is easiest. Very glossy magazine paper can slip, and thick cardstock is hard to fold.
Start with light-colored paper so you can see the fold lines clearly.
Can I make a paper ring without scissors?
Yes. Tear slowly along a ruler edge, or use pre-cut origami strips or narrow sticky notes.
A straight edge makes the finished ring neater, so line it up carefully.
How long does a paper ring usually last?
With normal indoor wear, a well-folded paper ring can last several days if kept dry. Store favorite rings in a small box or envelope so they do not get crushed.
Is an origami heart ring too hard for kids?
Most school-age children, around 7–8 and up, can make an origami heart ring with slow instructions. I hope you try the basic ring first, then the heart once the band makes sense.



