

Key Takeaways
- This origami butterfly for beginners tutorial is designed for complete beginners, older kids, and adults alike.
- You only need one square sheet of origami paper, ideally 15×15 cm, or 6×6 in, and about 10–15 minutes.
- You will learn a classic easy origami butterfly inspired by akira yoshizawa, the father of modern origami.
- Origami paper butterflies can decorate handmade cards, gifts, table decor, wedding place cards, or wall art.
- The FAQ answers common beginner problems, including paper size, timing, uneven wings, and 3D shaping.
Introduction: Why Start with an Origami Butterfly?
Origami is the Japanese art of folding paper into a shape without cutting or gluing. A butterfly is one of the best first origami projects because it uses simple folds, looks impressive, and gives you a beautiful paper butterfly fast.
Akira Yoshizawa, often called the father of modern origami, helped popularize expressive folded designs; his butterfly designs became iconic. This guide is simpler than a full traditional origami butterfly, but it keeps the graceful look.
Use this post as a lovely tutorial if you are new to crafts, helping kids from about age 7, or making decorations with adults. By the end, you will be able to make origami paper butterflies quickly and confidently.
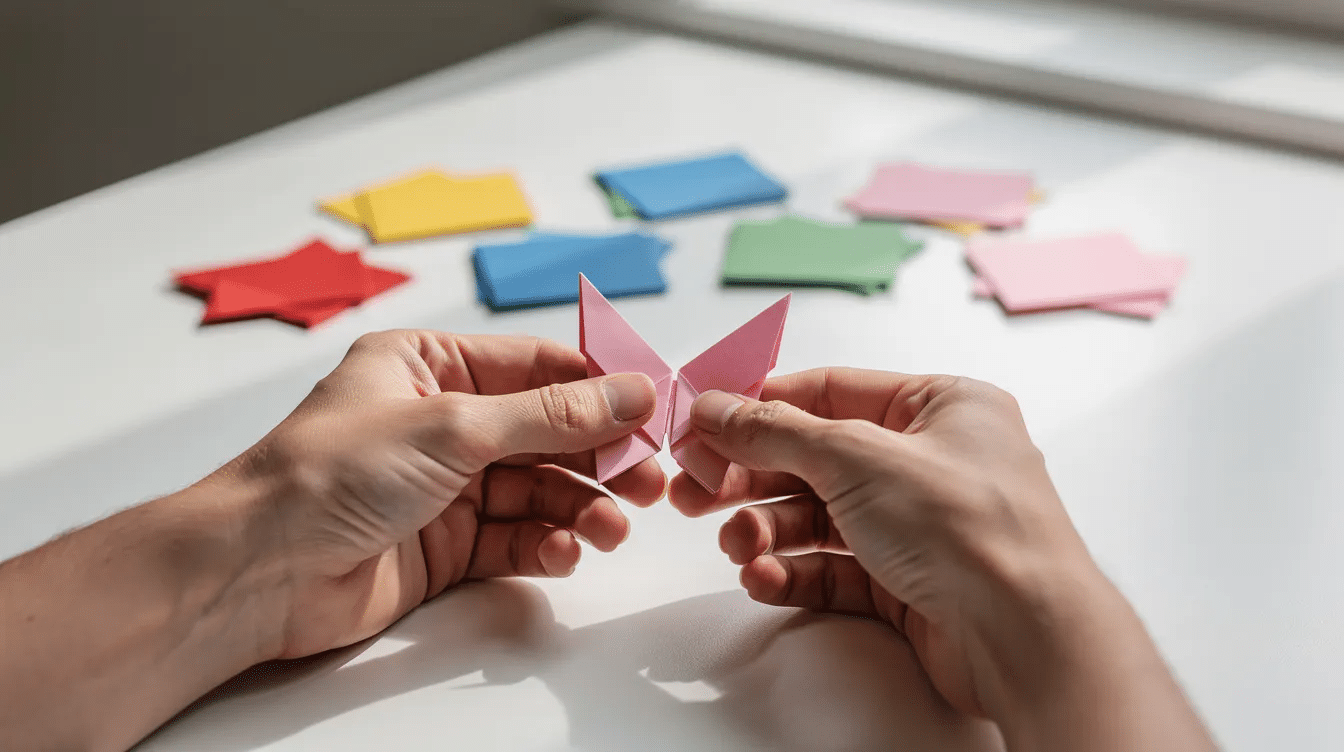
What You Need to Make an Origami Butterfly
Here is what you need before you make an origami butterfly: one square of origami paper, ideally 15×15 cm, or 6×6 in, around 60–80 gsm; double-sided colored paper or patterned paper if possible; or alternatives such as scrapbook paper, gift wrap, old book pages, magazines, maps, and even copier paper trimmed into a square. Start with lighter colors so every crease is easy to see. Optional extras include glue dots, magnets, string, or small wooden pegs for turning butterfly origami into decorations.
Easy Origami Butterfly: Step‑by‑Step Instructions
This is a classic easy origami butterfly for beginners using a single square. Step-by-step visual tutorials are beneficial for beginners learning origami, so if you use a photo, picture, diagram, or video beside these instructions, pause often and fold slowly, or browse Simply Paper Crafts for more paper-folding inspiration.
Crease each fold firmly with a bone folder, a scoring tool, your thumbnail, or the back of a spoon. Small inaccuracies are fine; your first easy butterfly does not need to be perfect. Fold along once slowly, then try the whole thing again for a smoother result.
Step 1: Prepare the Base Creases
Start with the colored side of the paper facing down.
Fold the square in half horizontally, matching the top edge to the bottom edge, then unfold. Fold it in half vertically, matching the right side to the left side, then unfold. Next, fold corner to opposite corner both ways, unfolding each time, until the middle looks like an asterisk of crease lines.
To create an origami butterfly in many great instructions, you start with a square piece of paper and fold it in half both horizontally and vertically, then unfold to create crease lines. After making the initial folds, some butterfly origami variations turn the paper over and fold the corners to the center point to create a smaller square shape; for this project, those same neat center lines help the base collapse cleanly.
Step 2: Collapse into a Triangle (Waterbomb Base)
Place the paper with one corner pointing up. Gently push the left and right sides toward the center, letting the top point and bottom point move toward each other.
The paper should flatten into a triangle with two layers. This shape is called a waterbomb base in origami, and it appears in many easy origami models. Take an extra second to line up edges, because that prevents uneven wings later. You do not need a squash fold here, but you do need clean alignment.
Step 3: Form the Upper Wings
Position the triangle with the long edge at the bottom and the point at the top. Fold the bottom left corner of the top layer up so its tip touches the top point.
Repeat with the bottom right corner of the top layer. The two flaps form a diamond-like shape at the top. These flap sections become the upper wings, so check that each edge is even before you flatten the crease.
Step 4: Fold the Body and Lower Wings
Flip the model over so the smooth side faces up, with the point facing down. Fold the bottom point of the triangle up past the top edge by about 5–8 mm, or around 1/4 inch.
This little triangle locks the layers together and forms part of the origami butterfly body. The exact tip length can change the shape, so do not guess too much; a small point gives a neat body, while a longer point looks more playful.
Step 5: Lock the Tip and Shape the Wings
Flip the model back over so the small triangle is on the back, peeking above the top edge. Fold this little triangle down over the edge and press firmly to lock the layers.
Now fold the entire model gently in half along the vertical center line, wings together. Finally, open the wings slightly with your fingers. Finish the origami butterfly by folding the top flaps to the sides and then gently spreading the wings to give it a natural shape, as if it could fly.
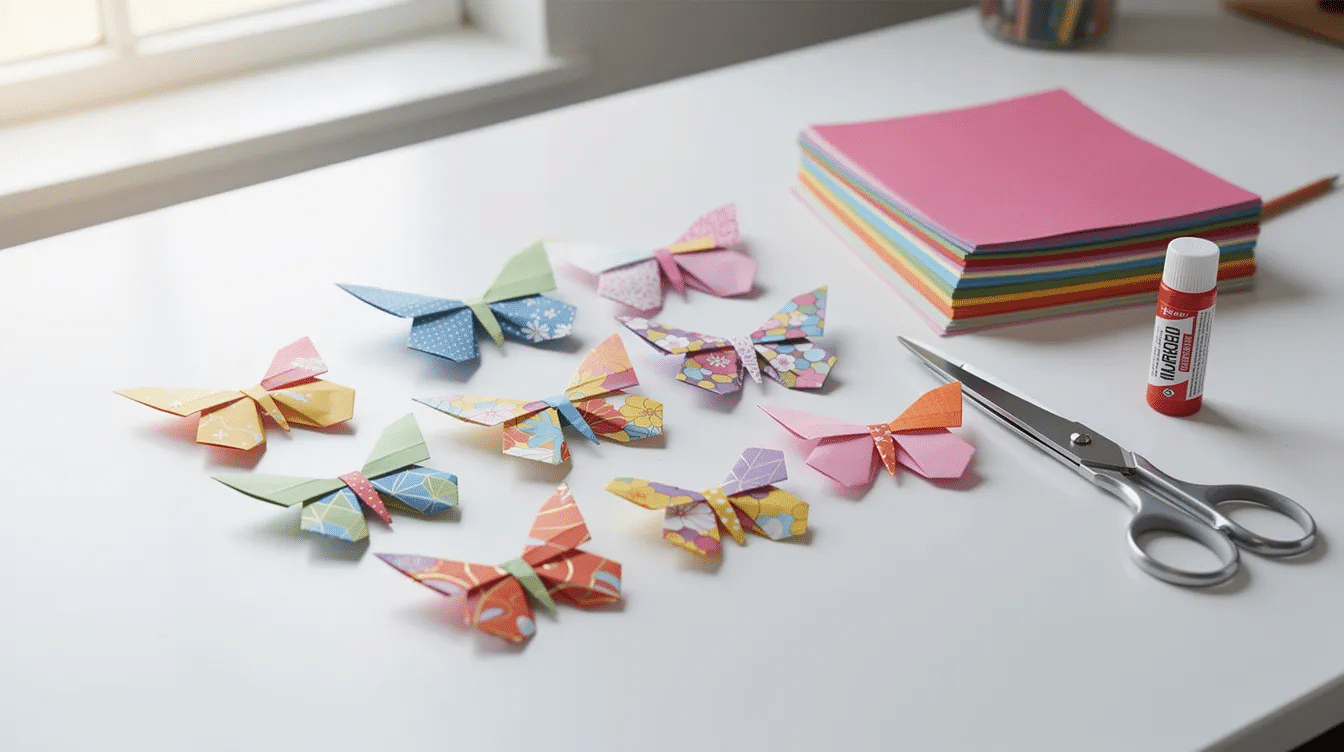
Ideas for Using Your Origami Paper Butterflies
Origami butterflies are useful as well as pretty. Add double-sided tape or a glue dot to the back and stick them on walls, mirrors, doors, or a classroom display, or combine them with cute paper craft ideas for DIY projects.
Origami butterflies can be used to decorate handmade cards and gifts, serve as table decor, or be displayed as wall art. They also look amazing on birthday cards, wedding invitations, spring place cards, and summer party crafts.
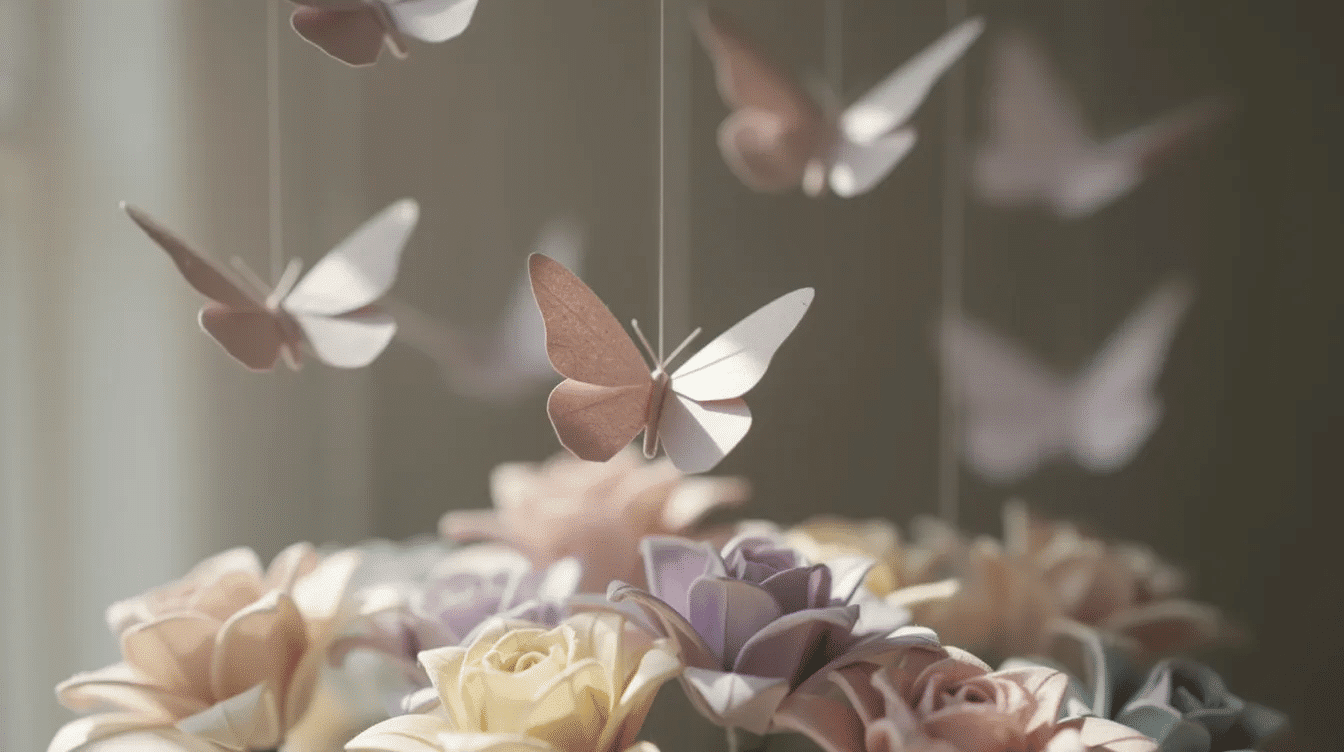
To create movement, hang several butterflies from clear fishing line or cotton string. Adding small magnets to the back of origami butterflies allows them to be used on magnetic noticeboards, making them functional as well as decorative.
Choosing the Best Paper for Easy Origami Butterflies
Kami paper, typically sized at 15×15 cm, or 6×6 in, is recommended for making origami butterflies, as well as smaller paper and chiyogami. Standard origami paper folds cleanly and holds creases well, and it also works beautifully for other fun paper activities for all ages.
Double-sided paper gives a more colorful butterfly, while single-sided paper shows a white underside. Double-sided colored paper or patterned paper can enhance the visual appeal of origami butterflies, making them more attractive when displayed.
You can create beautiful origami butterflies using various types of paper, including scrapbook paper, old book pages, and even maps. You can use various types of paper for origami butterflies, including scrapbook paper, gift wrap, old book pages, magazines, and even copier paper, or save some of these supplies for beginner-friendly paper quilling art projects. Avoid thick construction paper for origami, as it can make multiple layers too difficult to fold.
Tips for Kids and Adults Alike
Start with larger squares, such as 18×18 cm, or 7×7 in, for young kids or any beginner who finds small folds tricky.
Work on a flat, hard surface like a desk. Help kids pre-crease the main folds and guide them when they flip the model, which is often the confusing part.
Origami relies on muscle memory, and practice leads to improvement in folding skills. Make three or four butterflies in a row and you will see better symmetry. If a great tutorial shows a different step 9, follow the same principle: line up the edge, crease firmly, and stay patient.
More Origami Ideas After the Butterfly
Once this paper butterfly feels easy, try more origami ideas that use similar folding skills. Exploring top origami designs for every skill level can give you new favorites, and a simple origami bird, frog, or flower is a natural next project.
You can also make origami flowers and leaves to create a cool garden scene with butterflies. Keep a small stack of origami paper nearby so you can practice whenever you have 10 spare minutes. I hope your next beautiful origami butterfly looks even better than the first.
FAQ
These questions cover beginner problems not fully covered above.
What size paper is best for my first origami butterfly?
A 15×15 cm, or 6×6 in, square of origami paper is ideal for most beginners because it is large enough to handle but small enough to finish quickly. Larger squares like 18×18 cm, or 7×7 in, help children or anyone who struggles with small folds. Once confident, try smaller paper to create tiny decorative butterflies.
How long does it take to make an easy origami butterfly?
Your first butterfly may take about 10–15 minutes while you follow each fold carefully. After a few practice runs, most people can make origami butterflies in around 5 minutes or less. Do not rush; slower folding usually creates cleaner wings.
Why doesn’t my butterfly lie flat or look symmetrical?
Uneven base creases are the most common cause. Refold the horizontal, vertical, and diagonal creases, making sure every corner and edge meets exactly. Handmade origami is never identical every time, so small differences are normal.
Can I use regular printer paper to make an origami butterfly?
Yes. Standard printer paper works if it is cut into a perfect square first. It is stiffer than typical origami paper, so press each crease with extra pressure. A ruler helps you trim accurately.
How can I make my origami butterfly more 3D?
Fold the finished butterfly in half along the body line, then pull the wings forward slightly. Curve the outer wing edges with your fingers for a natural fluttering form. For a beautiful origami butterfly display, attach the body to a wall while leaving the wings angled outward; save a link to this tutorial or a video so you can repeat the shape later.



