

If you want an origami crane step by step easy enough for your first try, this guide walks you through every fold in plain language. You’ll make a traditional origami crane from one square sheet of paper, using the classic bird base and simple shaping steps.
The origami crane, or orizuru, is one of the most recognized forms in the art of origami. It is also a symbol of hope and peace, often associated with the belief that making 1,000 cranes will grant a wish or bring good fortune.
Key Takeaways
- This is an easy, step-by-step traditional origami crane tutorial for beginners and kids around age 7+ with help.
- You only need one square piece of paper, about 15 × 15 cm or 6 × 6 in, plus a flat surface.
- The tutorial follows the classic origami bird base to create a traditional origami crane in about 5–10 minutes.
- Clear photos or diagrams should show each fold, with a final picture of the finished crane and spread wings.
- Your first crane may look uneven, but 2–3 practice attempts usually make the process much easier.
- What You’ll Need to Make an Easy Origami Crane
- Quick Overview: Easy Origami Crane Steps
- Step-by-Step Instructions: How to Fold an Easy Origami Crane
- Step 1: Start With a Square and Make Diagonal Folds
- Step 2: Fold Horizontal and Vertical Creases
- Step 3: Form the Preliminary (Square) Base
- Step 4: Shape the Kite Folds on Both Sides
- Step 5: Create the Bird Base (Inside Reverse Fold)
- Step 6: Form the Neck and Tail
- Step 7: Make the Crane’s Head
- Step 8: Fold and Open the Wings
- Tips for Folding a Traditional Origami Crane Successfully
- Creative Ideas and Uses for Your Origami Cranes
- FAQ About Easy Origami Cranes
- How hard is it to fold a traditional origami crane for a complete beginner?
- What size and type of paper works best for an easy origami crane?
- Why doesn’t my crane stand up or keep its shape?
- Can children make this easy origami crane on their own?
- How long does it take to get good at folding paper cranes?
What You’ll Need to Make an Easy Origami Crane
Preparation is minimal, but your paper choice matters. Thin paper is easier to crease, while thick paper can make the neck, head, and wings harder to shape cleanly; understanding the best types of paper for craft and their uses helps you choose the right sheet for clean folds.
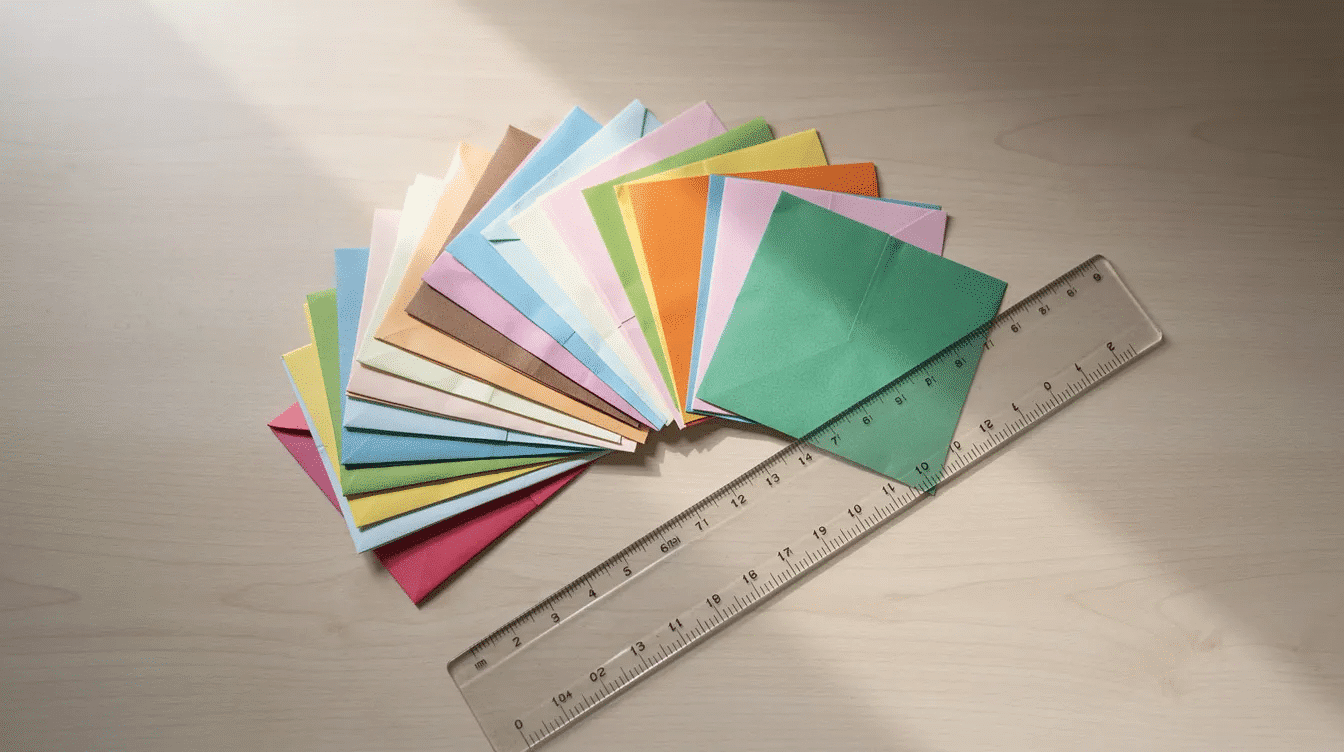
- One square piece of paper, ideally 15 × 15 cm or 6 × 6 in.
- Standard origami paper, usually 15 × 15 cm or 6 × 6 inches, is ideal because it is lightweight and easy to crease.
- To create an origami crane, you will need one square piece of paper, which can be origami paper or regular paper.
- You can use dedicated origami paper or a standard piece of printer paper cut into a perfect square.
- Thin origami paper, sometimes called kami, works well because it holds a sharp fold without becoming bulky.
- Optional: a ruler, card edge, or fingernail to sharpen each crease.
- Optional: a pencil to lightly mark the colored side if both sides look similar.
- Optional: a flat table or desk so every corner lines up cleanly.
- Choose a solid color on one side and white on the other side for a classic crane look.
- Patterned paper, metallic paper, or handmade paper can also work once you learn the basic instructions.
Quick Overview: Easy Origami Crane Steps
Here’s the fast summary before the detailed guide below. Beginners can skim this overview first, then scroll down for slow, photo-backed instructions for each step.
- Make guide creases by folding the paper diagonally and straight across.
- The first step in folding an origami crane is to create a square base by folding the paper diagonally and then folding it in half both ways before unfolding to create creases.
- Form the preliminary square base by collapsing the paper along the crease lines.
- Shape the bird base with kite folds and a petal fold.
- Create the neck and tail using inside reverse folds.
- Make the head with a smaller inside reverse fold.
- Fold and open the wings to finish the crane.
Each stage below matches one part of this overview, making it easier to follow without losing your place, and once you are comfortable you can explore top origami designs for every skill level beyond the classic crane.
Step-by-Step Instructions: How to Fold an Easy Origami Crane
This is the main tutorial for making a traditional origami crane from a single square sheet. The process of making an origami crane typically takes around 5 to 10 minutes, depending on your experience and skill level.
For best results, use 1–2 photos or diagrams per key fold. Keep checking the orientation: colored side up, open corner toward you, and center crease in the middle.
Step 1: Start With a Square and Make Diagonal Folds
This step creates the first creases that guide the rest of the crane. Take your time here because accurate early folds make the final model cleaner.
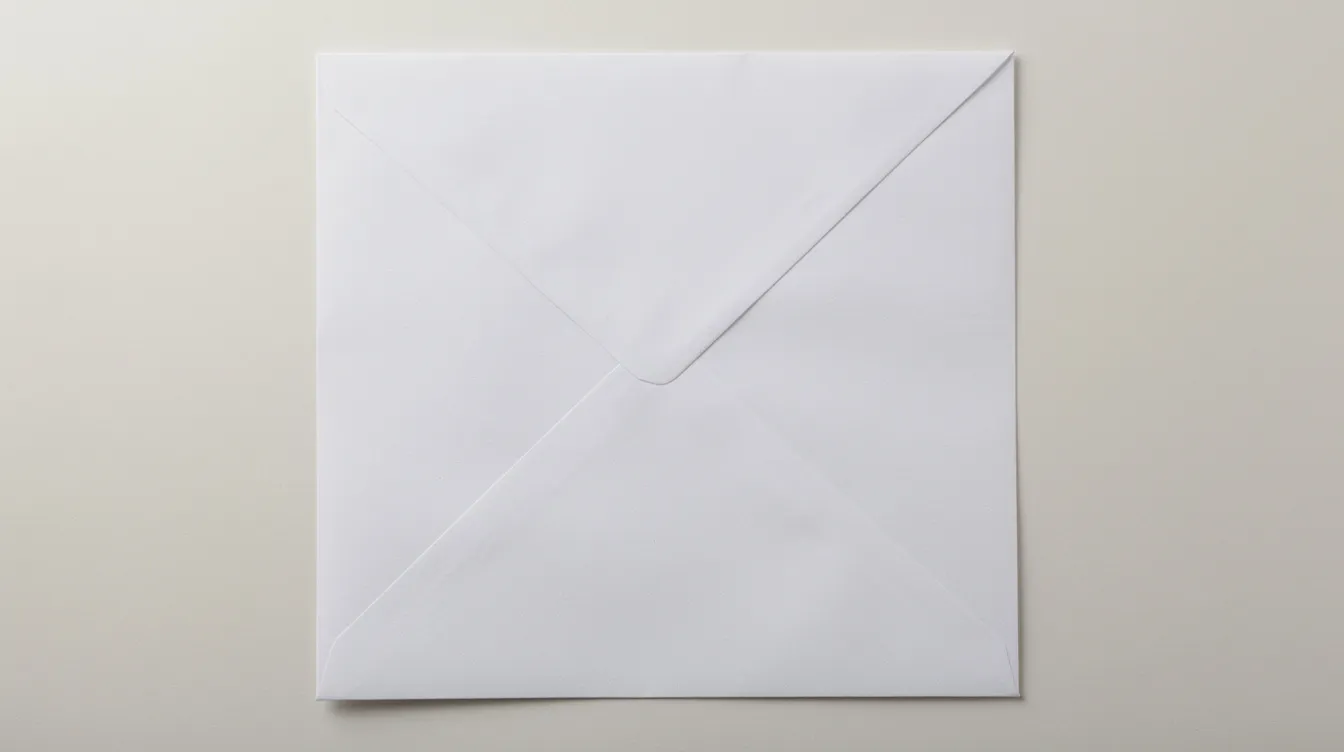
- Place the paper on the table with the colored side facing up.
- Fold the paper in half diagonally to form a large triangle.
- Match corner to corner as precisely as possible.
- Press the crease firmly with your fingernail or the edge of a ruler.
- Unfold the paper back into a square.
- Repeat with the other two corners to make a second diagonal fold.
- Unfold again.
At this point, the square should show an “X” crease pattern across the center.
Step 2: Fold Horizontal and Vertical Creases
These straight folds help the paper collapse into the square base later. They also keep the crane symmetrical.
- Turn the paper so a flat side faces you, not a point.
- Fold the paper in half horizontally to make a rectangle.
- Crease sharply, then unfold.
- Fold the paper in half vertically to make another rectangle.
- Crease sharply, then unfold again.
You should now see both straight “+” creases and diagonal “X” creases meeting at the center. If you include a photo here, show the center point clearly where all crease lines cross.
Step 3: Form the Preliminary (Square) Base
The preliminary base, also called a square base, is used for many origami birds. It is the foundation of the crane and can also be adapted into other simple models such as creative origami paper duck designs.
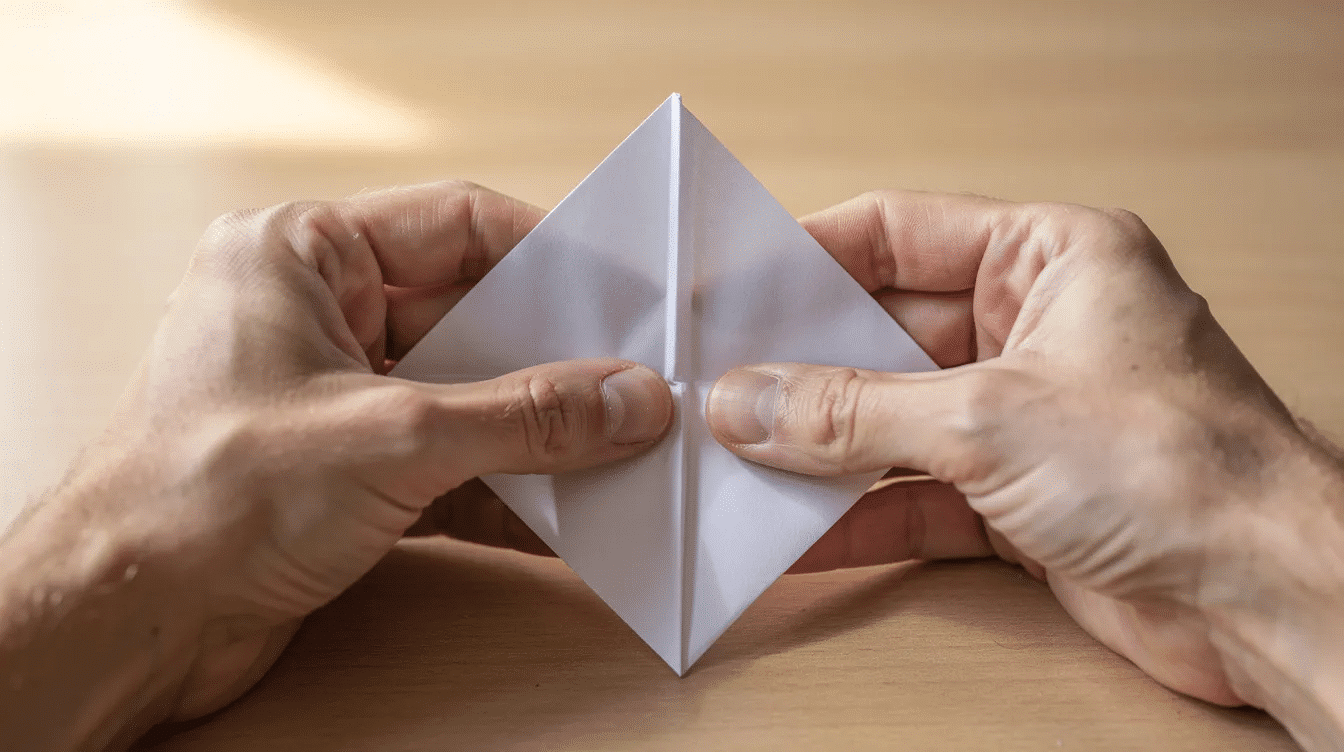
- Flip the paper so the white or lighter side faces up.
- Keep the same general orientation on the table.
- Bring two opposite sides inward along the existing creases.
- Let the corners naturally collapse toward each other.
- Flatten the model into a smaller square or diamond shape.
The open, layered corner should point toward you. The closed corner should point away from you. If the paper resists, do not force it; re-crease the diagonal and straight lines, then try again.
Step 4: Shape the Kite Folds on Both Sides
This step narrows the base into a kite shape. These crease lines prepare the paper for the bird base.
- Rotate the small square so it looks like a diamond.
- Make sure the open flaps are at the bottom.
- Take the right lower edge of the top layer and fold it toward the center crease.
- Repeat with the left lower edge.
- The top layer should now look like a tall kite.
- Fold the small top triangle down over the two side flaps.
- Crease that top triangle firmly.
- Unfold the top triangle.
- Unfold the two side flaps so the model returns to the diamond shape.
You should now see new crease lines shown on the top layer. These lines will guide the next fold.
Step 5: Create the Bird Base (Inside Reverse Fold)
This is the key transformation step. It turns the square base into the classic bird base used for the traditional origami crane.
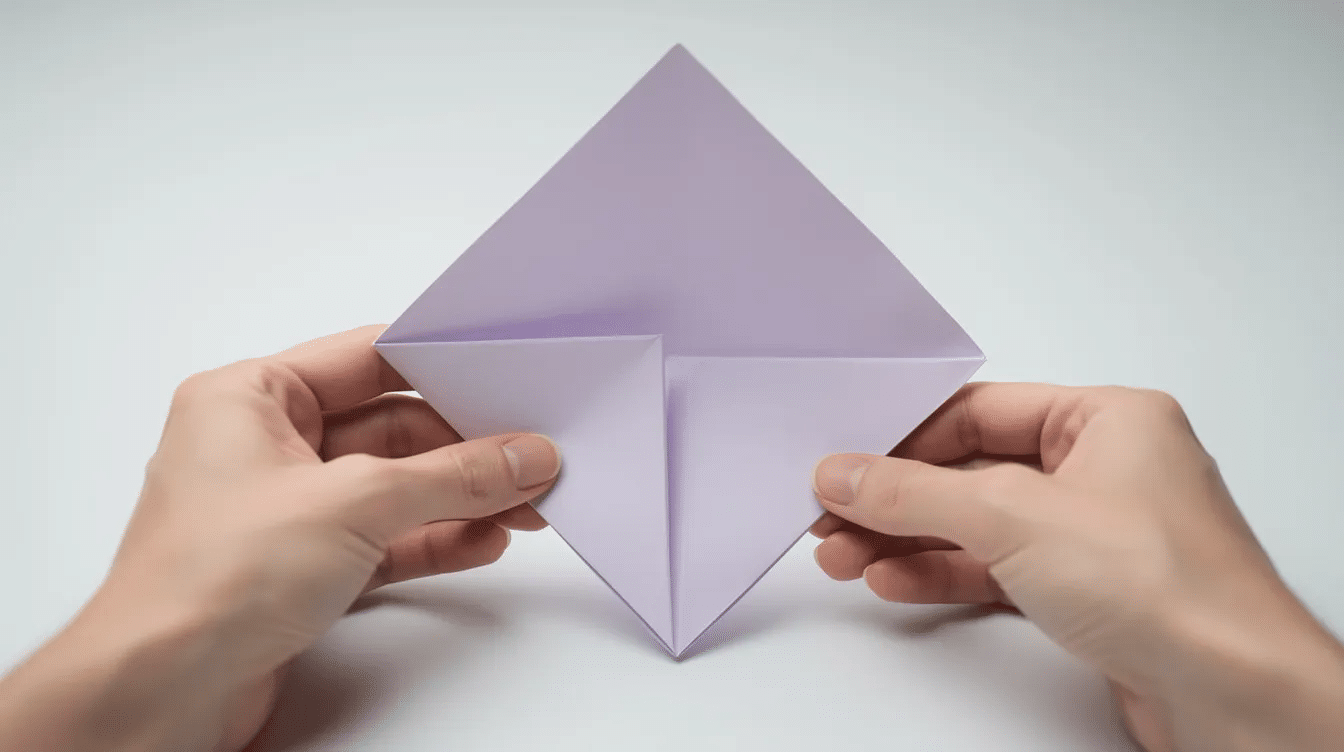
- Gently lift the bottom corner of the top layer upward.
- Open the pocket created by the previous creases.
- As the bottom point rises, guide the right and left sides inward.
- Flatten the paper along the crease lines.
- The model should become a tall, narrow diamond.
This move is often called a petal fold. It can feel tricky the first time, so move slowly and let the existing creases do most of the work.
Now turn the model over to the other side. Repeat the kite-fold-and-petal-fold process on the back so both sides match. You now have the bird base.
Step 6: Form the Neck and Tail
The two long, thin points at the bottom of the bird base become the neck and tail of the crane. This is where the model starts to look like a bird.
- Rotate the model so the long points face down.
- Keep the closed top section as the body area.
- Choose one lower point to become the neck.
- Lift it upward along the central crease.
- Use an inside reverse fold so the point swings up and tucks inside.
- Press the fold into place.
- Repeat on the opposite lower point to make the tail.
Try to angle the neck and tail similarly for balance. If one side sticks out too far, open it slightly and adjust before pressing it flat again.
Step 7: Make the Crane’s Head
This small fold creates the signature head and beak of the origami crane.
- Choose the lifted neck end.
- Pinch near the tip to mark where the head should bend.
- Open the tip slightly.
- Make a small inside reverse fold so the tip bends downward.
- Press the head into place.
Adjust the angle so the head points slightly forward or down. A close-up photo before and after this step makes the shape much easier to understand.
Step 8: Fold and Open the Wings
This final shaping step turns the flat model into a recognizable three-dimensional crane.
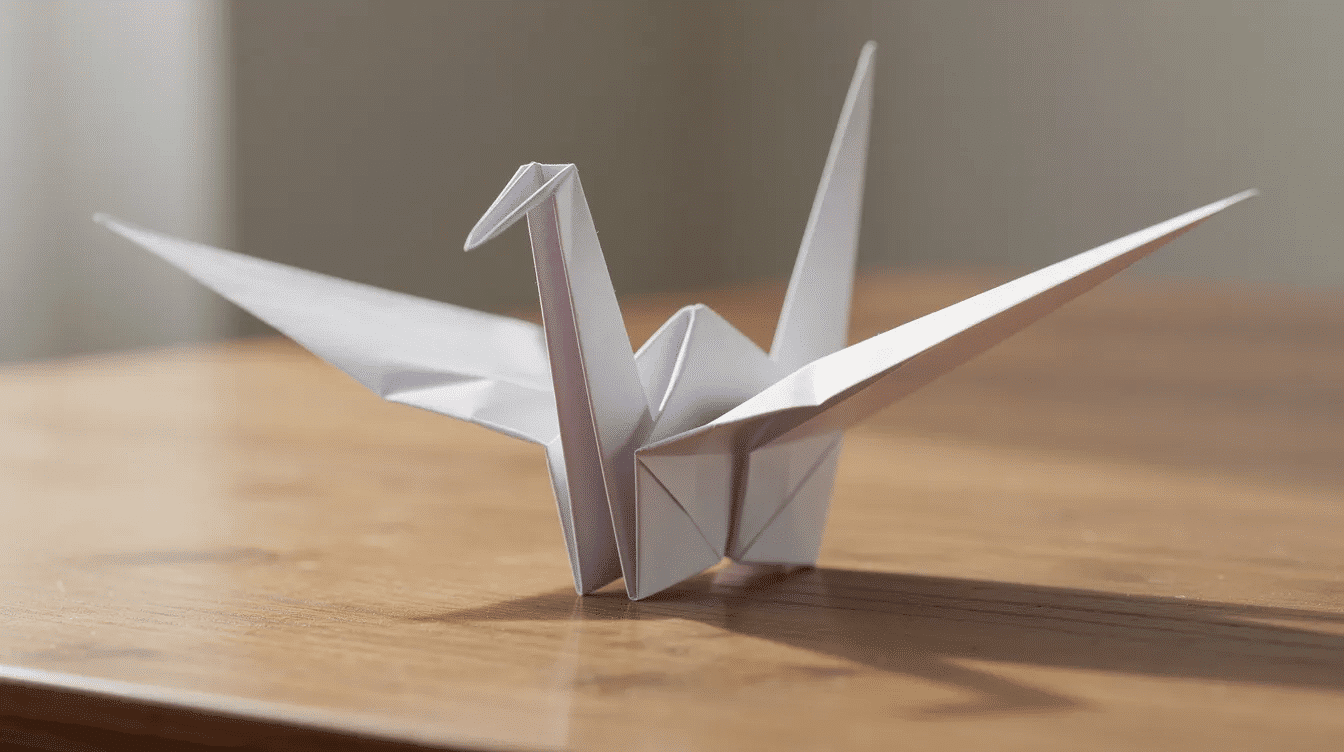
- Hold the body of the crane gently.
- Fold one top flap down horizontally to make a wing.
- Turn the model over and fold the other wing down at the same height.
- Gently pull the wings outward while holding the base.
- Puff out the body.
- If needed, blow lightly into the small hole at the bottom to inflate the body.
Leave the wings open and adjust the neck, tail, and head. Flatten the base slightly so the crane can stand. A final photo from the top, side, and front will help you compare your crane with the finished shape.
Tips for Folding a Traditional Origami Crane Successfully
Even an “easy” origami crane can feel tricky the first time. Most problems come from loose creases, uneven corners, or confusion about which flap to move.
Here are the best ways to get a cleaner result, starting with having a few top craft paper supplies for creative projects on hand:
- Use thin paper. Thinner paper is easier for detailed reverse folds.
- Start larger if needed. A 20 × 20 cm square gives beginners more room to work.
- Line up every corner carefully. Small errors at the beginning become more visible later.
- Crease firmly. Use your fingernail, a ruler edge, or a card edge.
- Slow down on the bird base. The petal fold is the hardest part for many beginners.
- Keep the open corner facing the correct direction. Orientation mistakes are common.
- Re-crease the neck and tail if they collapse. Stronger crease lines help the points stay lifted.
- Check the wings. If one wing sits lower than the other, unfold and refold it at the same height.
If your crane looks lopsided, do not worry. It is normal to need 2–3 practice cranes before getting a clean, symmetrical traditional origami crane.
Make sure to save your first one. It is the easiest way to see how much your folding improves over time.
Creative Ideas and Uses for Your Origami Cranes
Once you master this origami crane step by step easy tutorial, you can use cranes for decorations, gifts, classroom projects, and meaningful displays. Because each crane uses only one piece of paper, making several is simple and affordable, and you may find even more ideas on a broader paper crafting inspiration platform.
The origami crane is a symbol of hope and peace, often associated with the belief that making 1,000 cranes will grant a wish or bring good fortune. The practice of creating senbazuru, or garlands of 1,000 origami cranes, is a traditional Japanese custom that symbolizes peace and is often seen at war memorials.
Cranes are commonly given to individuals who are seriously ill as a gesture of wishing for their recovery, often created collectively by friends or family.
Here are a few ways to use your finished cranes, along with other fun paper activities for all ages you might enjoy:
- String several cranes into a mobile for a bedroom, nursery, or classroom.
- Create a garland for celebrations like New Year’s Eve 2026.
- Make many cranes in different sizes and colors for a peace display.
- Attach a crane to a greeting card.
- Place one on a wrapped present instead of a bow.
- Use cranes as table decorations for weddings or peace-themed events.
- Share a crane with someone who could use a small wish of hope.
- Try patterned paper once the standard version feels easy, or branch out into other simple folds like step-by-step paper star tutorials.
- Fold tiny cranes from 7.5 cm squares after you are confident with the larger size.
- Experiment with metallic paper, but only after you are comfortable with the reverse folds.
Origami paper comes in many colors, patterns, and textures, and traditional paper types are often discussed in guides to origami paper. For beginners, though, simple lightweight paper is still the best choice.
FAQ About Easy Origami Cranes
These quick answers cover common beginner questions that are not fully covered in the main steps. Use them if your first crane does not look quite right yet.
How hard is it to fold a traditional origami crane for a complete beginner?
The traditional origami crane is usually considered easy to intermediate. This tutorial breaks it into smaller steps so first-time folders can follow along more comfortably.
Most beginners can complete a recognizable crane within 10–20 minutes, especially with clear photos or a slow video. If the inside reverse folds feel fiddly, start with a larger 20 × 20 cm sheet.
What size and type of paper works best for an easy origami crane?
A 15 × 15 cm sheet, about 6 × 6 in, is the standard beginner-friendly size. Thin, crisp paper is ideal because it holds a clean crease.
Avoid thick cardstock or very soft tissue paper. Printer paper works if you cut it into a perfect square, though it may feel slightly stiff for very small cranes.
Why doesn’t my crane stand up or keep its shape?
A crane that collapses often has loose or uneven creases around the body and base. Press the bottom gently to create a flatter standing area.
You can also re-crease the middle of the body to give it more structure. Check that both wings are folded at the same height and angle, since uneven wings can affect balance.
Can children make this easy origami crane on their own?
Many children around 7–8 years old can follow the steps with some adult guidance. The bird base and inside reverse folds are usually the hardest parts.
Use slightly larger paper for kids’ first cranes. Parents or teachers should fold along slowly so children can copy each step without feeling rushed.
How long does it take to get good at folding paper cranes?
Most people feel comfortable with the sequence after folding 3–5 cranes in a row. With regular practice, a simple traditional origami crane can be completed in about 3–5 minutes by late 2026 standards.
Keep your first crane and compare it with your later ones. You will see progress in neatness, symmetry, and speed.



