

Key Takeaways
- This tutorial shows how to make a paper wreath easy in about 45–60 minutes, using a simple leaf, loop, or fringe method.
- You only need basic materials: lightweight cardboard for the wreath form, paper, scissors, a ruler, and glue or a hot glue gun.
- The core process is simple: cut a cardboard wreath base, prepare 60–90 paper pieces, then glue them in overlapping rows around the ring.
- Change the colours, patterns, and decorations to create a paper christmas wreath, birthday wreath, spring wreath, or everyday door decor.
- The finished paper wreath is lightweight, cheap, cute, and easy to hang with sticky tape, Blu Tack, ribbon, or a small hook.
Introduction: Why Make a Paper Wreath?
A paper wreath instantly adds colour and personality to a door, wall, mantel, or party table. Unlike greenery or heavy wire wreaths, paper is inexpensive, easy to cut, and absolutely flexible-you can create a neat neutral wreath or a bold holiday design from the same basic process.
This is a great project for adults, beginners, and kids with supervision, and it’s a perfect introduction to simple paper crafts. You will also learn how to make a paper wreath form from recycled cardboard, so there is no need to buy a metal frame.
- Materials and Tools You’ll Need
- Step 1: Create Your DIY Wreath Form from Paper and Cardboard
- Step 2: Choose Your Wreath Style (Leaves, Loops, or Fringing)
- Step 3: Cut Your Paper Pieces
- Step 4: Attach the Paper to the Wreath Form
- Step 5: Turn It into a Paper Christmas Wreath (Optional)
- Step 6: Add a Bow and Finishing Touches
- Ideas to Customize Your Paper Wreath for Any Season
- How to Hang, Store, and Care for a Paper Wreath
- FAQ
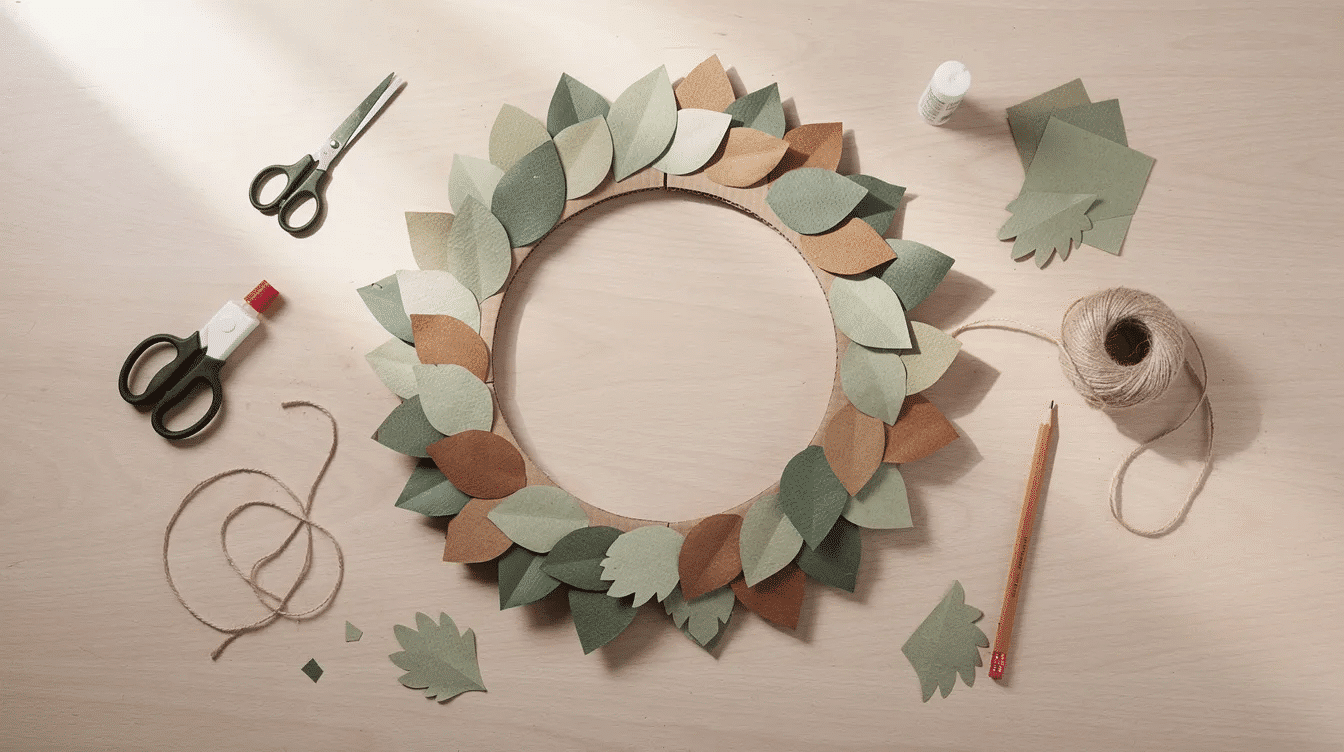
Materials and Tools You’ll Need
Most supplies are common craft or household items:
- Lightweight cardboard, such as a cereal box, shipping box, or backing card, is recommended for the base of the wreath.
- To create a paper wreath, you can use a lightweight cardboard base, which can be made from materials like cereal boxes or recycled grocery bags, and then cover it with various paper leaves or decorations.
- Paper options: wrapping paper, magazines, old comic books, scrapbook paper, construction paper, tissue paper, or upcycled book pages for different aesthetics in paper crafts. If you want to dive deeper, exploring the best types of paper for craft can help you choose the right texture and weight for your design.
- Cardstock holds its shape best for making paper wreaths, especially for leaves and rolled edges, and it’s one of the essential materials highlighted in many top craft paper supplies for creative projects.
- Scissors and a ruler are necessary for cutting and folding paper consistently.
- Common tools needed for making a paper wreath include scissors, a stapler, and glue, with hot glue being preferred for its quick drying time.
- Pencil, dinner plate, smaller bowl, ribbon, string, sequins, sticker letters, or paper flowers.
- Adhesives: glue stick, PVA glue, hot glue, double-sided tape, or sticky tape.
Step 1: Create Your DIY Wreath Form from Paper and Cardboard
The wreath form is the ring that gives your paper wreath its shape. Draw a large circle about 12 inches across on cardboard, then draw a smaller circle about 7–8 inches wide in the center. Cut along each line to create a donut shape about 2–2.5 inches wide.
If the cardboard feels flimsy, roll or twist newspaper or grocery-bag paper around the ring, then tape it in place. This creates a thicker wreath base while keeping the project light and is a great example of the kind of creative cardboard crafts ideas that turn recycling into fun projects. You can also create unique shapes for your wreath base, such as triangular, square, or heart-shaped rings, allowing for more creative designs.
Step 2: Choose Your Wreath Style (Leaves, Loops, or Fringing)
Pick one style before you cut:
Style | Best for | Method |
|---|---|---|
Leaf | Classic, holly, laurel | Cut each leaf, fold the folded side, roll the edge, then layer |
Loop | Fluffy, modern | Cut each strip to length, pull ends together, and glue |
Fringe | Fun, festive | Fold a sheet, cut slits, and fluff |
The “Rolled Leaf Wreath” involves cutting leaf shapes from cardstock, folding them, and layering them overlapping on a cardboard base. In the “Paper Loop wreath,” uniform strips of paper are folded into teardrop loops and glued around a wreath form for a textured design. The “Fringed” Leaf Wreath is created by folding sheets of green construction paper and cutting slits to form a fluffy, lacy wreath. |
Step 3: Cut Your Paper Pieces
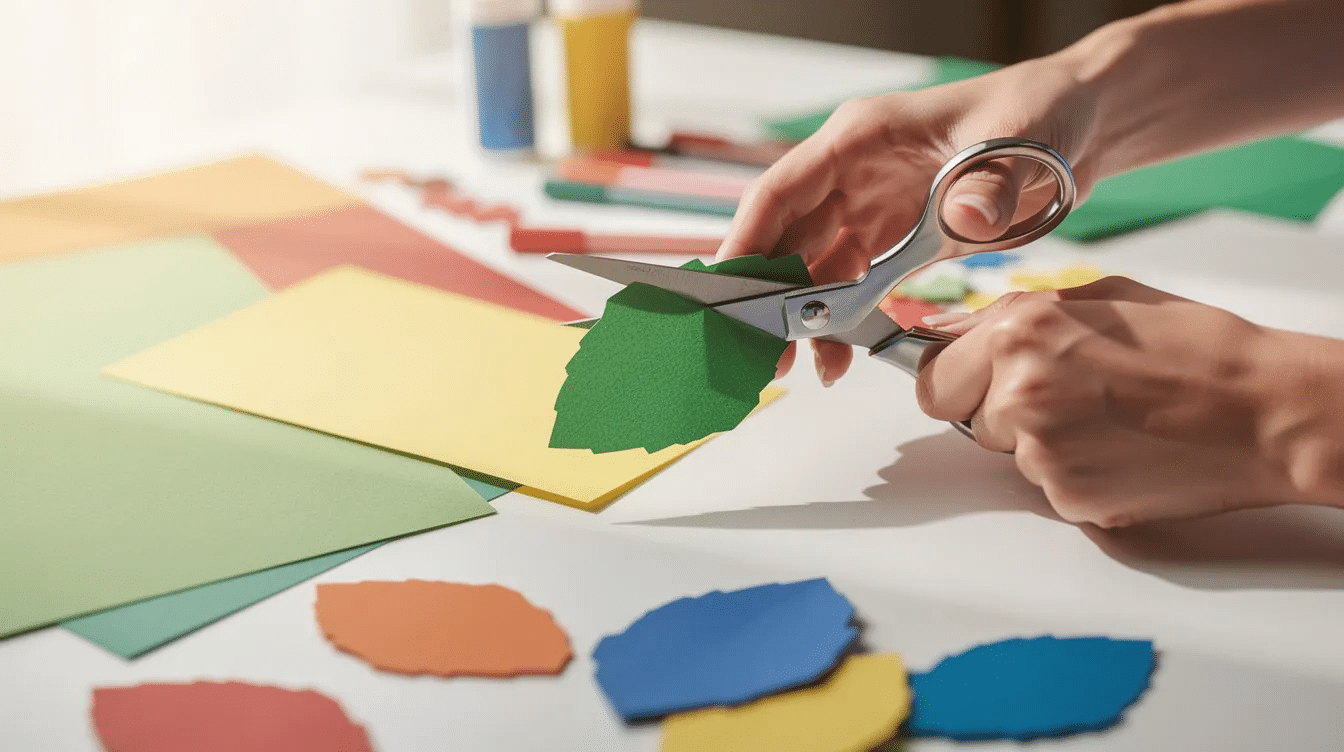
Cut everything first to make the process faster. For a 12-inch leaf wreath, prepare 70–90 leaves, each about 3–4.5 inches long. Make one leaf template on scrap card, then repeat the shape across each page of paper.
For loops, cut strips about 1 x 6 inches. For fringe, cut 4–5 long strips about 3 x 12 inches and snip along one long edge without cutting through the middle. Using a variety of colors and patterns in your paper wreath can create a visually appealing design, with suggestions to use wrapping paper, magazines, or scrapbook paper, similar to many of the cute paper craft ideas for easy DIY projects.
Step 4: Attach the Paper to the Wreath Form
Start at the outer edge. For a leaf design, glue leaves in the same direction, overlapping about half of each leaf over the previous one. Add a second row closer to the middle, stagger the point of each leaf, and repeat until you no longer notice cardboard.
One technique for making a paper wreath involves cutting out leaf shapes from paper, rolling the edges, and stapling them to a cardboard ring to create a layered effect. For loops, connect the ends of each strip into a teardrop and glue them close together. For fringe, glue the uncut edge around the form, overlapping the rest slightly, and remember that these same techniques adapt beautifully to paper birthday decorations for your celebration.
Using a hot glue gun is recommended for attaching paper elements to the wreath base, as it allows for quick and secure adhesion, especially when working with multiple layers of paper. Adults should handle hot glue around kids.
Step 5: Turn It into a Paper Christmas Wreath (Optional)
To make a paper christmas wreath, use red, green, white, kraft, silver, or gold paper. Add paper berries, stars, snowflakes, mini gift boxes, or a large poinsettia at the top center or lower side.
You can also make mini wreaths about 6 inches across for tree ornaments, table settings, or a garland, or pair them with handmade paper stars for extra sparkle. This same wreath form works for holidays all year-just change the colours and accents.
Step 6: Add a Bow and Finishing Touches
A bow makes the wreath feel finished. Cut a wide rectangle, trim it into an almond shape, pinch the middle, and wrap a narrow strip around the center. For tails, cut another strip, snip a V shape at each end, and glue it behind the bow.
Secure ribbon or twine to the back so you can hang the wreath. Trim uneven pieces, remove glue strings, and gently fluff the leaves, loops, or fringe. Adding decorative elements like bows or fringing can enhance the overall look of your wreath, making it more festive and personalized.
Ideas to Customize Your Paper Wreath for Any Season
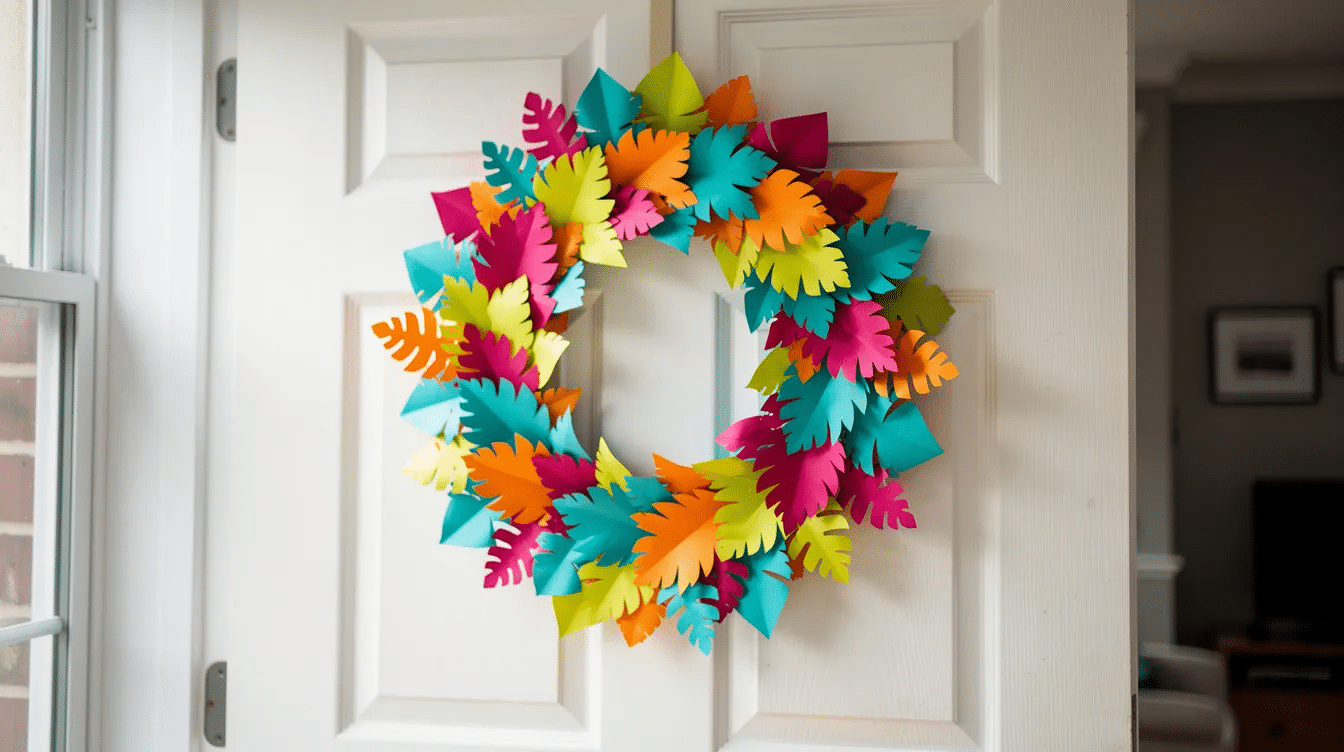
Use pastel paper flowers for spring, tropical colours for summer, orange and gold leaves for autumn, or hearts for Valentine’s Day. Add initials, numbers, stars, or tiny patterns for birthdays and parties.
For upcycled inspiration, try sheet music, maps, old comic books, or scrapbook leftovers, which are perfect bases for vintage paper craft ideas. If you are sharing your finished project on facebook, tag your craft friends, join a weekend craft group, or leave a comment on your favorite blog post. Save this page, check the published links you like, and subscribe if you want more DIY ideas.
How to Hang, Store, and Care for a Paper Wreath
Paper wreaths are delicate, so hang them indoors or on a sheltered porch. Use removable hooks, sticky tape, Blu Tack, suction hooks, or a small nail. Avoid rain, heavy condensation, and strong sunlight.
Store the wreath flat in a shallow cardboard box or large paper bag. Support the shape with tissue paper, keep it cool and dry, and dust with a soft brush or cool hair dryer from a distance; leftover magazine strips or scrap paper from this project can also be turned into creative paper bead jewelry.
FAQ
How long does it take to make a paper wreath?
Most beginners can finish a simple paper wreath in 45–60 minutes. Detailed flowers, lettering, or layered decorations may take about 90 minutes.
What paper works best?
Lightweight to medium-weight paper works well. Cardstock is best for structure, while wrapping paper, magazines, tissue paper, and construction paper create different textures.
Can I make a paper wreath without a hot glue gun?
Yes. Use PVA glue, a glue stick, double-sided tape, or sticky tape. These take longer to dry, but they are safer for kids.
How many paper pieces do I need?
A 12-inch wreath usually needs 70–90 leaves or loops for a full look. A smaller 8-inch wreath may only need 40–50 pieces.
Can children help with this project?
Yes. Kids can draw, cut, fold, lay out pieces, and decorate. Adults should supervise scissors, staplers, and any hot glue work.



