

Key Takeways
- Paper quilling flowers are made by rolling thin paper strips into coils, then shaping them into petals, leaves, and centers.
- This quilling paper flower step by step tutorial shows one daisy-style flower from strip choice to final glue.
- You need quilling paper, a slotted tool or toothpick, white glue, tweezers, and a circle template or quilling board.
- A beginner can finish this flower in about 30–45 minutes, including dry time.
- Once you learn the basic petal, you can explore color, layer, leaf, and shaped marquise variations.
Introduction to Paper Quilling Flowers
Paper quilling is the art of rolling and shaping strips of paper into decorative designs. Flowers are one of the most beloved designs in quilling because simple coils can create a beautiful bloom, pretty leaves, stems, and delicate card art.
The art of quilling has been popular for hundreds of years and was especially known in Europe from around the 15th century. Today, in 2026, it is still a fun, calming, creative hobby for adults and kids with supervision. In this tutorial, quilling paper means narrow paper strips; a tight coil is rolled firmly; a loose coil is allowed to relax; and a teardrop is a loose coil pinched at one side.
- Materials and Tools for Quilling Paper Flowers
- Step-by-Step: Basic Quilling Flower Petals
- Creating the Center of Your Quilling Flower
- Assembling the Quilling Paper Flower
- Simple Variations on the Basic Quilling Flower
- Using Your Paper Quilling Flowers in Crafts
- Common Beginner Mistakes and Troubleshooting
- FAQ
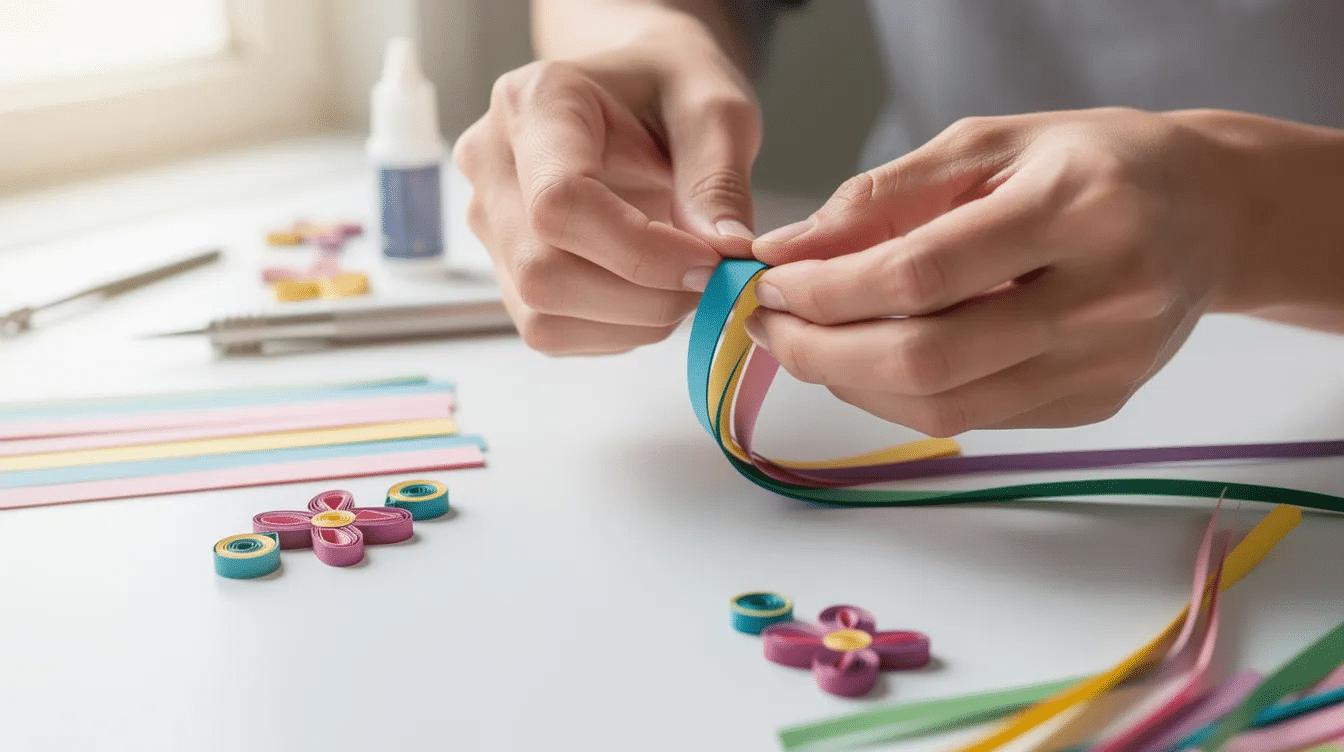
Materials and Tools for Quilling Paper Flowers
Quilling requires basic supplies such as quilling paper strips, a quilling tool, and glue to create various designs, and choosing from the best types of paper for craft helps your flowers hold their shape and color. Quilling paper typically comes in various widths, with 1/8 inch being a common size used for making flowers and leaves.
You will need:
- 3 mm or 5 mm quilling paper strips, ideally 120–130 gsm
- Six white paper strips for a simple daisy petal set, plus yellow for the center
- Clear-drying PVA or quilling glue; white glue is fine if it dries clear
- Slotted tool, slotted quilling needle, needle tool, or simple toothpick
- Scissors, ruler, tweezers, toothpick for applying a small amount of glue
- Circle template, coins, bottle caps, or quilling board
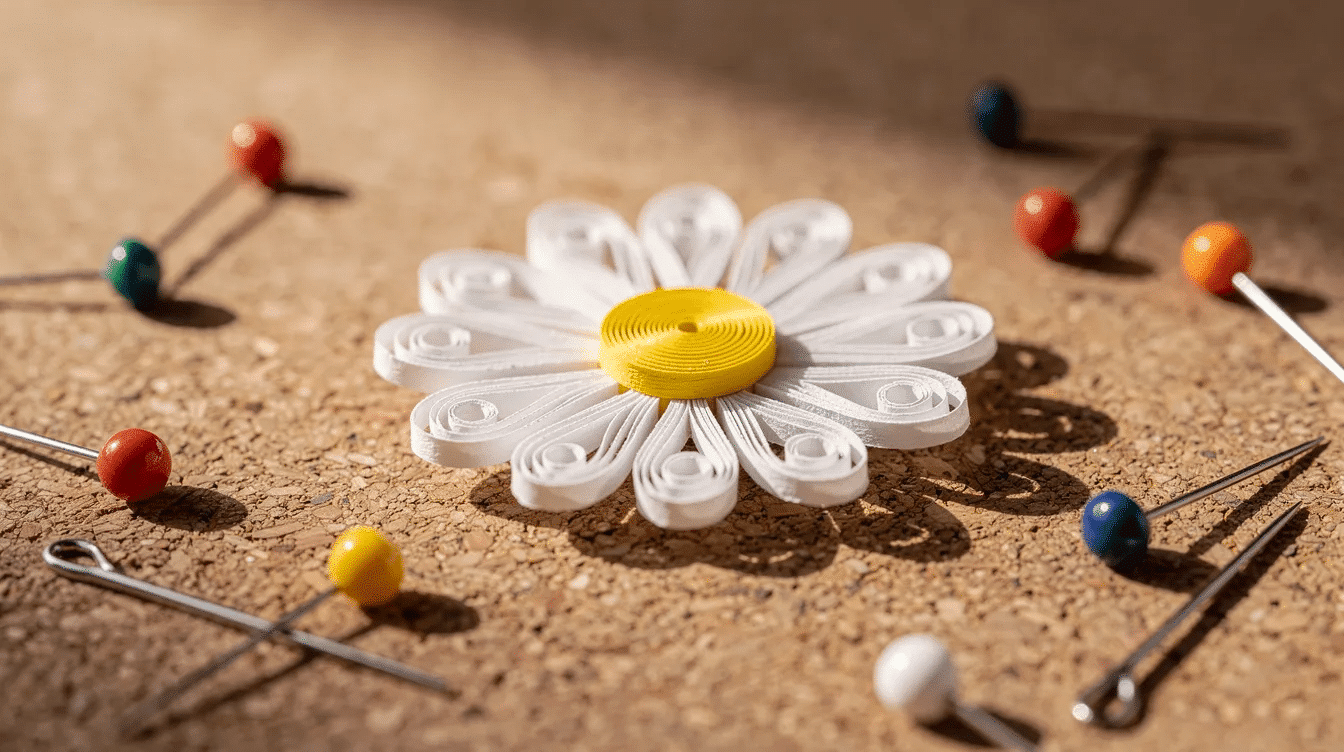
- Cork board and straight pins to hold pieces while the glue dries
Quilling tools include a slotted quilling needle or a simple toothpick. In addition to quilling paper, essential tools for quilling include a needle tool for rolling paper, straight pins for holding pieces in place, and a cork board for assembling designs; if you are new, a comprehensive guide for paper quilling beginners can walk you through shapes and techniques.
Work on a flat surface with good light. Place scrap paper under your piece to catch glue. You can purchase pre-cut strips, or cut your own by hand from colored printer paper.
Step-by-Step: Basic Quilling Flower Petals
To create a simple daisy using quilling techniques, cut six white paper strips for the petals and use a circle template for shaping. Quilling paper strips are cut into lengths typically between 3 to 6 inches for standard petals, though longer 30 cm strips also work for larger flowers.
- Place one strip tip into the slot of your slotted tool.
- Roll the strip into a tight coil, keeping the edges aligned.
- Slide it off the tool and let the coil relax in your circle template.
- Add a tiny touch of glue to the end and hold until secure.
- Use your thumb and index finger to press the coil: teardrop-shaped petals are created by pressing one side of a loose coil inward and pinching the opposite side to form a sharp point.
- Repeat until you have six matching coils.
When making quilled flowers, it is recommended to use a quilling tool to roll the paper strips neatly, although you can also cut your own strips by hand. If a petal looks uneven, pull it open gently, roll again, and pinch with your thumb and index finger.
Creating the Center of Your Quilling Flower
The flower center gives the bloom structure. Cut a yellow strip about 15–20 cm long, place the tip in the tool, and roll a tight coil without letting it loosen. Glue the end neatly so there are no open ends or gaps.
For texture, fringe a wider yellow paper strip before rolling. This creates a fluffy center, but it is easier after you learn the basic form. Keep the center smaller than the petal ring so it does not cover your work.
Assembling the Quilling Paper Flower
Lay the petals on your work surface before gluing. Some designs place pointed ends facing the center point for a star look; for a classic daisy, teardrop petals are arranged around the flower’s center with pointed ends facing outward and glued in place.
Apply a thin line of glue along one side of a petal and press it to the next petal. Use tweezers if your hand distorts the paper. Add all six petals, check symmetry, then place a small pool of glue in the middle and stick the yellow center on top, seam side down.
Let the assembled paper quilling flower dry for 15–20 minutes before lifting it from the surface.
Simple Variations on the Basic Quilling Flower
Small changes in strips, width, color, and shape create many paper quilling flowers. Common flower designs in quilling include daisies, lilies of the valley, and other floral shapes that can be made by combining different paper strips and techniques, and browsing Simply Paper Crafts can give you even more ideas for how to use your finished blooms.
Try these:
- Pinch both sides of a loose coil for a shaped marquise or eye petal.
- Add a second layer of shorter petals above longer back petals.
- Join two strips end to end for a larger flower, but do not roll too tight.
- Use gradient paper or alternate colors for a striped effect.
- Make a green leaf from a marquise coil and add stems.
For a lily of the valley flower, you can create the bell-like shape by rolling three 6” strips of quilling paper into open coils and shaping them into teardrop and marquise forms.
Using Your Paper Quilling Flowers in Crafts
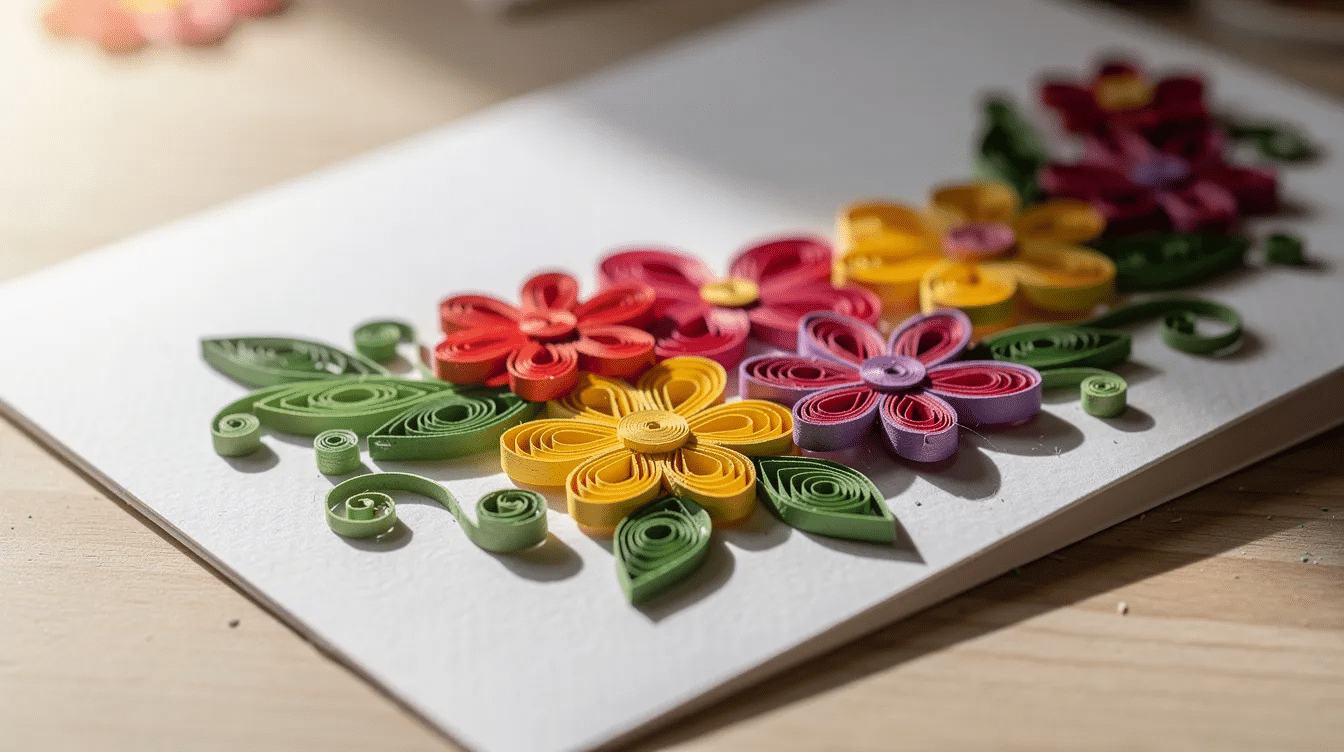
Finished quilling flowers can decorate a birthday card, scrapbook page, gift tag, frame, or spring banner, or you can pair them with tissue paper flowers for any occasion to create layered, dimensional arrangements. Glue the underside of the petals and center, then press gently onto cardstock or canvas.
For durability, use thicker backing card, allow full drying, and store flat. Sign and date your handmade piece like a small work of art. If you enjoy making floral decor, you might also like exploring creative crepe paper flower ideas to mix with your quilled pieces. If you share it on facebook, your site, or a craft course page, invite comments or more comments from other makers.
Common Beginner Mistakes and Troubleshooting
Mistakes are normal, especially on your first post-worthy project.
- Coils unravel: roll with steadier tension and glue the end promptly.
- Petals vary: measure each strip and use the same circle template.
- Glue marks show: use less glue and apply it with a toothpick.
- Shape will not hold: let coils relax before you pinch, then pin them on a cork board until dry.
- Paper tears: avoid a sharp fold and use a softer press.
Your first flower may not look perfect. That does not mean you did a bad job; slight curve and size differences often make the bloom look natural.
FAQ
How long does it take to make one quilling paper flower?
Beginners usually need 30–45 minutes for one daisy-style flower. Experienced crafters may finish a basic bloom in 10–15 minutes, while layered quilling flowers take longer.
Can I make my own paper strips instead of buying quilling paper?
Yes. You can print or cut strips from colored printer paper or lightweight card. Use a ruler, craft knife, and cutting mat for consistent 3 mm or 5 mm strips.
Do I need a special quilling tool, or will a toothpick work?
A slotted tool is faster and cleaner, but a toothpick, sewing needle, or thin skewer can work. With adult help, you can cut a tiny slit in a wooden skewer tip to mimic a slot.
How can I protect paper quilling flowers?
Mount them in a frame, store loose flowers in a small box, and keep them away from direct sun, moisture, and heavy handling. Use the search feature on your favorite craft site to explore storage ideas before you purchase supplies.
Is paper quilling safe for children?
Paper quilling is generally safe for children around 8+ with supervision. Adults should handle sharp tools, cutting, and very small pieces, especially around a busy house corner or shared craft table.



