

Key Takeaways
- Handmade cards are easy to start: you need a card base, one focal point, a sentiment, and a few embellishments.
- The core process is simple: choose a base card size, sketch the layout, decorate the card front, then write a personal message inside.
- This same step by step method works for a birthday card, christmas card, mother’s day card, thank-you note, or everyday greeting cards.
- Beginners should focus on clean card bases, simple layouts, and one strong focal point instead of trying too many card making techniques at once.
- This beginners guide includes supplies, card making ideas, quick examples, and FAQs to help you create your own cards with confidence.
Introduction: Why Make Handmade Cards?
Handmade cards feel more personal than store bought cards because they show time, thought, and care. Whether you are making cards for birthdays, Christmas, weddings, or “just because” notes for friends, a personalized card can feel more meaningful than a quick purchase.
A handmade card is simply a greeting card with at least one part made by hand: cutting, stamping, coloring, layering, or adding other embellishments. Card bases are the folded pieces of cardstock that hold the whole design together. Creating a handmade card is a personal craft that involves selecting an occasion and gathering supplies like heavy cardstock, stamps, and adhesive.
This guide walks through one repeatable process for how to make a handmade card step by step, so you can adapt it for birthday cards, Christmas cards, thank-you cards, and more. You do not need advanced art skills to start your card making journey.
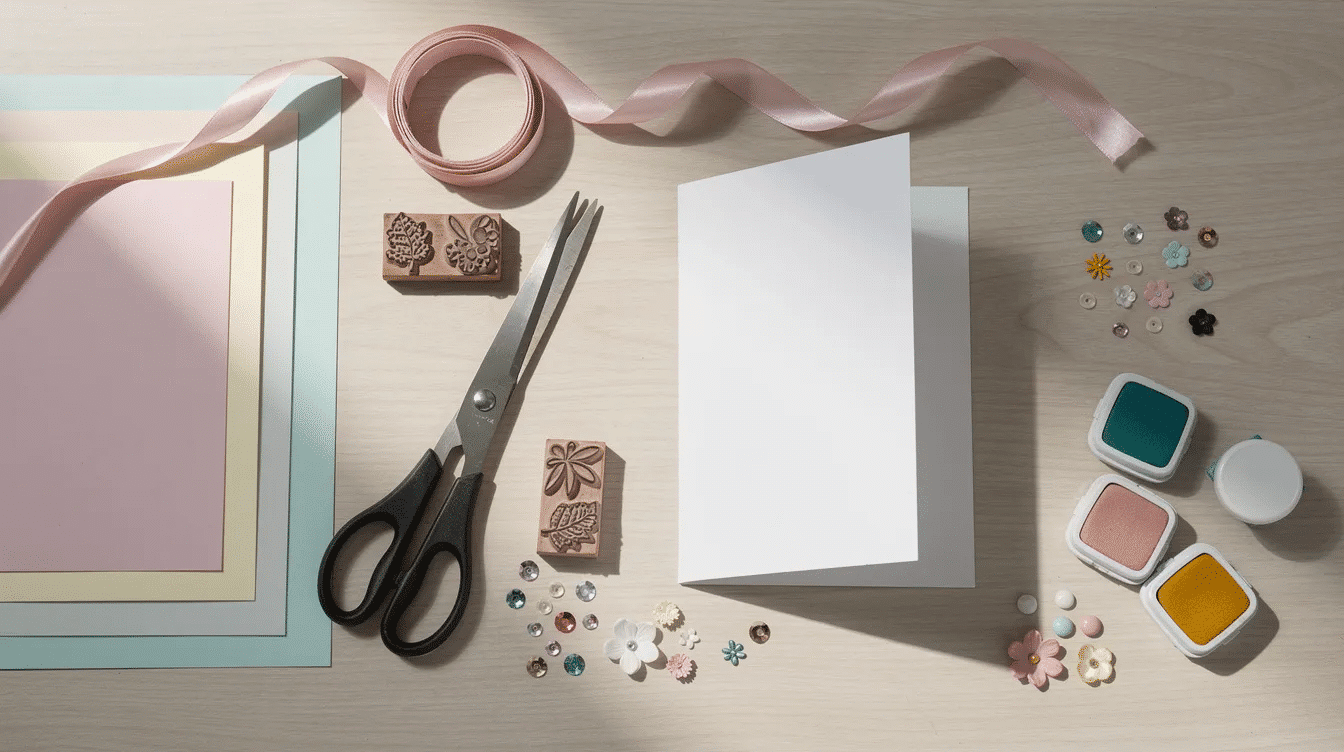
Basic Supplies You Need for Card Making
You do not need a full craft room to create cards. A focused set of materials and tools is enough for beautiful handmade cards.
The essential supplies for card making include stamps, ink, and paper, which are crucial for beginners to start creating handmade cards. To create a handmade card, start by gathering your supplies, which typically include cardstock, adhesives, stamps, and inks.
Start with:
- heavyweight cardstock for the base card, usually 80 lb to 110 lb
- lighter paper for inserts
- patterned paper for decoration
- textured paper or watercolor paper for specialty effects
- blank cards if you want to skip cutting your own base
Cardstock is available in various weights, with 80 lb to 110 lb being the most common for card bases, providing the necessary sturdiness for handmade cards. Cardstock comes in various weights, typically ranging from 80 lb to 110 lb, with 110 lb being the most popular for card making due to its sturdiness. There are different types of cardstock available, including textured, double-sided, and white-core cardstock, each serving different design purposes in card making.
For cutting and folding, grab a paper trimmer, ruler, scoring board, and bone folder. A paper trimmer is used for clean, straight cuts and crisp folds in cardstock, especially if it includes a scoring feature. A bone folder helps sharpen the fold so the card stands neatly, and choosing the best craft paper supplies for your projects will make each step easier and more enjoyable.
For adhesive, double-sided tape or crafting glue are commonly used adhesives in card making. Adhesives such as tape runners, liquid glue, and glue dots are essential tools for card making, allowing for secure attachment of various elements. Use foam tape when you want to add dimension, and save glue sticks for lightweight paper projects.
For decorating, keep a small set of supplies:
- clear stamps, acrylic blocks, and dye ink pads for adding greetings to handmade cards
- a black ink pad, colored ink pad options, and embossing ink
- one stamp set with greetings and one with simple images
- alcohol markers, colored pencils, or stampin blends
- washi tape, ribbons, stickers, sequins, enamel dots, flowers, and other embellishments
Optional tools for later include an embossing folder, corner punch, circle punch, stencils for ink blending, metal dies, and die cuts from a die-cutting machine. As you experiment, learning about the best types of paper for craft will help you match your cardstock and specialty papers to different card making techniques.
Step-by-Step: How to Make a Simple Handmade Card
This is the core how to make a handmade card step by step process that works for most greeting cards. Think of your first card as a simple recipe: base, card panel, focal point, sentiment, and finishing touches.
The first step in the card making process is to choose a card size, with common sizes including A2 (4.25” x 5.5”), 5” x 7”, and slimline cards measuring 3.5” x 8.5”. For an A2 card, cut cardstock to 8.5” x 5.5”, then score at 4.25”.
Next, create the base. Place the cardstock on your scoring board, score down the middle, fold it, and press with a bone folder for a professional crease. Using a solid piece of cardstock as a base for your card provides stability and allows for various design options, such as pairing it with patterned paper for contrast.
Cut a card panel slightly smaller than the card base front. For an A2 base, a 4” x 5.25” panel creates a neat framed border.
Now plan the focal point. Choose one main image, such as a stamped flower, balloon cluster, candle, or large sentiment. You can also use simple paper quilling art for beginners as a dimensional focal element on your card. After selecting the card size, sketch a quick design layout for your card, determining where the focal point, sentiment, and embellishments will go.
Stamp or draw the image on a separate piece of cardstock. Color it with alcohol markers or pencils, then cut it into a rectangle, circle, or simple shape.
Before gluing, arrange everything on the card panel:
- one or two strips of patterned paper
- the focal point
- a sentiment strip
- 3–5 small embellishments
The card front is the most important part of your handmade card, serving as the first impression for the recipient, and can be decorated using various techniques such as stamping, stenciling, or layering.
Glue patterned paper first, then attach the focal point with foam tape if you want dimension. Add the sentiment and small accents last. Finally, assemble your card by attaching the card front to a card base, adding any final touches, and writing a heartfelt message inside.
If your base card is dark, add a white insert around 4” x 5.25” so your simple message is easy to read. Then write something short and sincere.
Planning Your Card Layout and Focal Point
A layout is the path your eye follows across the card design. A clear focal point tells the recipient where to look first.
Try these easy layouts:
- Center the focal point with a sentiment underneath.
- Place the focal point in the top third and the greeting below.
- Put the focal point on one side and a patterned strip on the opposite edge.
A common card design layout involves using a larger piece of patterned paper to cover a significant portion of the card, which can be complemented with embellishments and sentiments. Creating a card design can be simplified by following signature layouts that can be slightly altered for different occasions, allowing for creativity while maintaining a cohesive style.
Sketch tiny rectangles on scrap paper before cutting anything. Once you find a layout you like, reuse it with different colors, papers, and sentiments to make two cards or a full batch quickly.
Choosing Color Combos for Your Handmade Card
Use 2–3 main colors plus a neutral like white, cream, grey, or kraft. This keeps own card making easier and helps the focal point stand out.
Try these combinations:
- soft pink, light grey, and white for a feminine birthday card
- navy, gold, and white for an elegant congratulations card
- coral, mint, and kraft for a fresh everyday card
If you use patterned paper, pull one dominant color, one secondary color, and one accent color from the print. Use different colors sparingly so the card stays polished. When stuck, use a color wheel or save photos of combinations you like for future handmade card ideas, or browse Simply Paper Crafts for inspiration to spark new color and layout combinations.
How to Make a Handmade Birthday Card (Example Project)
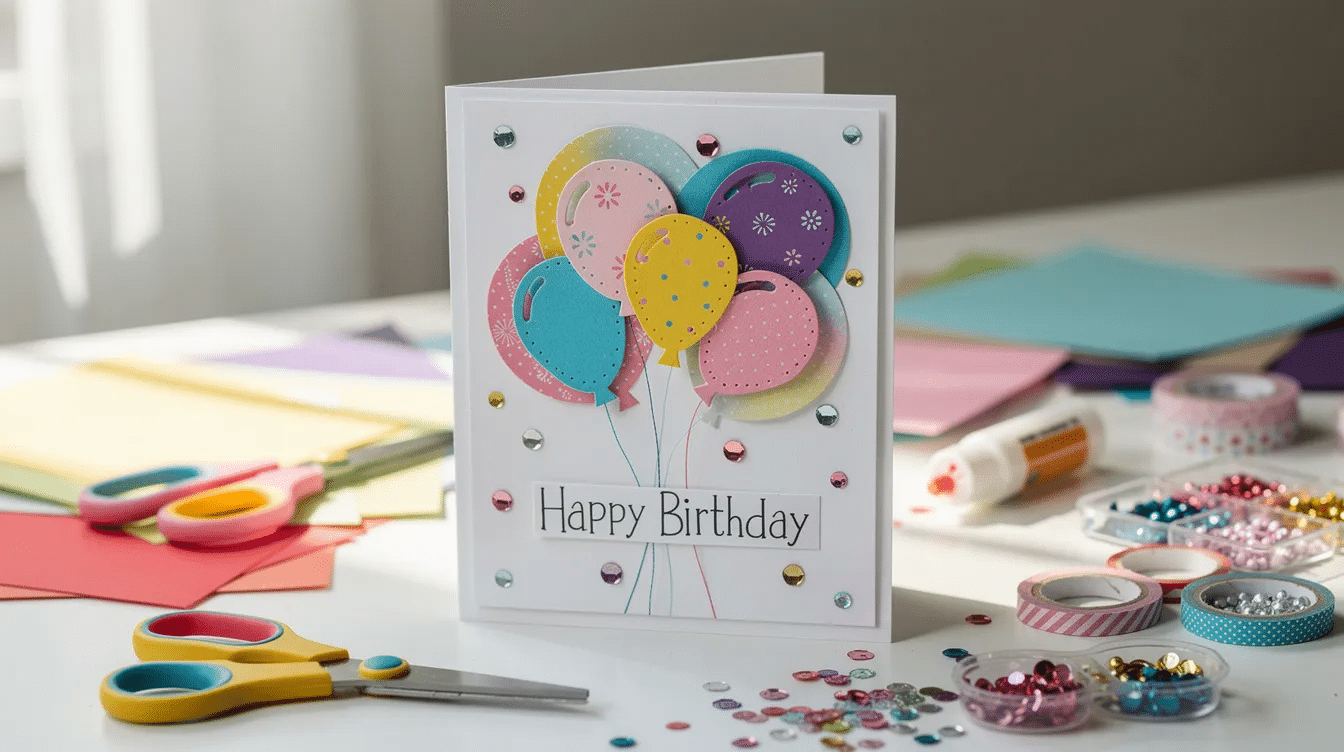
Here is a quick birthday card example using the same basic steps. This design is cheerful, easy to repeat, and fun for beginners, and it pairs nicely with creative paper birthday decorations if you are styling a whole celebration.
Use an A2 base card in bright turquoise or sunny yellow. Add a white card panel cut slightly smaller than the card front.
For the focal point, stamp or hand-draw balloons, cake, or candles on a 2.5” x 3.5” rectangle. Color the image with markers, then mat it on contrasting cardstock.
Place a happy birthday sentiment strip under the focal rectangle or overlap it across the bottom edge with foam tape. Add a strip of striped or polka-dot patterned paper behind the rectangle for interest without making the card busy.
Finish with 3–5 sequins or enamel dots around the focal area. You can also do subtle ink blending on the panel edges for depth. Inside, write the recipient’s name and a date-specific note, such as “Celebrating you on May 20, 2026!”
Quick Birthday Card Ideas When You’re Short on Time
- Use large alphabet stamps to spell “HBD” or the person’s name as the focal point on a solid-color base.
- Add one stencil or background stamp, then place a bold sentiment strip across the center.
- Stamp “Happy Birthday” repeatedly in a grid across the card panel using different ink colors.
- Use washi tape as quick stripes, add a sticker or die cuts, and finish with black ink for the greeting.
These quick and easy card ideas are useful when you need last-minute own greeting cards that still feel thoughtful.
How to Make a Simple Christmas Card
Christmas is perfect for batch-making. Choose one simple christmas card design, then repeat it to save time in November and December, and consider adding coordinating paper snowflake winter decor to make your cards and home feel extra festive.
Start with a white or kraft base card. Add one red-and-green ink-blended strip or panel, then stamp a tree, wreath, or snowflake cluster as the focal point.
Stamp the image in dark green or navy. Add tiny red gems or enamel dots as berries, then mount the piece with foam tape. Use sentiments such as “Merry Christmas,” “Peace & Joy,” or “Warm Winter Wishes.” For shine, stamp the sentiment with embossing ink and heat emboss it in gold.
A fast variation is to stamp pale blue snowflakes across the background, then add a bold black sentiment banner across the center. Finish the set by stamping a small tree or snowflake on each envelope.
Fast Christmas Card in Under 20 Minutes
This mini project is ideal when you need a stack of cards for coworkers, classmates, or neighbors.
Start with a white A2 base card. Lightly blend green ink along the left side of the front panel, then stamp pine branches or a string of lights over the blended area.
Place a pre-cut “Merry & Bright” sentiment strip across the green section using foam tape. Add 3–4 sequins or small punched circles as ornaments. Repeat the same layout with blue, gold, or red ink to create variety in one quick session.
Design Ideas to Customize Your Handmade Card
Once you know the basic steps, you can experiment with more card making ideas and techniques. Exploring cute paper craft ideas for easy DIY projects can give you fresh motifs and shapes to adapt onto your card fronts. Small changes can make a new card feel completely different.
Try these ideas:
- Dry emboss a background with an embossing folder.
- Splatter diluted ink or paint for texture.
- Draw stitched lines with a pen to frame the focal point.
- Switch focal points: florals, geometric shapes, banners, large word dies, or stickers.
- Use the same vertical layout for birthday, thank-you, sympathy, baby, or mother’s day card designs.
- Turn scraps of patterned paper into banners, strips, or flags. Vintage book pages and sheet music are also fun to use if you enjoy vintage paper craft ideas.
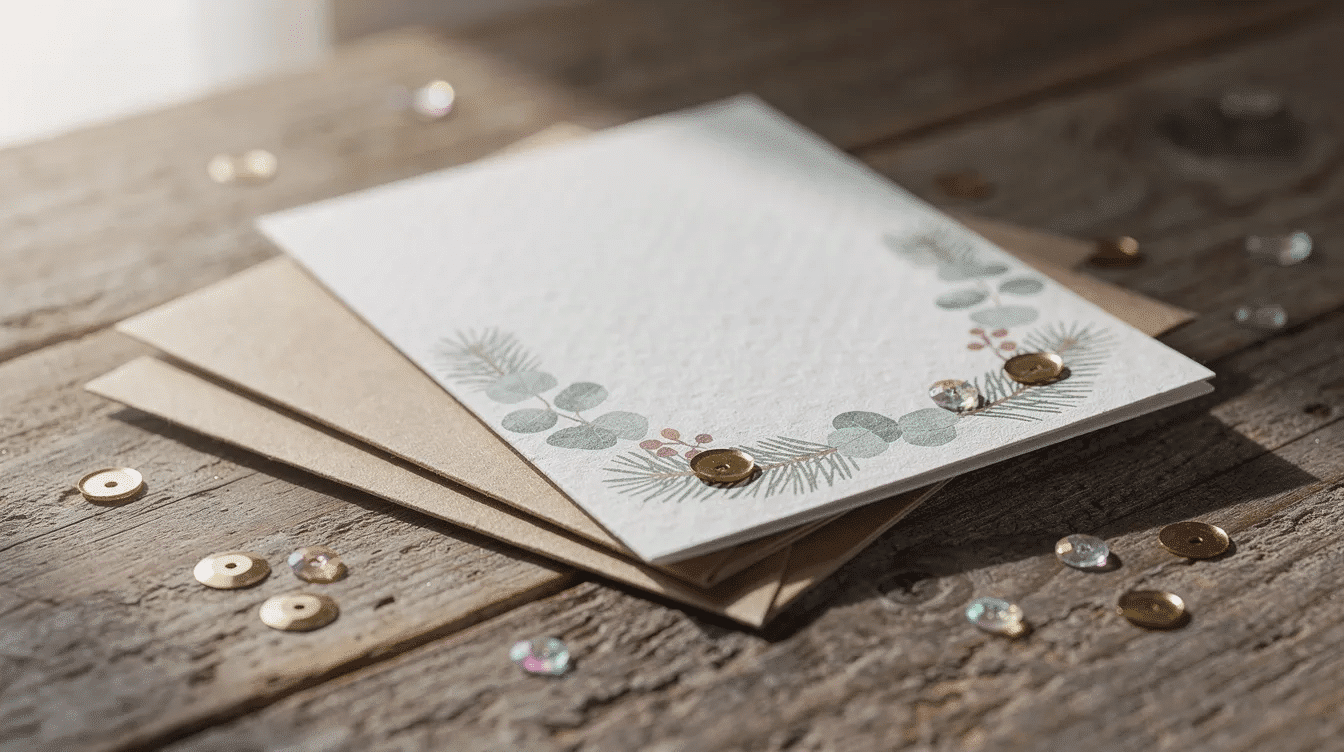
Embellishments such as ribbons, sequins, or stickers can be added to enhance the texture of handmade cards. Embellishments such as sequins, ribbons, gems, and enamel dots can add sparkle, shine, and interest to handmade cards, enhancing their overall appeal. Using various types of embellishments, such as washi tape, flowers, and stickers, allows for creative expression and personalization in card making. Layering embellishments can create depth and dimension in card designs, making them visually interesting and engaging for the recipient.
Card Bases, Inserts, and Matching Envelopes
Heavyweight cardstock is recommended for card bases, as it provides stability and durability, making it suitable for various card designs. Strong bases help cards stand on a shelf or mantel instead of bending.
You can cut one 8.5” x 11” sheet into two A2 card bases. For dark bases, add 4” x 5.25” white inserts so the recipient can easily read your message. If you like a textured or eco-friendly look, you can even incorporate handmade paper sheets for creative projects as card fronts or inserts.
To make a simple envelope for an A2 card, use an 8.5” x 8.5” piece of lightweight cardstock or patterned paper and a scoring template. Add a tiny stamped heart, flower, or coordinating paper strip to tie the envelope to the greeting card.
Common Beginner Mistakes and How to Avoid Them
Mistakes are normal when making handmade cards. The goal is to learn what makes each new card cleaner and easier.
Avoid these common problems:
- Too many embellishments: Limit accents to 3–5 so they do not distract from the focal point.
- Color overload: Stick to 2–3 main colors and one neutral.
- Too much liquid glue: Wet glue can warp paper, so use thin layers or a tape runner for large panels.
- Weak planning: Sketch the layout before attaching anything permanently.
- Forgetting the inside: Add a message and a small coordinating detail on the envelope.
Keep a folder of “almost right” pieces, mis-stamped images, and extra die cuts. You can often save them for future card making ideas.
FAQs about Making Handmade Cards
What is the best cardstock weight for a base card?
The best cardstock weight for a base card is usually 80–110 lb, or around 216–300 gsm. The 110 lb weight is popular because it feels sturdy and professional for greeting cards.
How long does it take to make one handmade card?
A simple design can take 10–15 minutes. More detailed cards with coloring, layering, ink blending, or heat embossing may take 30–45 minutes or longer.
Can I make handmade cards without stamps or fancy tools?
Yes. You can start with plain cardstock, scissors, glue, markers, colored pencils, and hand-drawn doodles. You can also print words from a home printer and layer them onto the card front, using creative things to print on paper like gift tags, sentiments, or small artworks as easy focal points.
How do I keep my handmade card from looking “messy”?
Work with clean hands, place scrap paper under inking and coloring, trim edges with a sharp paper trimmer, and erase pencil lines before final assembly. Keep the layout simple and use one clear focal point.
What size envelope fits an A2 handmade card?
A standard A2 card measures 4.25” x 5.5” when folded. It fits an envelope measuring approximately 4.375” x 5.75”; size up slightly for very dimensional cards.
Now grab a few supplies, choose one occasion, and create your first card. The more you practice, the faster your own cards will look polished, personal, and ready to send.



