

Key Takeaways
- Start with simple scrapbook layouts using one or two photos, a few pieces of patterned paper, and a clear focal point.
- Plan each scrapbook page with sketches, a color scheme, and photo placement before using glue.
- Everyday moments, not just weddings and holidays, make meaningful beginner pages.
- Reuse basic formulas like a single photo layout, grid layout, and photo strip to save time.
- There is no perfect page. The best scrapbook page is the one you actually complete.
Scrapbooking layout ideas for beginners work best when they reduce choices. Instead of trying to decorate every inch, choose a small story, print a few pictures, and build the layout one step at a time.
Getting Started: Simple Supplies & Setup
Picture a beginner sitting down on a weekend afternoon in 2026 with a blank page, a stack of photos, and a little nervous excitement. That is normal. Scrapbooking is memory keeping, but it should also be so much fun.
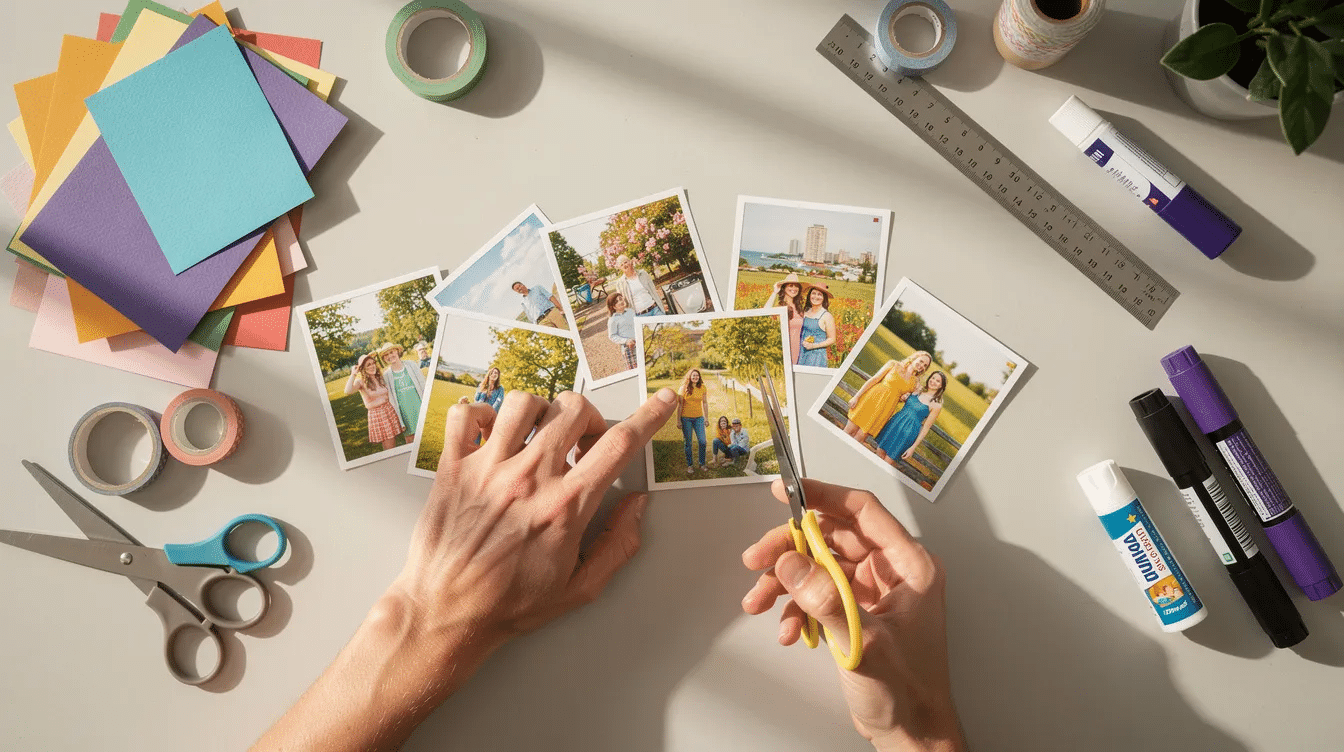
A simple starter kit for scrapbooking includes a trimmer, basic adhesive, cardstock, and a few coordinating stickers. Essential materials for beginner scrapbooking include paper trimmers, glue, base paper, patterned paper, cardstock, and stickers.
Start with:
- 12×12 or 8.5×11 scrapbook paper
- White cardstock, kraft cardstock, or black cardstock
- 2–3 sheets of coordinating patterned paper
- Paper trimmer, scissors, ruler, tape runner, and black pen
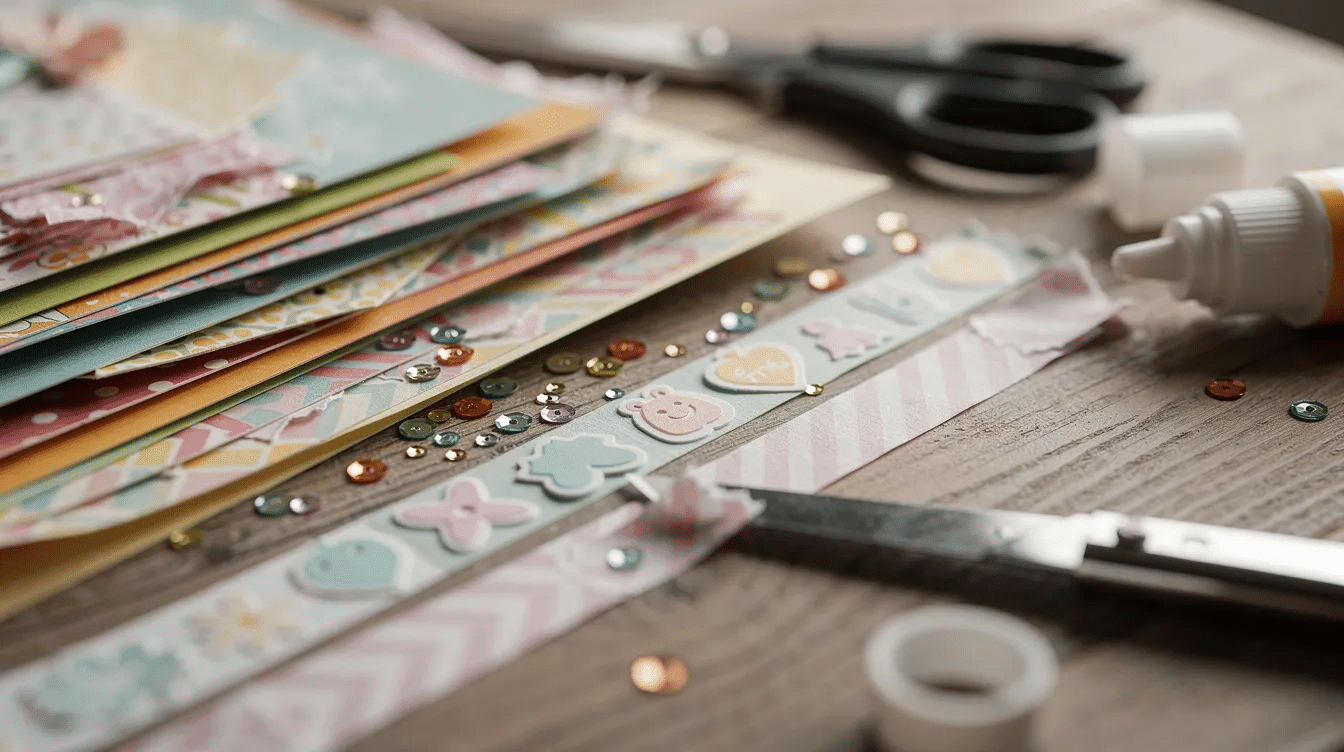
- A few decorations like stickers, stamps, enamel dots, sequins, or washi tape
Pick 10–15 printed photos from one small story, such as a Saturday park trip, dinner with friends, or a 2025 birthday. Even better, start your first layout by picking a single theme or 1-3 related photos.
Choose one color palette from the pictures: blue from a shirt, green from trees, or pink from a cake. This keeps your scrapbook page cohesive before you add texture, ink, layers, or embellishments.
Overcoming the Blank Page Problem
A blank page can feel like creative stage fright. You may have cute stuff, beautiful paper, and good memories, but no idea where to begin.
Use a light pencil sketch first. Draw boxes for the title, journaling card, and photo area before committing anything with glue. Using sketches as starting points can help overcome creative blocks, providing a framework for photo placement, titles, and journaling.
Try these starting moves:
- Add a horizontal strip of patterned paper across the bottom third.
- Place a vertical strip down the left side.
- Use the 5-Minute Layout Method to arrange elements before using any glue.
- Copy the basic structure of a favorite scrapbook page, Pinterest pin, video, or templates from a craft website.
Limit your desk to three sheets of patterned paper and 3–4 embellishments. Less room for decisions often means more room to create.
Beginner-Friendly Layout Formulas
Layout formulas are repeatable scrapbook layouts that work almost every time. Each one below works in 12×12, 8.5×11, or smaller albums, and you can adapt the format for different sizes, dates, and themes.
Single Photo Spotlight Layout
Single photo layouts are a great starting point for beginners, allowing focus on one image to build the rest of the page around it.
Use one strong 4×6 photo as the star of the scrapbook page. It might be a graduation portrait, a child laughing, or a quiet coffee moment.
- Place the photo slightly off-center, following the Rule of Thirds: the Rule of Thirds suggests placing your focal-point photo on one of the intersecting lines rather than perfectly dead center.
- Mat the photo with neutral cardstock.
- Add one wide strip of patterned paper behind it, either horizontal or vertical.
- Add a short title of 3–4 words.
- Write a small journaling block beside or under the photo.
- Finish with just a couple of clusters using enamel dots, small stickers, or tiny stars.
This layout keeps the story clear and gives your image breathing room.
Two-Photo Everyday Moments Layout
This layout uses two 4×6 photos and is perfect for before/after, “then and now,” or two photos from the same day in 2024 or 2025.
- Place the photos side by side across the center.
- Use equal spacing and matching mats.
- Run a band of patterned paper behind both photos.
- Put the title above the photos.
- Add a journaling strip below them.
Keep the color palette to three colors pulled from the photos. For example, navy, cream, and mustard can make everyday moments feel polished without becoming overly decorated.
Three-Photo Grid Layout
Grid layouts are a simple approach for multi-photo arrangements, where photos are cropped to the same size and lined up with even spacing.
Use three 3×4 or 4×4 photos in a row, column, or L-shape.
- Use a ruler for consistent spacing.
- Add two small squares of patterned paper into the grid as “faux photos.”
- Place a bold title overlapping the bottom edge of one photo.
- Tuck a tiny journaling spot into an empty grid square.
This is a go-to layout when you want to use multiple images without complex design. It also works well for pocket pages if you like a cleaner, modular style.
Photo Strip Story Layout
A photo strip uses 3–5 small photos, such as 2×2 or 2×3, lined up in order.
- Place the strip across the center or lower third.
- Anchor it with contrasting patterned paper.
- Put the title at one end.
- Add journaling at the opposite end for balance.
Use this for a morning routine, a recipe in steps, or kids opening gifts on a 2025 holiday. The sequence naturally tells the story.
Working With Patterned Paper Without Overwhelm
Patterned paper is exciting, but it can overpower beginner scrapbook pages fast. Use the “one bold, one simple, one solid” rule: one busy print, one subtle pattern, and one solid or nearly solid paper.
A Paper-Striped Background layout uses three different scraps of patterned paper cut into varying vertical strips. Keep the strips wide and simple, not tiny shapes that take hours to cut.
For a travel scrapbook layout, use a map print as a bottom border strip and a stripe behind the photos. Leave some background paper visible so the page does not feel crowded.
Using mixed media techniques, such as layering different materials and textures, can create whimsical backgrounds for scrapbook pages, making them more visually interesting before adding photos and embellishments. Consider incorporating handmade paper sheets for unique texture, and just test on scrap paper first.
Adding Journaling, Titles, and Simple Embellishments
Words and small details finish the scrapbook page. Write 3–5 sentences about who, what, when, where, and why. Add one sensory detail: the smell of popcorn, the rain on the window, or the song playing in the car.
Title ideas can come from:
- Song lyrics
- Funny phrases kids say
- Simple labels like “June 2024 Weekend Away”
- Dates, places, and family names
Limit embellishments to two or three clusters near photo corners and titles. A simple cluster recipe is one label sticker, one tiny heart or star, and one enamel dot.
Using a variety of embellishments such as stickers, sequins, and washi tape can enhance the visual appeal of scrapbook pages. Adding texture to a scrapbook layout can be achieved through various methods, such as using 3D embossing folders or embossing paste, or incorporating vintage paper craft elements, which can enhance the visual appeal of the page.
Incorporating interactive elements, like lift-up windows or pop-out features, can add a fun and engaging aspect to scrapbook pages, making them more dynamic and enjoyable to explore.
Theme Ideas: From Everyday Moments to Special Events
Choosing a theme makes scrapbook ideas easier because it narrows your photos, colors, title, and supplies. These different ideas can become one page, a mini album, or a larger project.
Everyday Moments Layouts
Some of the most meaningful beginner scrapbook pages come from ordinary life: Tuesday dinners, school runs, work-from-home desks, coffee mugs, sneakers by the door, or a favorite TV night.
Try “A Day in May 2025” with a photo strip and short time-stamped captions. Use soft neutrals so the words and pictures stay in focus.
Everyday layouts are ideal for a single photo spotlight or three-photo grid. They help preserve precious memories that might otherwise disappear in your camera roll, and they pair well with cute paper craft projects you can do with kids.
Birthday and Holiday Layouts
Use one standout birthday photo, like blowing out candles, in a single photo layout with bright scrapbook paper. For holidays, create a photo strip showing morning, afternoon, and evening.
Creating a scrapbook focused on a specific holiday, such as a milestone year like a baby’s first Christmas, can be a meaningful theme.
Save a piece of wrapping paper, an invitation, or ticket stubs to tuck behind a photo. Keep balloons, pumpkins, trees, or other themed embellishments in just a few areas so the page does not feel completely full.
Travel and Weekend Getaway Pages
Travel scrapbook pages often have many photos, so spread one trip over several simple layouts. Group photos by place or day, such as “Day 2 in Paris – June 2024.”
A travel journal can serve as a great theme for scrapbooking, allowing you to document your experiences and inspirations from a specific vacation, especially if you include printed inserts like calendars, lists, and travel printables.
Use one single photo page to open the trip, then follow with grid pages. Save tickets, brochures, maps, and receipts as embellishments. Keep journaling specific: dates, city names, favorite meals, and one memory per page.
Making an autograph book for a special family vacation, such as a trip to Disney, can create a fun keepsake for collecting character signatures and corresponding photos.
Baby, Wedding, and Milestone Layouts
Baby scrapbook pages often look beautiful in pastels, cream, and light gray, especially for first steps or first birthday photos. Wedding pages can use white space, elegant layers, and one or two large photos.
Use clear titles:
- “August 2023 – Our Wedding Day”
- “First Day of School – September 2025”
- “Graduation Night”
Add invitation pieces, programs, or hospital bracelets in a corner for extra meaning.
Assembling a family bucket list scrapbook can be a fun way to document activities each family member wants to try throughout the year, with photos added after completing each activity.
Using a rolodex as a scrapbook can provide a unique way to hold treasured memories, allowing for easy flipping through the finished product.
Quick Tips to Make Beginner Pages Look More Polished
Small design habits can instantly improve a beginner scrapbook layout.
- Mat main photos with white, black, or kraft cardstock. Cardstock is a versatile material that can be used for photo mats, journaling cards, and as a base for scrapbook pages.
- Align title edges, photo edges, and journaling blocks to invisible lines.
- Leave intentional white space in one corner or edge instead of trying to fill every inch.
- Repeat one color, shape, or sticker style three times.
- Add dimension with foam tape under the title or one decoration.
- Use archival supplies when possible; acid-free materials help protect photos over time, as explained in this overview of scrapbooking preservation.
- If you share your finished page in a post, include a link to the sketch or scrapbooking inspiration gallery so others can try it too.
The goal is not to make every page perfect. The goal is to print your photos, tell your story, and build albums full of memories.
FAQ
How many photos should I start with on my first scrapbook layout?
Start with a single photo or 2–3 related photos. Make one single photo spotlight page and one three-photo grid page as practice. Once you feel comfortable, move up to 5–7 small photos using the photo strip formula.
Do I need special scrapbook paper, or can I use regular paper?
Use acid-free scrapbook paper for photos you want to keep for many years. Regular printer paper is fine for testing sketches, practicing a layout, or planning a blank design before using your better supplies.
What size should I choose for my first scrapbook pages?
12×12 gives you more room, 8.5×11 is easier to store and print for, and 6×8 is great for quick projects. Many beginners prefer 6×8 or 8.5×11 because the page feels easier to fill. Pick one size for an album so the finished project feels cohesive.
How long should it take to finish a beginner scrapbook page?
A simple beginner page usually takes 30–60 minutes once photos and supplies are ready. Set a time limit so perfectionism does not slow you down. Reusing scrapbook layout ideas for beginners will make each page faster.
Can I mix handwriting and printed text on my pages?
Yes. Mixed journaling styles can look modern and intentional. Use printed text for longer stories and handwriting for dates, captions, and small notes. Your handwriting is part of the memory, even if it is not perfect.



