

Key Takeaways
- This guide shows how to make a simple pop up card with card stock, construction paper, scissors, and glue.
- You’ll learn the basic “stair” tab pop up, plus one quick variation for more creative card ideas.
- This method works for birthday parties, christmas, school celebrations, and last‑minute cards you can finish in about 30–60 minutes.
- You’ll also see when to use construction paper vs. cardstock, plus how several simple pop up cards can become a tiny pop up book.
- The FAQ answers common questions about storage, mailing, materials, and adding more complicated pop ups.
What Is a Pop Up Card and Why It’s Easier Than You Think
A pop up card is a folded card where a 3D scene jumps forward when the recipient opens it, almost like a tiny pop up book. If you have ever watched a paper image lift from a page, that same idea is what makes a diy pop project feel so much fun. The good news is that you do not need a complicated template or a special site account to start making one.
This tutorial focuses on one reliable technique: the stair tab. Once you understand it, you can create hearts, rockets, flowers, animals, balloons, gifts, or a birthday cake pop up card for a friend. The phrase “how to make a pop up card easy” really comes down to learning where to cut, fold, push, and glue.
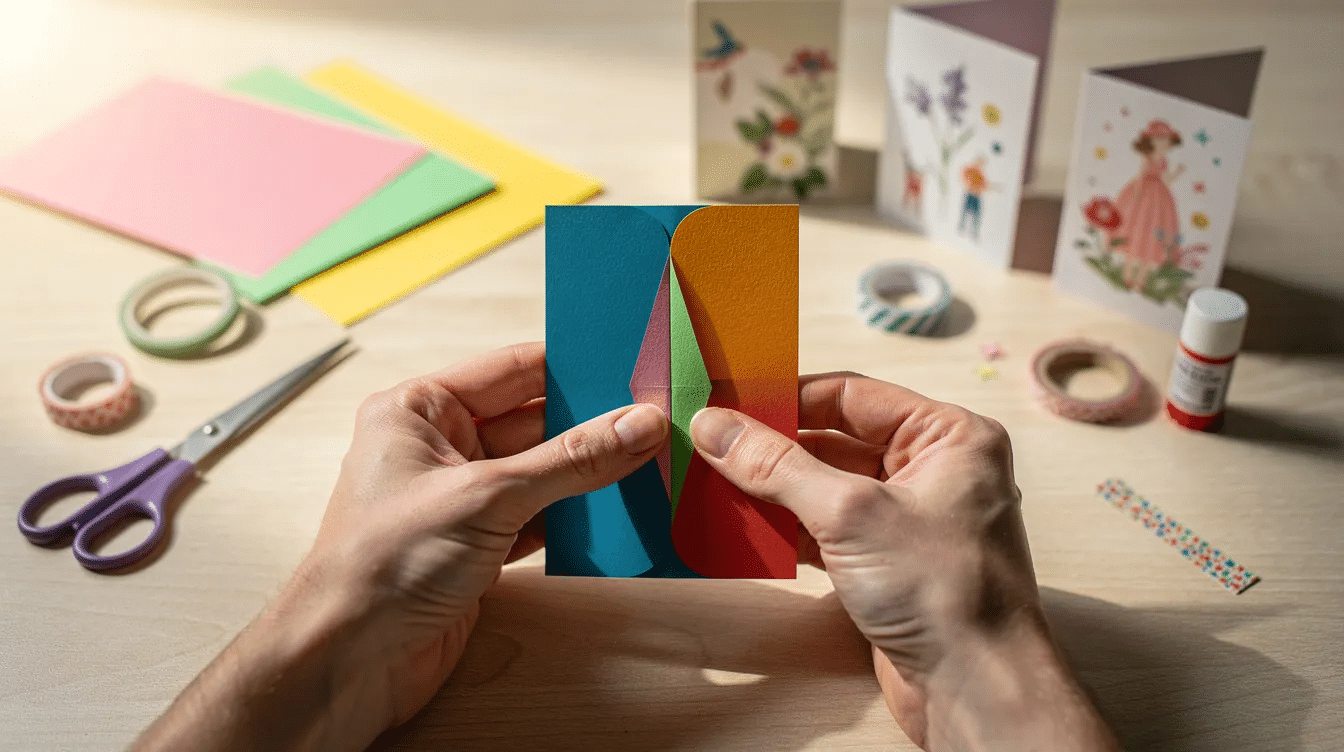
- Materials You Need for a Simple Pop Up Card
- Step‑by‑Step: How to Make a Basic Pop Up Card (The “Stair Tab” Method)
- Designing the Pop Up Piece: From Simple Drawing to 3D Element
- Decorating the Inside and Outside of Your Pop Up Card
- Easy Variations: Multiple Tabs and Simple Layered Scenes
- Using Construction Paper vs. Card Stock for Pop Up Cards
- Quick Safety and Clean‑Up Tips (Especially for Kids)
- Frequently Asked Questions About Making Simple Pop Up Cards
Materials You Need for a Simple Pop Up Card
For one A5-size card, start with two sheets of 8.5 x 11 in paper or A4 paper folded in half. To create a basic “box” or tab pop-up card, two pieces of cardstock, scissors, and glue are needed.
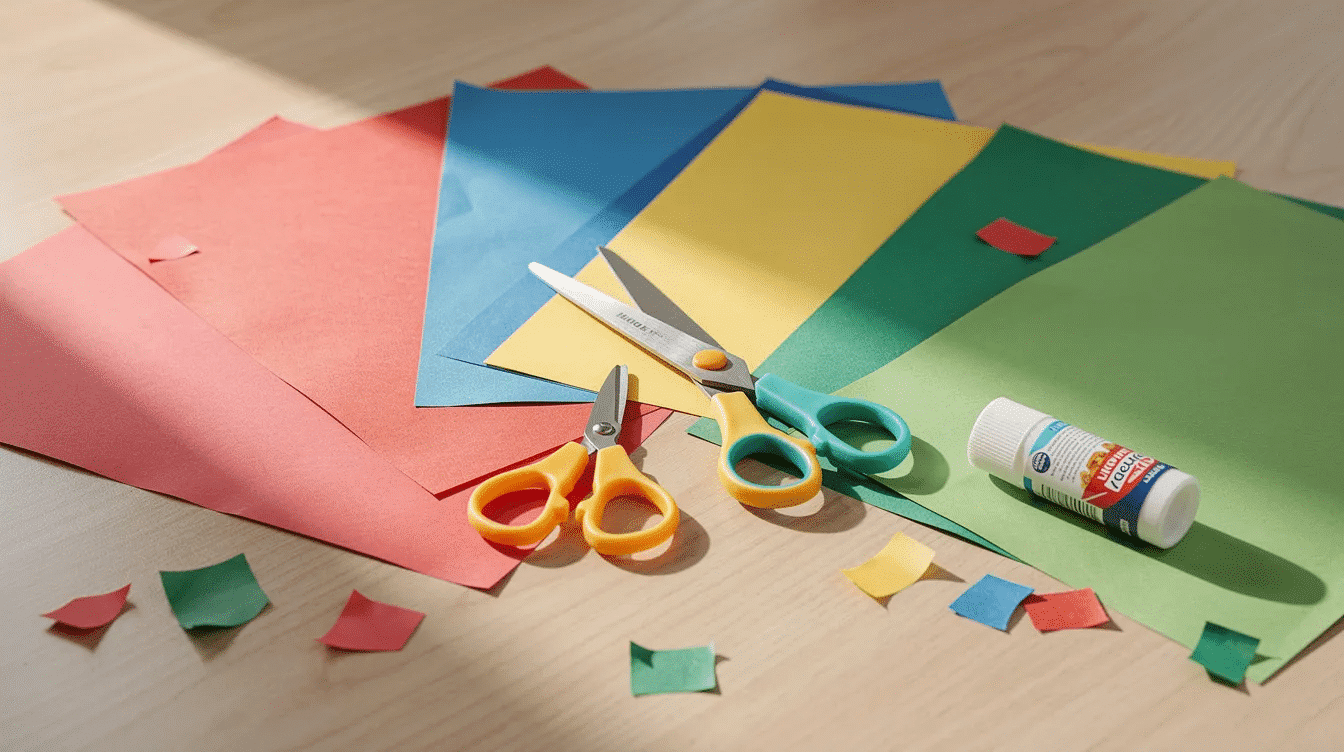
You’ll need:
- card stock or cardstock for a sturdy outer cover
- construction paper, colorful construction paper, or lighter paper for the inner sheet
- scissors
- glue stick or double-sided tape
- pencil and ruler
- crayons, markers, colored pencils, or a pen for decorations
- optional stickers, photos, washi tape, scrap paper, and embellishments
Using construction paper for the pop-up section and card stock for the outer cover is a common technique that balances sturdiness and flexibility in pop-up card making. Cardstock can be used in two different colors or patterns for the base card and the pop-up mechanism. If you want to experiment with other textures and finishes, explore the best types of paper for craft and card making. Cardstock is commonly used for the pop-up section of the card, while construction paper is often used for the outer cover, too, especially when kids want softer materials.
A glue stick is recommended for assembling pop-up cards as it dries quickly and minimizes the risk of wrinkling the paper. Avoid heavy, wet glue when possible because it can pull thin paper out of shape. The same principle applies when you’re choosing top craft paper supplies for creative projects, where lighter adhesives and the right paper weight help keep projects neat.
Step‑by‑Step: How to Make a Basic Pop Up Card (The “Stair Tab” Method)
This is the core method. Read the instructions once, then make a pop sample on scrap paper before using your final colors.
- Fold the inner sheet in half horizontally and crease the folded side firmly. The outer card and the inside pop-up mechanism are created by folding cardstock in half horizontally and creasing the edges firmly. For right-handed cutting, keep the fold on the left.
- On the folded side, use a pencil to mark two short lines. Cut two parallel slits on the folded side of the paper, about one inch apart and about one inch long, to create the pop-up tab. One effective technique for creating pop-up cards involves making two parallel cuts on the folded side of the paper, which allows a tab to be pushed up to create the pop-up effect.
- Open the sheet slightly. Fold the card stock in half and gently push the tab section upward toward you to create the pop-up effect. The cut tab should be folded upward and creased firmly against the rest of the paper to create a raised angle when viewed from above.
- Close the inner card flat, then open it again. The tab should pop forward like a little step. If it pulls, bends, or will not close, soften the crease and try again.
- After creating the pop-up section, glue the second piece of paper to the outside of the first to form the outer card. Adding a thin layer of glue to the outer corners of the pop-up page helps align it inside the outer card base when pressed. Do not glue the tabs.
- Allow the glue to set by closing the card entirely before opening it to see the design pop up.
Use child-safe scissors for a child, and watch younger kids during cutting. Great things can happen with paper crafts, but safety comes first.
Designing the Pop Up Piece: From Simple Drawing to 3D Element
Now create the object that actually pops: a heart, rocket, flower, animal face, birthday cake, or simple house. A design can be drawn, colored, or cut out on a separate piece of paper to be glued onto the pop-up tab. If you enjoy this step, there are many other fun paper activities for creative minds of all ages that build on the same cutting and folding skills.
Draw your shape on a separate sheet, color it, then cut around it with a small border. Keep it small enough to fit inside half the card when closed. Good beginner ideas include (and they’re very similar to other cute crafts paper ideas for fun DIY projects):
- a heart for mom, Valentine’s Day, or Mother’s Day
- a rocket for a birthday
- a flower for spring
These simple shapes are a great introduction to paper crafting in general, especially if you’d like more inspiration from a broader paper crafting ideas and tutorials gallery.
- a house for a new-home card idea
Before you glue, hold the shape against the tab and close the card gently. If it sticks out, trim it or move it lower. Glue only the bottom back portion to the front of the tab. With white glue, let it dry 30–60 minutes; with a glue stick, wait a few minutes before repeated play.
The W technique is a popular method for creating pop-up cards, where the pop-up elements are designed to fold in a way that they spring up when the card is opened. That is a good next step after this simple card.
Decorating the Inside and Outside of Your Pop Up Card
Keep the structure simple, then have fun making the scene around the pop up. Draw a sky, grass, stars, confetti, or a light background that does not compete with the main shape.
Try these layouts, which also pair nicely with birthday decorations made from paper if you’re using the card as part of a larger party theme:
- a rocket popping up from a starry background
- a flower growing from a drawn flowerpot
- a birthday cake surrounded by hand-drawn balloons
Decorate the cover with the same theme. For example, write “Happy Birthday!” above a small drawing that hints at the surprise inside. Leave a clear blank space for a message, note, date, and sign-off such as “May 20, 2026.” You might write, “Hope your day is full of fun,” or “I’m glad you’re my friend,” just like the sentiments you find in thoughtful birthday wish cards.
Finally, open and close the card gently as you add decorations. Make sure nothing catches, bends, or starts to hang over the edge.
Easy Variations: Multiple Tabs and Simple Layered Scenes
Once you’ve tried one tab, multiple pop ups are the easiest upgrade. Cut two or three tabs along the fold, making each one a slightly different length.
For example, create a layered scene with grass in front, flowers in the middle, and a sun or clouds in the back. You can also make a city skyline, a forest with trees at different distances, or three birthday gifts at different depths. Printed elements such as banners, tiny calendars, or gift tags work well here too if you like using creative things to print on paper for every occasion.
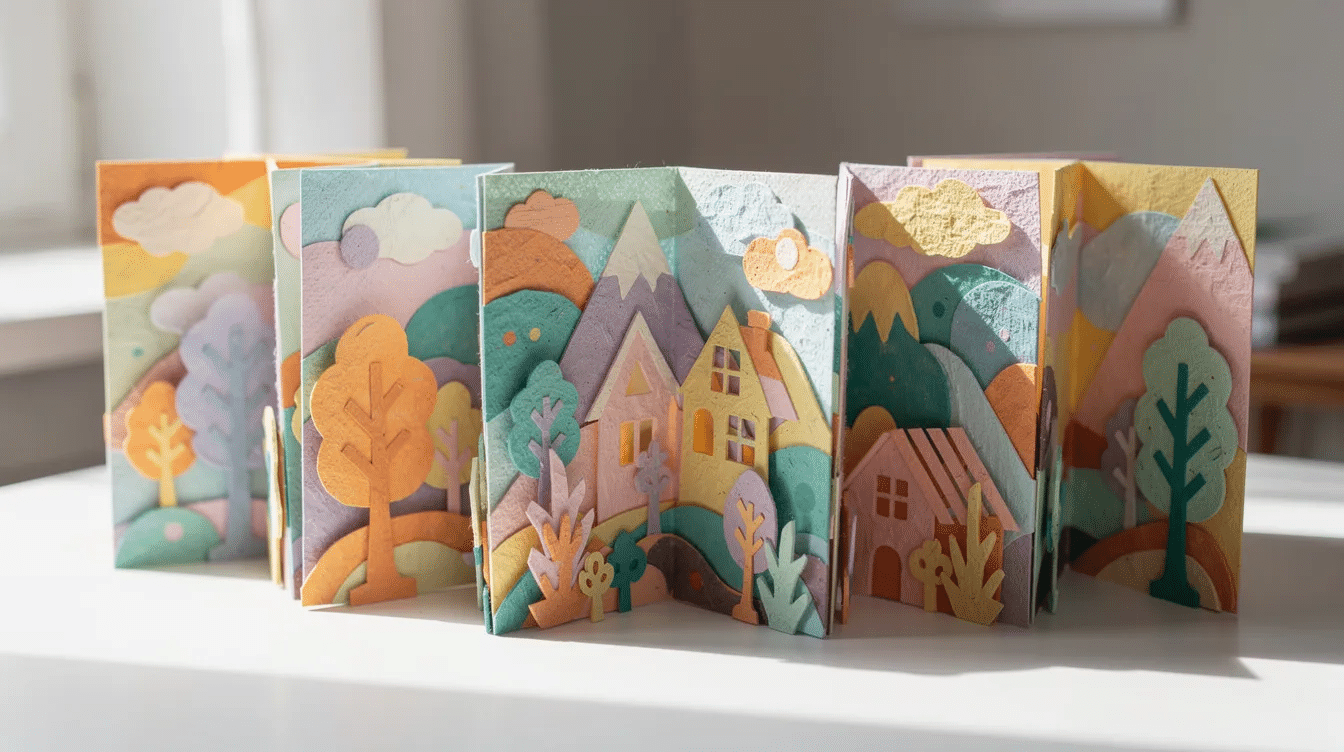
Check that each shape stays inside the card edges and that the same size pieces do not overlap too much. Several finished cards can also be glued back-to-back along their outer covers to make a homemade mini pop up book with a different scene on each page. If you want historical inspiration, movable paper designs have a long tradition in pop-up books.
Using Construction Paper vs. Card Stock for Pop Up Cards
Both construction paper and card stock work, but they behave differently. Thick card stock is best for the outer card because it helps the finished card stand on a shelf and feel like a gift.
Construction paper and regular printer paper are more flexible, which helps with narrow tabs, folds, and small shapes. Thinner, smoother printer paper is suggested for more intricate pop-up designs, while stiffer card is better for simpler structures.
For very simple, child-made cards, using only construction paper is perfectly fine. Choose lighter colors inside so pencil and marker details show clearly. Darker covers can make the card feel more dramatic and creative. If you have leftover packaging, you can also turn it into creative cardboard crafts ideas for eco-friendly projects that match your card theme.
Quick Safety and Clean‑Up Tips (Especially for Kids)
Pop up cards are kid-friendly, but set up the workspace before cutting. Give each person a clear area, scrap paper underneath, and a small bin for offcuts.
Adults should supervise any child using scissors. Keep glue capped, wipe sticky fingers, and press finished cards flat under a light book for a few hours if they curve. Label or date the back, since handmade cards often become keepsakes for all ages. You can even coordinate your cards with paper cup crafts ideas for fun projects so kids have a whole matching set of handmade decorations.
Frequently Asked Questions About Making Simple Pop Up Cards
How long does it take to make a basic pop up card?
A single-tab card usually takes 20–40 minutes, including drawing, cutting, and gluing. If you use white glue, allow up to an hour for drying so the card lasts longer.
Can I reuse this technique for different holidays and occasions?
Yes. Use the same stair-tab method for birthdays, Valentine’s Day, Mother’s Day, Father’s Day, Halloween, christmas, Easter, or school celebrations. Try a pumpkin, tree, egg, chick, trophy, or star.
What if my pop up piece sticks out when the card is closed?
The shape is probably too tall or glued too high on the tab. Gently pull it off if possible, lower it, or trim the top. Next time, test placement before adding glue.
Can I make a pop up card without card stock?
Yes. You can use only construction paper or printer paper for practice. The card will be floppier, so glue it onto recycled packaging cardboard if sturdiness matters.
How do I store or mail a pop up card safely?
Close the card gently and place it in an envelope slightly larger than the card. Slip a flat piece of thin card behind it so the pop up is not crushed during mailing or storage.



