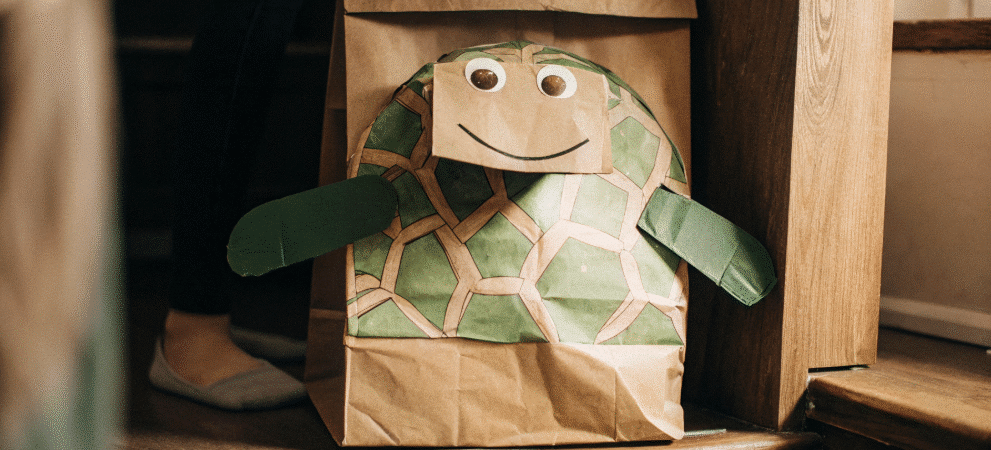
Hey there! If you’re looking for a fun and simple craft to do with kids, a turtle paper bag puppet is a perfect choice. This easy project uses just a brown paper bag and some basic craft supplies to create a cute puppet that kids will love to play with. It’s great for little hands and helps build fine motor skills while sparking creativity, making it an ideal activity for any child to enjoy and benefit from.
- Introduction to the Craft
- Why Make a Turtle Paper Bag Puppet?
- What You’ll Need
- Downloading and Using the Free Template
- Step-by-Step Guide to Making Your Turtle Puppet
- Turtle Paper Bag Design
- Tips for Success
- Why This Craft Is Great for Kids
- Using the Puppet for Play and Learning
- Other Turtle Paper Craft Ideas
- Common Questions and Fixes
- Where to Find More Templates and Ideas
- Wrapping Up
- FAQ
Introduction to the Craft
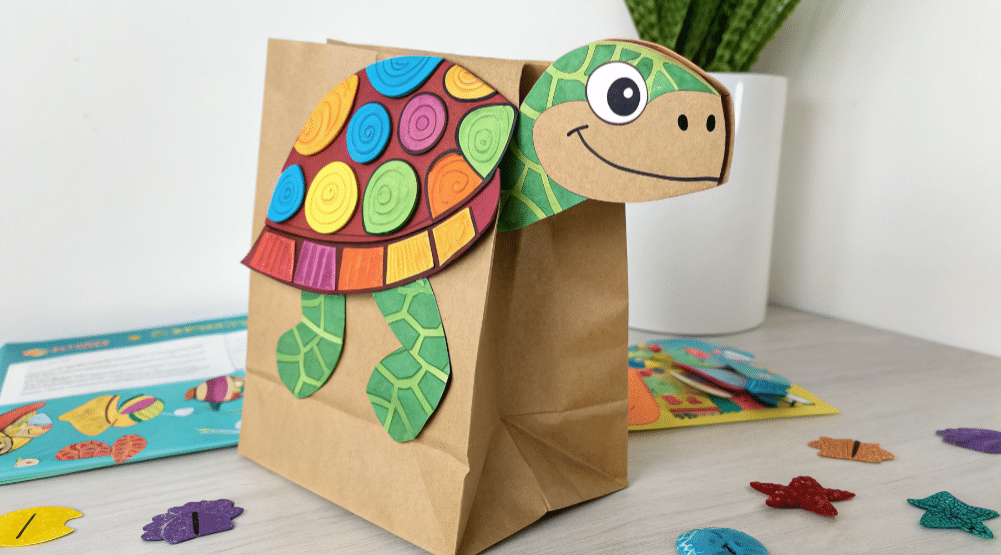
Paper bag puppet crafts are great.
They spark creativity.
They’re fun for kids.
All ages love them.
You need simple stuff. Paper bags. Glue. Basic craft supplies. That’s it. A glue stick or all-purpose glue is necessary to attach the paper pieces to the bag.
Kids can make their own puppets. Like turtle paper bag puppets. Easy ones. A standard brown paper lunch bag is the ideal size for making a turtle paper bag puppet.
This craft is perfect. Why? It encourages pretend play. It boosts imagination. Kids tell stories. Crafting helps kids learn how to follow directions and work on scissors skills.
But there’s more.
Fine motor skills develop. Kids cut. They glue. They decorate. Their hands get stronger. Cutting out the template pieces and gluing them onto the paper bag requires young children to use precision and coordination.
Looking for inspiration or fun drawing ideas? Want to start? Use a free template. Kids jump right in. The process is simple. It’s enjoyable too.
The activity works for everyone. Even little hands can help. Adult supervision helps. But kids can do most of it.
Need a classroom project? This works. Want fun at home? This works too.
This turtle paper bag craft delivers. Hours of entertainment. Hours of learning.
Ready to start?
Grab your supplies. Get ready to create. Make a cute turtle paper bag puppet. Kids will love it. They’ll play with it for hours.
Why Make a Turtle Paper Bag Puppet?
Making a turtle puppet isn’t just about crafting something cute—it’s also a turtle craft that makes for a fun and creative project. It’s a fun way for kids to focus on a project, practice cutting and gluing, and use their imagination. Plus, once the puppet is done, it can be used for pretend play, storytelling, or just a fun companion for playtime. It’s a win-win for both kids and adults! Paper bag puppets are a classic craft activity that encourages creativity and play.
What You’ll Need
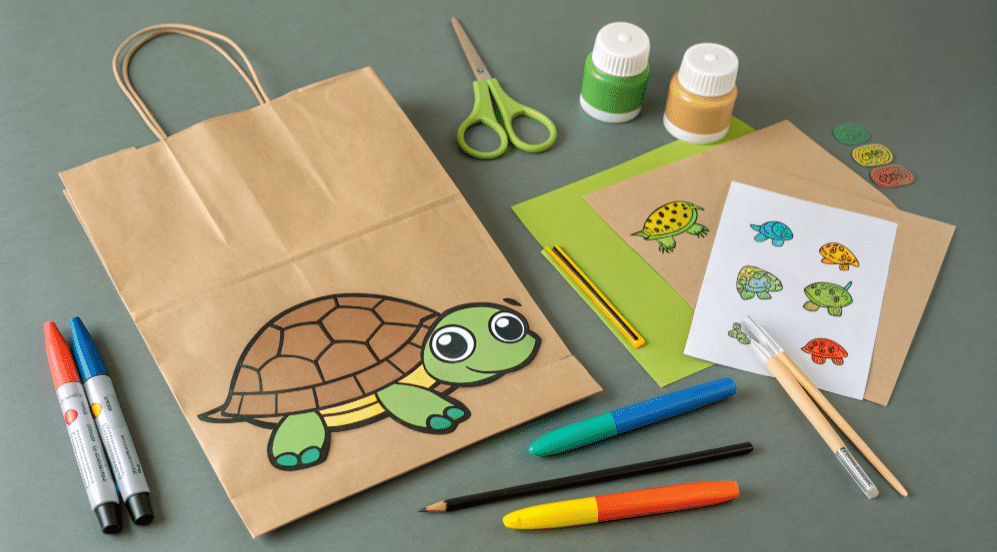
Before you start, gather these simple supplies:
- Brown paper bag (the kind you get at the grocery store)
- Glue (a glue stick or school glue works fine)
- Scissors (adult supervision needed for younger kids)
- Markers, crayons, or colored pencils
- Printable turtle paper bag puppet template (free to download) – this is one of the printables available for this craft
- Optional: stickers, glitter, or other decorations
Having everything ready makes the process smooth and fun for everyone.
Downloading and Using the Free Template
To make things easy, you can download a free template that has all the parts you need: the turtle’s shell, arms, legs, head, and face details. You can choose a color version if you want to skip coloring or a black-and-white version for kids to color themselves.
Print the template on regular paper. It’s best to set your printer to “fit to page” so nothing gets cut off. Then, cut out all the pieces carefully.
The following directions will guide you through making your turtle paper bag puppet.
Step-by-Step Guide to Making Your Turtle Puppet
Step 1: Prepare Your Brown Paper Bag
Take your brown paper bag and fold the bottom flap up just a little bit. This flap will be the turtle’s head area. The main part of the bag will be the body and shell.
Step 2: Attach the Turtle’s Head
Glue the turtle’s head piece onto the bottom flap of the paper bag. Make sure it’s centered so it looks nice when the puppet moves.
Step 3: Glue the Shell to the Body
Next, glue the turtle shell piece to the main part of the bag, just under the flap with the head. This will be the turtle’s back. To create the turtle shell, a large oval or circle should be cut from shell-colored paper and glued to the main body of the paper bag.
Step 4: Add Arms and Legs
Glue the arms near the top of the shell and the legs near the bottom. You can let the legs hang off the edge a bit for a more realistic look.
Step 5: Decorate the Face
Use the eyes, mouth, and cheek pieces from the template to give your turtle some personality. Glue them onto the head piece. You can also draw extra details with markers if you like. Googly eyes can be added for a fun, animated look on the turtle puppet.
For extra fun, kids can also create a ninja turtle mask for their turtle using colored paper or markers, especially if they want to make a ninja turtle puppet.
Step 6: Final Touches
Add any other decorations you want, like spots on the shell or glitter for some sparkle. Let everything dry before playing. Adding glitter or sequins to the shell can provide a sparkle effect to the turtle puppet.
Turtle Paper Bag Design
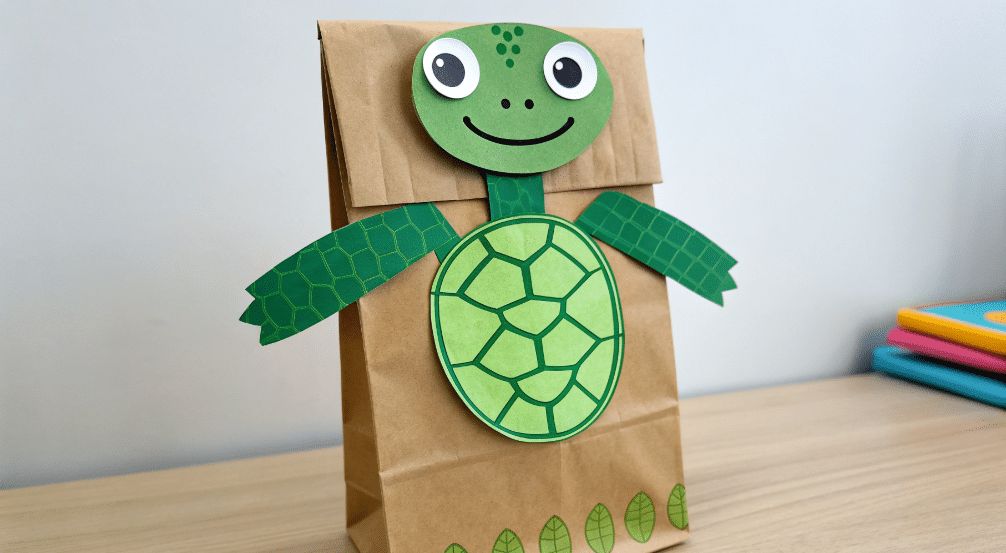
The turtle paper bag design is a hit.
Kids love it.
It’s cute.
It’s colorful.
The template makes it easy. You take a brown paper bag. You turn it into a green turtle. Complete with shell, arms, and legs. The template has all the pieces. Everything you need. Kids can decorate it. They use markers. They use crayons. Some use paint. Whatever they like best. They make it their own. Using markers can lead to bleeding through the paper, so colored pencils or crayons are recommended instead.
This turtle puppet is perfect for play. Kids love imaginative play. They explore different scenarios. They create stories. All with their new turtle friend. They cut out the shell. They glue the legs. They attach the arms and body. Right onto the paper bag. This strengthens their fine motor skills. It lets them express creativity. The design is simple. The instructions are step-by-step. Perfect for preschoolers. Great for students. Ideal for classroom activities. You can decorate the shell with patterns. You can give your turtle a big smile. A friendly smile. This turtle puppet combines creativity, learning, and play. All in one wonderful craft. Four leg shapes and one tail shape are cut out from green paper to complete the turtle puppet’s limbs and tail.
Tips for Success
- Use a glue stick for less mess and faster drying.
- Younger kids should have adult supervision with scissors.
- If pieces don’t stick well, try pressing them down for a bit or use a bit more glue.
- Coloring before cutting can make things neater and easier.
- Be patient and take your time to make the puppet you have created look just right.
- Remember, the puppet you have created with this template is for personal use only and not for resale, in accordance with the template’s terms.
Why This Craft Is Great for Kids
This turtle paper bag puppet project helps kids in many ways:
- Fine Motor Skills: Cutting, gluing, and coloring all help little hands get stronger and more coordinated.
- Imaginative Play: Once the puppet is ready, kids can create stories, act out scenes, or even put on puppet shows.
- Focus and Patience: Following the steps and waiting for glue to dry teaches kids to concentrate and be patient.
- Creativity: Decorating the puppet lets kids express themselves and make something unique.
For even more learning and fun, pair this activity with turtle-themed books. Reading related books can help develop language skills and deepen children’s understanding of turtles while making the craft experience more engaging.
Using the Puppet for Play and Learning
After making the puppet, it’s time to have fun! Kids can pretend the turtle is their friend, explore different habitats, or invent adventures. This kind of play helps build social skills and encourages storytelling.
You can also use the puppet as a tool to teach about turtles, their environment, and why they are important. It’s a hands-on way to learn that feels more like play than work. Crafting activities teach kids about animals, their habitats, and interesting facts related to them.
Other Turtle Paper Craft Ideas
Want to keep the fun going? Here are some ideas:
- Make a green turtle by coloring the shell and body different shades of green.
- Add stickers or stamps to decorate the shell with patterns.
- Create a turtle family by making several puppets with different colors and sizes.
- Use the puppet in a diorama or scene with other animals and plants.
Common Questions and Fixes
- Glue not sticking? Try a stronger glue or add more glue to the area.
- Puppet floppy or won’t stand? Add a small piece of cardboard inside the bag for support.
- Scissors tricky for kids? Use safety scissors and help younger children.
Where to Find More Templates and Ideas
If you loved making this turtle puppet, there are plenty more templates and craft ideas online. You can find puppets of other animals, masks, and fun projects that keep little hands busy and minds curious.
Wrapping Up
Creating a turtle paper bag puppet is a simple, enjoyable activity that brings out creativity and encourages play. It doesn’t take many supplies, and the results are cute and fun to use. Perfect for a rainy day, classroom activity, or just some quality time with kids.
Give it a try and watch how much fun your little ones have making and playing with their new turtle friends!
FAQ
What age is best for this craft?
This project works great for preschoolers and early elementary kids. Little hands get to practice cutting and gluing, and with some help from adults, they’ll have a blast making their turtle puppet.
How long does it take to make one puppet?
Usually, it takes about 30 to 45 minutes from start to finish. That includes cutting, gluing, decorating, and letting things dry a bit before playtime.
What if my glue or decorations don’t stick?
Try pressing the pieces down firmly for a few seconds or use a bit more glue. If that doesn’t work, a stronger glue or double-sided tape can help keep everything in place.
Can kids use this puppet for storytelling?
Absolutely! Once the puppet is ready, kids can create stories, act out scenes, or even put on little shows. It’s a fun way to bring their imagination to life.
Where can I find the free template?
You can download the free turtle paper bag puppet template right from the link in the article. It’s easy to print and comes in both color and black-and-white versions for coloring fun.
