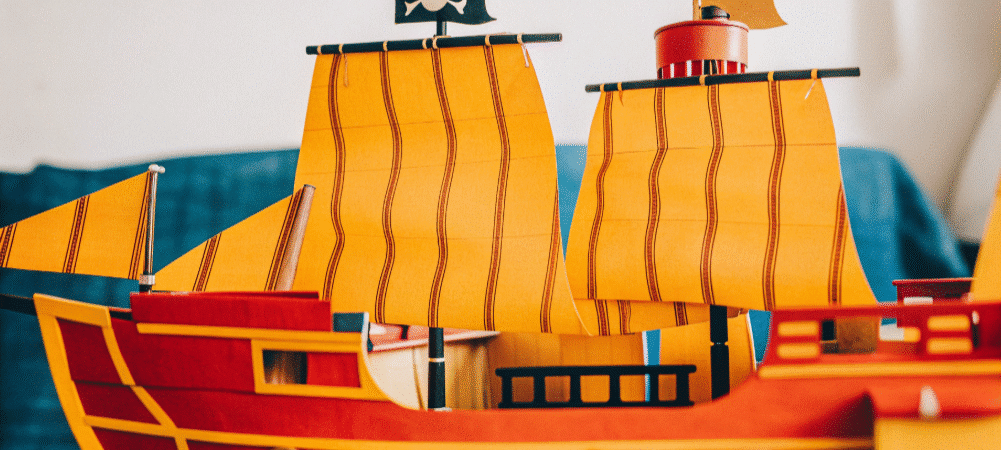
Want to make a papercraft pirate ship? This easy guide will show you how with step-by-step instructions. Perfect for a fun project with kids. Let’s start the adventure!
Key Takeaways
- Gather basic supplies like ship paper, glue, and scissors to create your pirate ship, and consider using paper mache for added durability.
- Construct a strong base by cutting out and assembling the ship’s parts carefully, and enhance stability with glue and tape.
- Add masts and sails using fabric scraps, and personalize your ship with creative details while sharing your finished masterpiece on social media.
- Gather Your Supplies
- Creating the Ship Base
- Assembling the Sides and Deck
- Crafting the Masts and Sails
- Adding Fun Details
- Printable Templates and Patterns
- Sharing Your Creation
- Summary
- Frequently Asked Questions
Gather Your Supplies
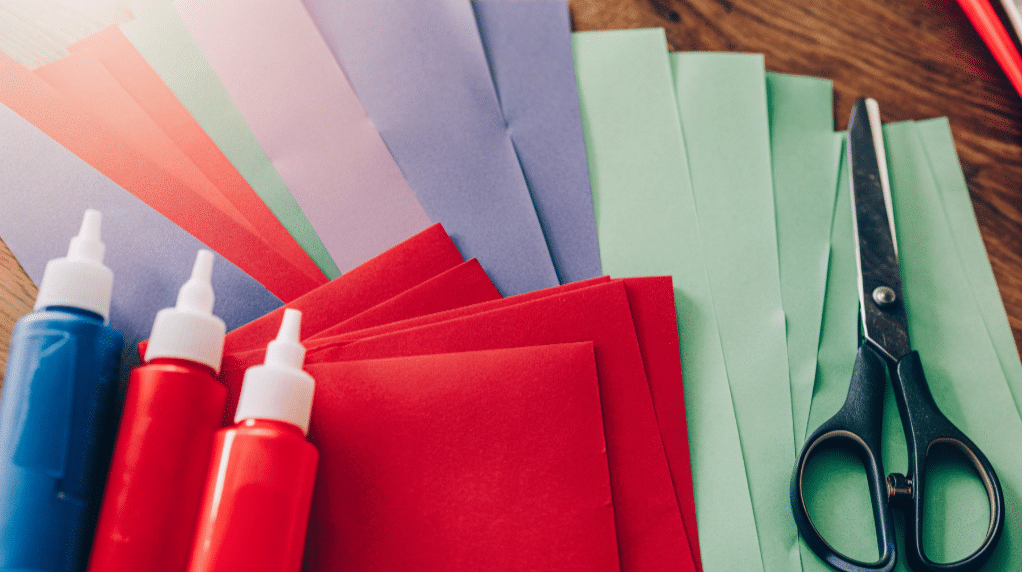
To start, gather all the essential supplies for building our pirate ship. You’ll need:
- Ship paper
- Glue
- Paint
- Scissors These items form the backbone of your crafting adventure and can easily be found at any local store or around the house.
Optionally, to add some extra stability and durability to your ship, you might consider using a layer of paper mache. This can be especially helpful for the more delicate parts of the ship, such as the deck. Paper mache is inexpensive and easy to work with, making it a fantastic addition to your crafting toolkit.
Don’t forget to bring along some creativity! Using optional materials like fabric scraps or additional cardboard can help you add unique dimensions and features to your pirate ship. These optional touches can really make your treasure creation stand out and give it that authentic pirate flair. For an extra touch, cut out round windows and holes for cannons in the cardboard ship to make it look more realistic and ready for battle.
Creating the Ship Base
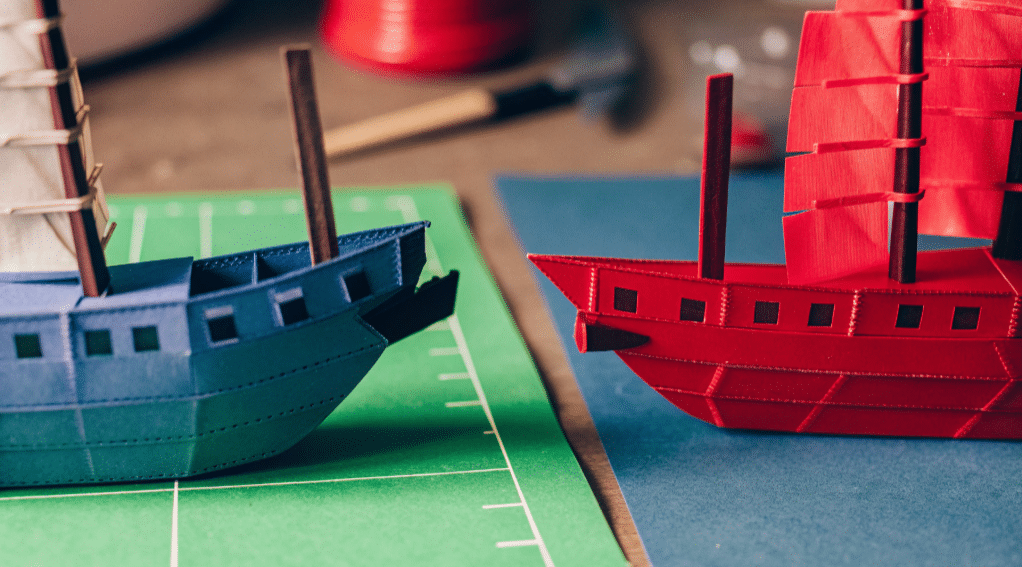
Begin by creating the base of our pirate ship. Start by cutting out the basic shape of the ship – you’ll need the bottom, two sides, the back, and the deck. Tracing these pieces onto sturdy cardstock or cardboard will give your ship the necessary strength to withstand many high seas adventures. Cut your cardboard into five parts to create the basic shape of a pirate ship, ensuring each piece is measured and aligned for easy assembly.
Once you have your pieces cut out, trace the fold lines onto the ship’s sides to prepare for assembly. Use scissors to make vertical cuts along the bottom edges of the ship sides, up to the fold line. This step is crucial for the next part, where we’ll be folding and gluing the ship together.
Spread the glue evenly between the two sides and press them together to secure the front edges, ensuring a strong bond that keeps your ship intact during playtime. For extra stability, layering strips of paper mache over the joints can provide added strength.
Assembling the Sides and Deck
Now that we have our base, it’s time to assemble the sides and deck. Start by taping the two sides and the back together. This will help keep them securely attached as you continue to build your pirate ship.
Next, attach the deck. Make sure the sides and back are firmly taped together before placing the deck on top. This will ensure a good fit and prevent any wobbling. Once everything is in place, trim any excess material from the base and deck to achieve a precise fit.
Properly securing the edges is key to keeping your pirate ship sturdy and ready for action. Take your time with this step, adding extra tape or glue where needed. Be sure to check a well-built ship, as it will make all the difference when it comes to playtime adventures.
Crafting the Masts and Sails
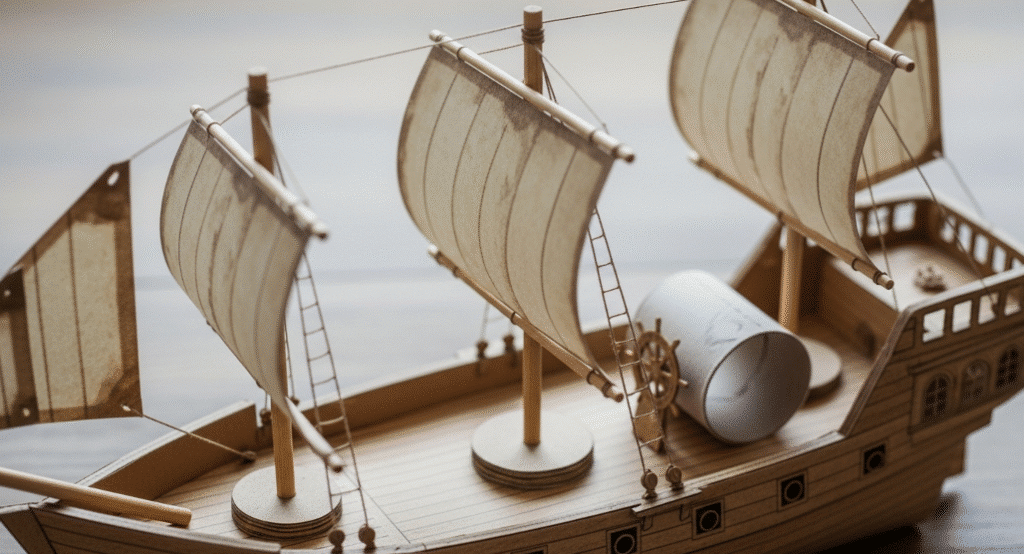
No pirate ship is complete without its masts and sails! For the mast, follow these steps:
- Use two sturdy sticks, which can be anything from wooden dowels to large popsicle sticks.
- Attach small cardboard discs at the base of the masts using strong glue.
- The cardboard discs will help the masts stand upright on the ship. For the steering wheel, use a toilet paper roll as the base and attach it inside the ship to complete the look.
For the sails, fabric scraps work wonderfully. Here’s how to use them:
- Cut the fabric scraps into the shape of sails.
- Sew the edges for added durability.
- Thread a piece of string through the material to attach the sails to the masts. This will give your pirate ship an authentic look and feel.
Painting the sails can really bring your pirate ship to life. A few strokes of white paint followed by a diluted brown wash can create a weathered, sea-worn look. This step is not only fun but also adds a touch of realism to your creation.
Adding Fun Details
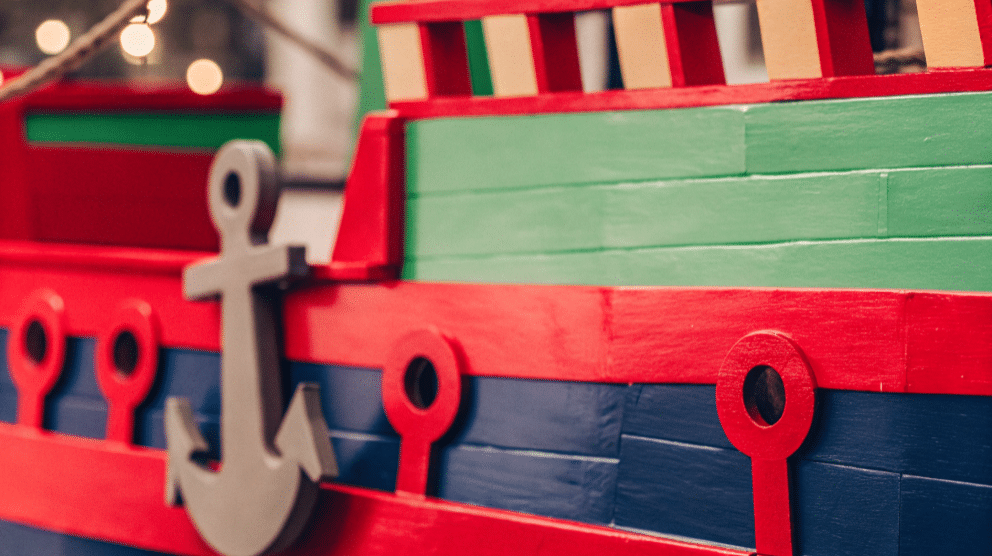
Now comes the part where we add those fun, creative details to make your pirate ship truly unique. Start by gluing an anchor onto the front end of the ship. This small touch will insert a link authentic nautical feel to your vessel.
Thin strips of cardboard can be used to create decorative elements along the sides of the ship. These can be painted to add pops of color and bring your ship to life. For a more realistic look, apply a dark base coat first, then add brighter colors for highlights. This technique will make your pirate ship look as though it has braved many adventures on the high seas, fulfilling a dark promise of adventure. Additionally, cut port holes in the sides of the ship for added detail, enhancing its authentic appearance.
Finish off by applying a coat of varnish to protect the paint and give your ship a polished look. With these details in place, your pirate ship will be the envy of all other ships on the high seas. To make it look aged, you can rub an old ink pad along the edges, giving it a weathered and adventurous appearance.
Printable Templates and Patterns
For those looking to simplify the process, free printable templates for pirate ships are available on a website. These templates come in various sizes and styles, making it easy to find one that suits your needs. Print them out on standard paper sizes for easy use at home. Pirates can also enjoy these creative resources.
Downloading these templates as PDFs is simple. They include outlines and coloring pages that can be traced onto cardstock or directly cut out and assembled. This is a cute and awesome way to ensure all the pieces fit together perfectly and save time in the process with a paper model. These things make the project even more enjoyable.
Using these templates, you can quickly and easily craft your own pirate ship model. They eliminate the guesswork from the cutting and tracing process, giving you more time to focus on the fun parts of decorating and playing with your finished ship.
Sharing Your Creation
Once your pirate ship is complete, share your creation with the world. Here are some tips to increase visibility on social media platforms:
- Use specific hashtags like #pirateship, #piratelife, and #papercraft.
- These tags will help your post reach a wider audience.
- Attract fellow crafting enthusiasts.
Engaging with crafting communities on platforms like Instagram and Facebook can be incredibly rewarding. Benefits and activities include:
- Showcasing your work
- Gaining inspiration from others
- Participating in themed challenges or events
- Tagging relevant brands, which may lead to features on their pages and provide more exposure for your masterpiece.
Share photos and videos of your finished project. A well-lit photo or a short video showing off your pirate ship’s details can inspire others to start their own crafting journey. Encourage your friends and family to join in on the fun and pin share their own creations.
Summary
Building a papercraft pirate ship is a fun and educational project that kids and adults alike can enjoy. By following these steps, you’ll create a sturdy and visually appealing ship ready for countless adventures. From gathering supplies to adding the finishing touches, each step offers an opportunity to bond and unleash creativity.
So why wait? Dive into this exciting DIY project and watch as your pirate ship comes to life. Share your creations and inspire others to embark on their own crafting adventures. Happy sailing, mateys!
Frequently Asked Questions
What materials do I need to create a papercraft pirate ship?
To create a papercraft pirate ship, grab some ship paper, glue, scissors, and paint. If you want an extra boost of creativity and stability, consider using paper mache too!
How do I ensure the ship’s base is strong enough?
To make sure your ship’s base is strong, use sturdy cardboard and reinforce the joints with paper mache strips. Just remember to press those edges firmly when gluing!
Can I find templates online to help with the ship’s construction?
Absolutely, you can find free printable templates online in PDF format to help with your ship’s construction. Just search for them, and you’ll have outlines and coloring pages ready to go!
How can I make the sails look realistic?
To make your sails look realistic, try using fabric scraps and give them a weathered appearance with paint. Adding sewn edges and threading a string for attachment will really amp up the authenticity!
What are some tips for sharing my finished pirate ship on social media?
To get your finished pirate ship noticed on social media, use specific hashtags like #pirateship and #papercraft, and engage with crafting communities. Sharing great photos and videos will really help boost visibility and inspire others!
