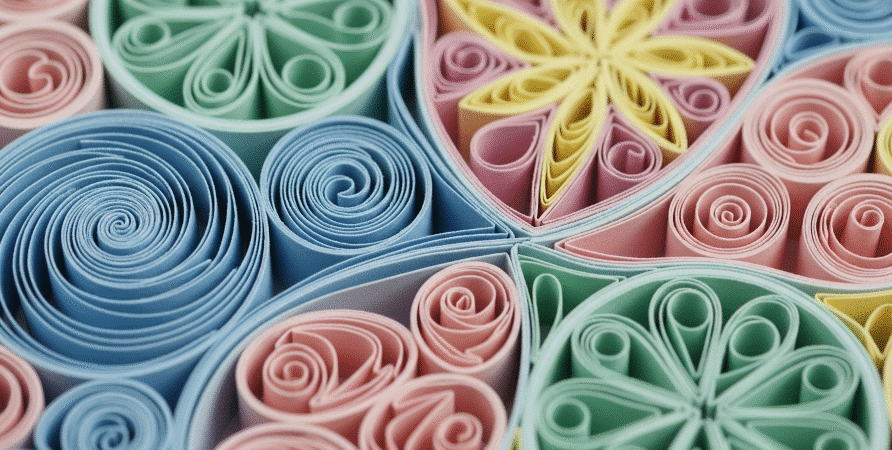
Curious about paper twisting designs? This accessible craft uses simple materials to create beautiful pieces. In this guide, we’ll explore basic techniques, advanced methods, and various project ideas.
Key Takeaways
- Paper twisting is a beginner-friendly craft that requires minimal materials, making it accessible to everyone.
- Starting with basic shapes like loops and spirals helps build confidence and skills for creating more complex designs.
- Utilizing online platforms like Pinterest for inspiration and sharing projects on social media fosters a creative community and improves crafting skills.
- Getting Started with Paper Twisting
- Simple Paper Twist Designs for Beginners
- Advanced Paper Twisting Techniques
- Incorporating Paper Twists into Art Projects
- Using Paper Twists for Home Décor
- Finding Inspiration and Sharing Your Work
- Common Mistakes and How to Avoid Them
- Summary
- Frequently Asked Questions
Getting Started with Paper Twisting
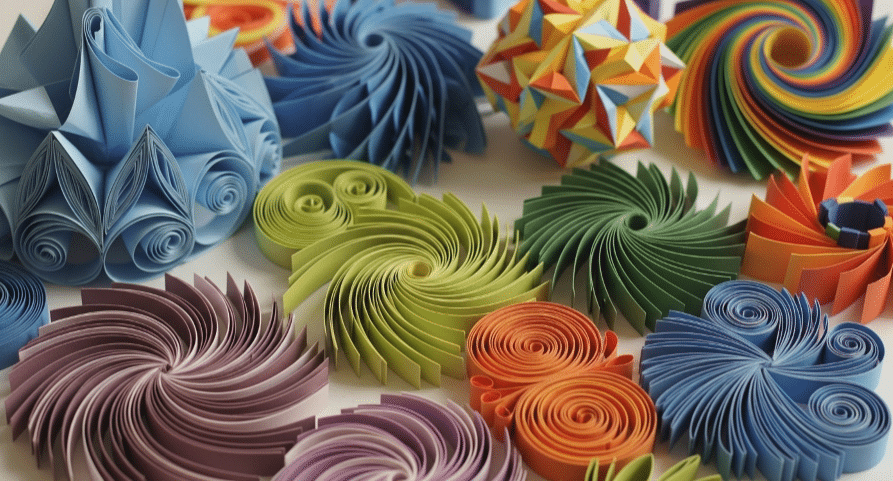
Paper twisting is a fantastic craft to start with, especially for beginners. It’s accessible, requires minimal materials, and can be done with items you likely already have at home. New crafters can begin with simple projects that use colorful strips of paper, which are easy to manipulate and readily available. The beauty of paper twisting lies in its simplicity—those thin strips can be twisted, curled, and shaped into beautiful designs with just a bit of practice and creativity. Similarly, quilling involves using strips of paper that are rolled, looped, curled, twisted, and otherwise manipulated to create different shapes, offering another avenue for creative exploration.
One of the best things about paper twisting is that it doesn’t demand a huge investment in materials. Simple designs can be created using just a few basic items, making it a perfect starting point for anyone interested in exploring the world of paper crafts.
Cutting paper into a thin strip is a crucial first step, and this can be achieved using scissors or a paper cutter for precision. Once you have your strips ready, you’re all set to dive into the art of paper twisting.
Essential Materials
To get started with paper twisting, you’ll need a few essential materials. The type of paper you choose is crucial; construction paper, tissue paper, and scrapbook paper are all excellent options. Typically, thin and flexible paper is preferred as it facilitates easier manipulation. Colored paper strips can also be cut to different widths, ranging from 3mm to ½ inch, making them suitable for various crafting projects and skill levels.
Tacky glue is often recommended due to its strong adhesive properties, ensuring that your twisted shapes hold together securely and are glued together effectively. Additionally, using sharp scissors will help you cut clean edges for better twisting. For quilling and paper twisting projects, Elmer’s Glue-All can also provide effective adhesion, offering flexibility in your choice of materials.
With these basic tools in your crafting arsenal, you’re ready to start creating beautiful paper twist designs.
Basic Techniques
Mastering basic techniques is key to successful paper twisting. One common challenge crafters face is misaligned layers and improper glue usage, which can significantly affect the final product. It’s essential to take your time with each twist, ensuring that the layers are properly aligned and that the glue is applied evenly. Rushing the process can lead to uneven shapes and poor designs. To achieve the best results, select your materials carefully and follow each step with precision. Similarly, in quilling, the process involves rolling paper strips and arranging them into desired shapes before gluing them into place, emphasizing the importance of precision and patience.
Another crucial technique involves holding the twisted paper securely to maintain the desired shape. Applying gentle tension while rotating the paper can create a uniform twist that holds its form. Practice these basic techniques and pay attention to the details to create stunning paper twist crafts that are both beautiful and structurally sound.
Simple Paper Twist Designs for Beginners
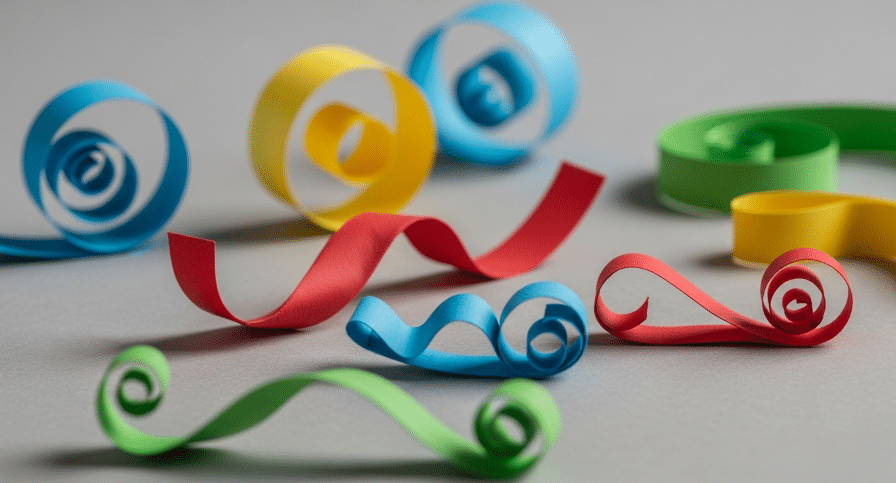
Starting with simple paper twist designs is a great way to build your confidence and skills. To create visually appealing and balanced designs, consider the following steps:
- Plan your layout before beginning the crafting process to help visualize the final product and avoid poorly balanced designs.
- Sketch your ideas in advance.
- Consider color combinations ahead of time to ensure the final piece is visually appealing. Ignoring these principles can result in designs that feel incomplete or unattractive.
For beginners, basic shapes like loops and spirals are a great place to start. These simple designs can be created using thin strips of paper and can be used in various crafts such as decorations and greeting cards. By mastering these fundamental shapes, you’ll be able to create a wide range of paper twist designs that are both easy and impressive.
Twisted Flowers
Creating twisted flowers is a delightful and straightforward project for beginners. Start by cutting strips of paper and twisting them to form petal shapes. Secure each petal with tacky glue to ensure it maintains its shape and structure.
Curl the strips and arrange them into flower shapes to create beautiful and intricate designs that look stunning. Using tacky glue helps keep the petals in place, making sure your flowers stay as beautiful as when you first created them.
Basic Shapes
Basic shapes such as loops and spirals form the foundation of many paper twist designs. To create loops, twist the paper strips around a core structure, while spirals can be made by tightly twisting a narrow strip of paper until the desired shape is achieved.
These simple yet versatile shapes can be used in a variety of crafts, from decorations to greeting cards, adding a touch of elegance and creativity to your pictures projects.
Advanced Paper Twisting Techniques
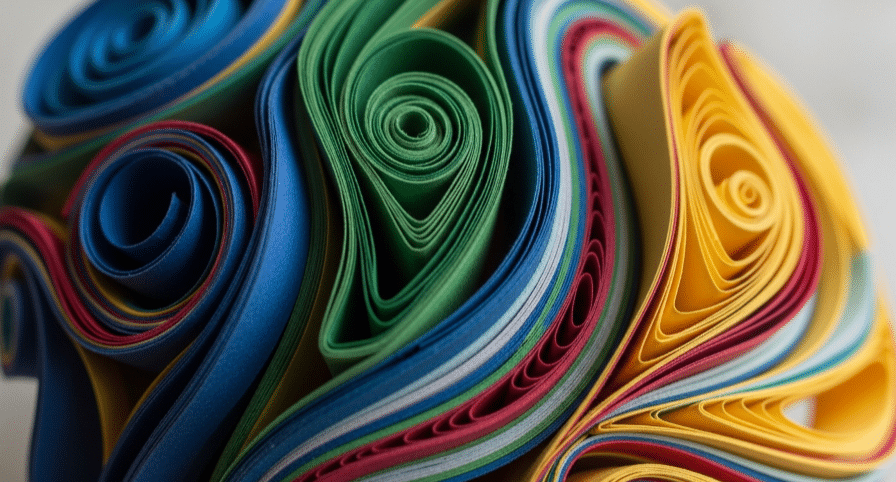
Once you’ve mastered the basics, you can move on to more advanced paper twisting techniques. One fundamental technique involves rotating the paper while applying gentle tension to create a uniform twist. Holding the twisted paper securely during the crafting process is essential to maintain the desired shape. By integrating these advanced techniques, you can transform ordinary materials into stunning visual pieces that add texture and dimension to your art projects.
Advanced techniques also allow for the creation of more complex designs by combining various twisting methods. This can result in unique artistic designs that stand out and capture attention. Experimenting with these techniques allows you to push the boundaries of your creativity and produce truly one-of-a-kind pieces.
Layered Designs
Layered designs are a fantastic way to add depth and complexity to your paper twist projects. This technique involves gluing multiple twisted papers together to create intricate patterns. Careful alignment is crucial to ensure that each twisted piece fits perfectly within the overall structure. The precise application of glue is also essential to secure the twisted papers without compromising the design. By mastering layered designs, you can create visually stunning pieces that are both intricate and cohesive.
Maintaining structural integrity is essential in layered designs to prevent the pieces from falling apart. Paying attention to these details will ensure that your layered designs are not only beautiful but also durable and long-lasting. With practice, you’ll be able to create complex patterns that elevate your paper twist projects to a new level of artistry.
Outer Rim Accents
Adding outer rim accents to your paper twists can significantly enhance the overall aesthetic of your projects. These decorative edges provide an added finished and polished appearance, elevating the visual appeal of your creations.
By incorporating outer rim accents, you can confirm your paper twist designs a more cohesive and professional look, making them stand out even more.
Incorporating Paper Twists into Art Projects
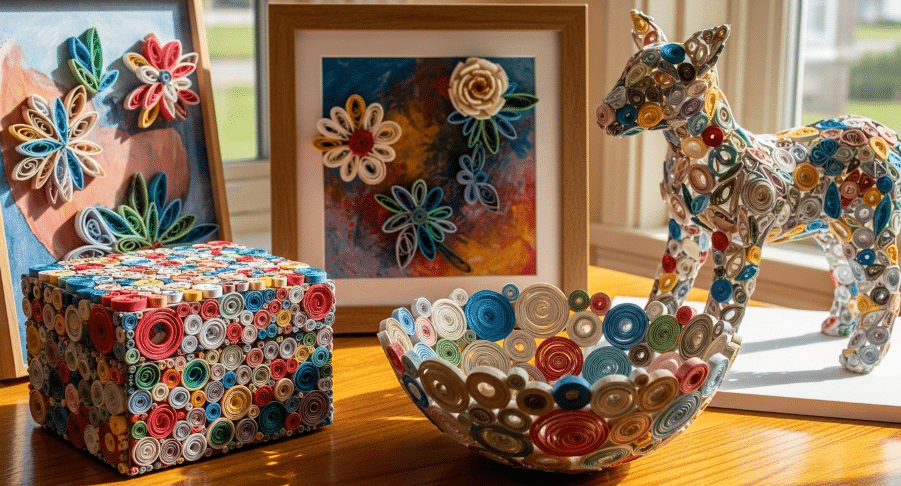
Paper twists can be a fantastic addition to various art projects, adding texture and dimension to your creations. Basic shapes like:
- spirals
- loops
- teardrops serve as foundation designs for more complex projects. These shapes can be crafted by twisting paper strips, allowing for versatile applications in different projects. Whether you’re creating wall art, greeting cards, or other craft projects, incorporating paper twists can transform your work and make it more visually appealing.
Advanced paper twisting techniques allow crafters to combine various methods to create unique artistic designs. By experimenting with these techniques, you can create intricate patterns and textures that add depth and interest to your art projects. Paper twists can turn ordinary materials into stunning visual pieces that capture attention and showcase your creativity.
Wall Art
Using paper twists in wall art allows for:
- The creation of textured and layered compositions that draw attention and enhance visual interest.
- The creation of intricate 3D designs on canvas, adding dimension and depth to your artwork.
- Weaving paper twists into your wall art to create unique patterns and designs that personalize any space.
Custom signs made from twisted paper letters can add a personal touch to your home décor. These signs can feature eye-catching phrases or designs that reflect your personal style. By twisting paper letters together and embellishing them with additional decorations, you can create custom signs that are both unique and visually appealing.
Greeting Cards
Incorporating twisted paper elements into greeting cards can provide a tactile experience that elevates their appeal. Adding paper twists as embellishments can make your cards more special and customized, surprising and delighting recipients.
Personalized greeting cards with paper twists are a beautiful way to show you care and add a unique touch to your messages.
Using Paper Twists for Home Décor
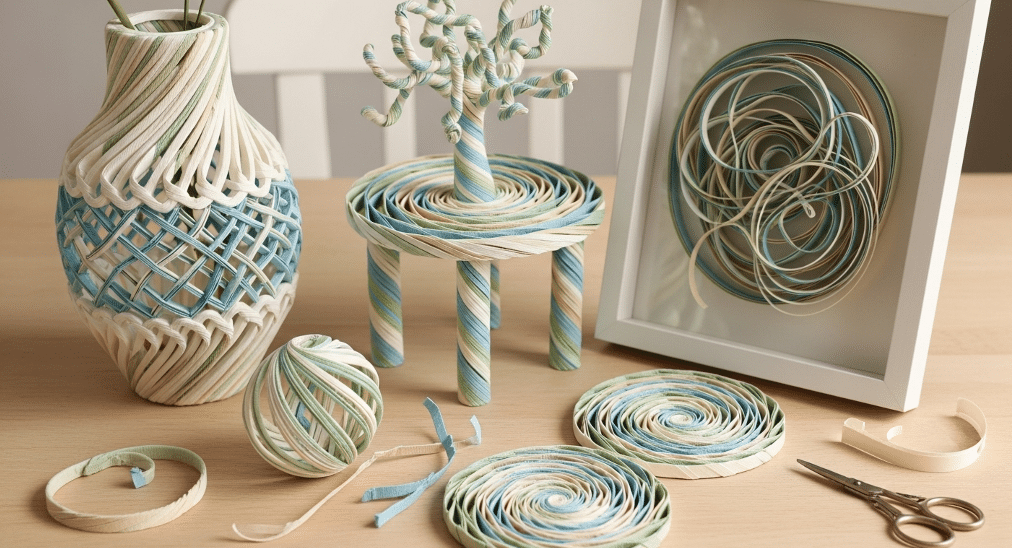
Paper twisting can transform ordinary materials into stylish home décor elements that add artistic flair to your living spaces. By incorporating twisted paper into various home décor projects, you can create unique and personalized items that enhance the overall aesthetic of your home. Sturdy cardboard can serve as a base for more complex designs, providing stability and support for your creations. Paper crafts, in general, include a variety of projects such as wreaths, decorations, and models, making them appealing to all skill levels and offering endless creative possibilities.
From wreaths and wall hangings to decorative signs and ornaments, paper twists offer endless possibilities for home décor. By experimenting with different designs and techniques, you can create beautiful and personalized pieces that reflect your style and add a touch of creativity to your home.
Decorative Signs
Creating custom signs with twisted paper letters is a fun and creative way to personalize your home décor. Cut strips of paper and twist them to form letters, resulting in unique and eye-catching designs.
Embellishing the twisted letters with additional decorations or mounting them on colored backgrounds can enhance their visual appeal and make your sign stand out. These custom signs can be a beautiful addition to any space, adding a personal touch and artistic flair.
Ornaments and Mobiles
Twisted paper can be shaped into delicate ornaments and mobiles, enhancing the visual appeal of any room. These intricate designs add a playful and colorful touch, especially during festive seasons. By creating ornaments and mobiles with twisted paper, you can introduce color and texture into your home decorations, making them more dynamic and visually interesting.
Crafting ornaments and mobiles with twisted paper provides a fun way to experiment with different shapes and designs. These decorations can add movement and color to a room, creating a lively and beautiful atmosphere. Whether you’re decorating for a special occasion or simply adding a touch of creativity to your space, twisted paper ornaments and mobiles are a fantastic choice.
Finding Inspiration and Sharing Your Work
Exploring various online platforms can ignite your creativity and provide fresh ideas for paper twisting designs. Pinterest, in particular, offers:
- A wealth of visual inspiration
- Tutorials for learning new twists and techniques
- Unique project ideas to incorporate into your own paper twisting creations Browsing through Pinterest makes it an excellent resource for discovering new twists and techniques.
Sharing your work through social media, email, and craft forums helps connect with fellow crafters and showcases your creativity. Platforms like Instagram and Facebook are excellent for showcasing your paper twisting projects and receiving feedback from the crafting community. Engaging with other crafters provides valuable insights and inspiration, making your paper twisting journey even more enjoyable. Here are some ways to share and engage:
- Use social media platforms such as Instagram and Facebook to showcase your projects.
- Share your work via email and craft forums to connect with fellow crafters.
- Receive feedback from the crafting community to improve your skills.
- Engage with other crafters to gain valuable insights and inspiration.
Online Inspiration
Pinterest is a valuable resource for finding a wide range of creative paper craft ideas and tutorials. By exploring Pinterest, you can discover diverse designs and innovative concepts related to paper twisting. This platform can inspire your own paper twisting designs and help you find unique project ideas that you can incorporate into your crafts.
Sharing Your Creations
Social media channels such as Instagram and Facebook provide excellent avenues for showcasing your paper twisting projects. Sharing your creations can lead to inspiration, feedback, and community engagement, helping you improve and evolve as a crafter.
Participating in craft forums and groups allows you to exchange tips, tricks, and techniques with like-minded crafters, enriching your paper twisting experience. Engaging with the crafting community not only helps you grow but also allows you to inspire others with your unique designs.
Common Mistakes and How to Avoid Them
As with any craft, there are common mistakes that can detract from your final product. In paper twisting, poor glue application and flawed designs are typical issues that crafters face. Ensuring proper glue usage and planning your design layout carefully can significantly enhance the quality and appeal of your projects. Mindfulness of these common pitfalls leads to more satisfying results and beautiful paper twist crafts.
Typical design flaws involve misjudging the proportions of the twisted elements or not planning the layout properly, which can result in imbalance or unsightly appearances. Avoiding these mistakes requires careful attention to detail and a thoughtful approach to your designs. Following best practices and learning from common errors improves your paper twisting skills, leading to stunning creations.
Glue Issues
Common problems crafters encounter with glue include uneven application, overuse, and glue oozing. To avoid these issues, use a controlled amount of tacky glue and allow sufficient drying time as specified by the glue’s instructions.
Uneven application of glue can lead to parts of the project not adhering properly and can cause structural weaknesses. By applying glue evenly and carefully, you can ensure that your paper twist creations are strong and durable.
Design Flaws
Overcomplicating designs with excessive elements can lead to clutter; simplicity often creates a more powerful visual impact. When planning your paper twist projects, focus on balance and symmetry to achieve visually appealing results.
By keeping your designs straightforward and thoughtfully arranged, you can avoid common design flaws and create beautiful, well-proportioned crafts and continue to enhance your skills.
Summary
In summary, paper twisting is a versatile and accessible craft that offers endless possibilities for creativity. From mastering basic techniques to exploring advanced designs, incorporating paper twists into art projects and home décor can elevate your creations to new heights. By avoiding common mistakes and seeking inspiration online, you can continuously improve and share your unique designs with the crafting community. So, grab your materials and start twisting your way to stunning crafts that will amaze and inspire!
Frequently Asked Questions
What materials do I need to start paper twisting?
To start paper twisting, grab some thin, flexible paper like construction or tissue paper, along with tacky glue and sharp scissors. That’s all you need to get twisting!
How can I avoid common glue issues in paper twisting?
To avoid common glue issues in paper twisting, just use the right amount of tacky glue, spread it evenly, and give it enough drying time according to the instructions. This way, you’ll get strong adhesion without any hassles!
What are some beginner-friendly paper twist designs?
You can’t go wrong with twisted flowers, loops, and spirals if you’re just starting out! These easy shapes are super versatile for all kinds of crafts.
How can I find inspiration for my paper twisting projects?
Check out Pinterest for tons of creative ideas and tutorials for your paper twisting projects. Also, dive into crafting communities on social media for more inspiration and helpful feedback!
What are some common design flaws in paper twisting, and how can I avoid them?
To avoid common flaws in paper twisting, keep your designs simple and balanced, and pay attention to proportions. Simplicity is key for making your creations visually appealing!
