

If you can roll, pinch, and glue a small coil, you can make surprisingly polished quilling art. This post walks through paper quilling shapes for beginners so you can learn the basics, solve common mistakes, and start with small projects that feel fun instead of hard.
- Key Takeaways
- What Is Paper Quilling (and Why Start With Basic Shapes?)
- Essential Tools and Materials for Making Quilling Shapes
- How to Roll Perfect Coils: The Foundation of All Shapes
- Core Basic Quilling Shapes Every Beginner Should Master
- Simple Scroll Shapes (No Glue at the End)
- Practice Drills: Building Control and Consistency
- Beginner Project Ideas Using Only Basic Shapes
- Common Beginner Mistakes (and How to Fix Your Shapes)
- FAQ About Paper Quilling Shapes for Beginners
Key Takeaways
- Mastering basic shapes such as the tight coil, loose coil, teardrop, marquise, square, triangle, and scrolls unlocks most beginner projects.
- You only need simple tools: quilling paper strips, a slotted tool or needle tool, glue, scissors, and a circle sizer.
- Practicing shapes in small batches helps you make petals, leaves, and abstract elements the same size more easily.
- The FAQ answers practical beginner questions about paper strips, tools, storage, and troubleshooting.
What Is Paper Quilling (and Why Start With Basic Shapes?)
Paper quilling, also called paper filigree or paper filigree art, is the craft of rolling narrow paper strips into a coil, then shaping and gluing them into designs. It dates back centuries and is still popular for cards, framed art, jewelry, decorations, and modern quilling art.
- Quilling paper is pre-cut paper made in even widths, while regular paper must be cut by hand.
- Using pre-cut paper strips for quilling projects can lead to better results, especially for beginners, as they provide uniformity in size.
- Use pre-cut paper strips for your first projects to achieve better results, as they provide precision that can help beginners succeed.
- Almost every complex design is built from different shapes repeated in a pattern.
- This tutorial focuses on flat paper quilling shapes for beginners, not advanced 3D work.
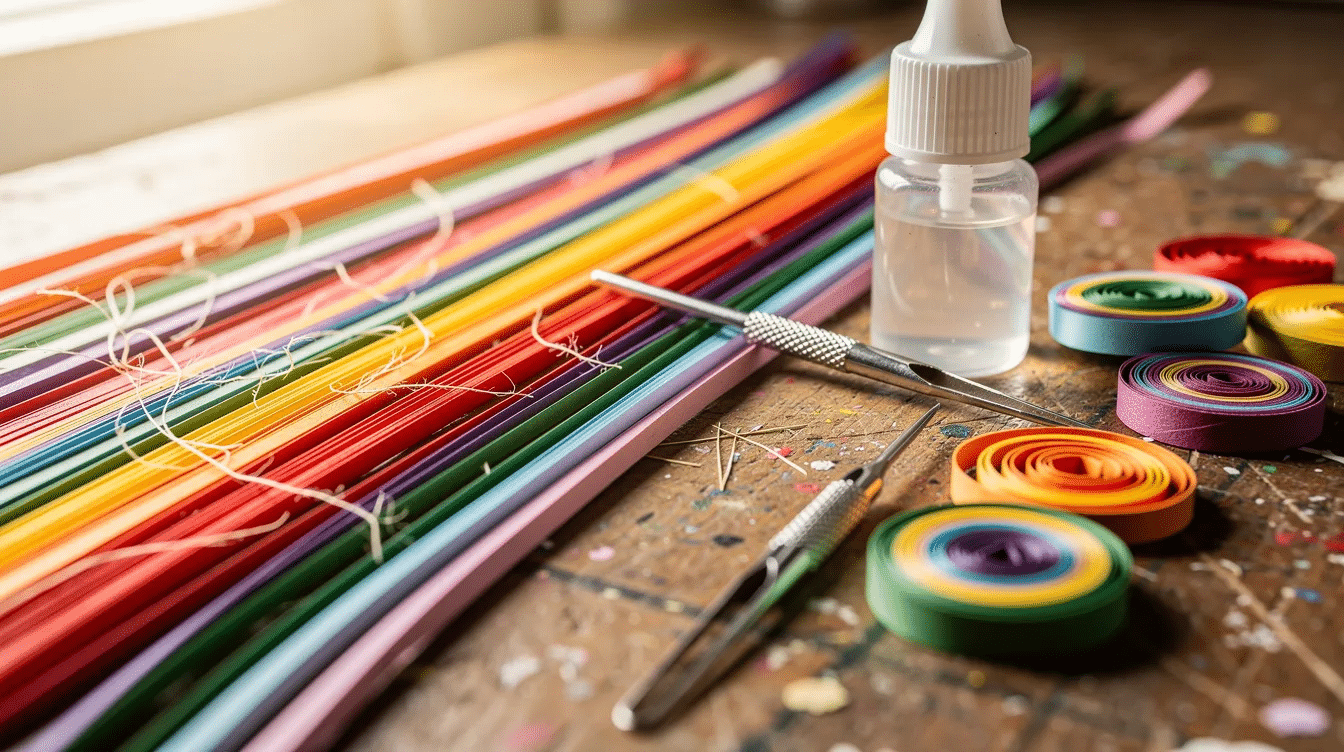
Essential Tools and Materials for Making Quilling Shapes
You can purchase a full kit, but a small starter setup is enough.
- Paper strips: Start with 3 mm or 5 mm strips. Around 80–120 gsm paper rolls well and holds its shape.
- Slotted quilling tool: A slotted quilling tool grips the end of the strip, making it easier than a toothpick. A slotted tool may leave a tiny crimp, while a needle tool gives cleaner coils once you have more control.
- Other tools: Essential tools for paper quilling include quilling paper, a quilling needle tool, scissors, glue, a circle sizer ruler, and a quilling comb.
- Sizing tools: A circle sizing board is a useful tool in quilling, as it helps achieve consistency in the shapes of rolled paper.
- Work surface: A cork board or cork mat with pins can protect your table and hold outlines while glue dries, and choosing the best types of paper for craft will make your coils roll more smoothly and hold their shape.
- Glue: Use PVA or tacky glue. Apply it with a fine-tip bottle, pin, scrap card, or toothpick. Less is more.
- Starter idea: Buy one pack of 5 mm strips, one slotted tool, glue, tweezers, and a circle sizer.
How to Roll Perfect Coils: The Foundation of All Shapes
Mastering foundational coils allows the creation of petals, leaves, and abstract elements used in almost all paper quilling designs. Start here before making basic shapes.
- Insert one end of a strip into the slotted tool.
- Roll slowly while keeping steady tension.
- Keep the strip edge aligned so the coil does not wobble.
- Tight Coil is created by rolling a paper strip tightly and securing the end with glue.
- To make a loose coil, roll tightly, release it into your fingers or a circle sizer hole, let it relax, then glue the end.
- Practice 10 tight coils and 10 loose coils in several sizes before moving on.
When gluing your rolled paper shapes, use glue sparingly to avoid ruining your project, as excess glue can be difficult to remove.
Core Basic Quilling Shapes Every Beginner Should Master
These are the most common beginner shapes. Mastering basic paper quilling shapes is essential before starting more complex projects, and creating a reference sheet can be beneficial.
- Teardrop: Teardrop shape is formed by rolling a loose coil and pinching one side to create a pointed end. Use it as a petal, raindrop, flame, or fish body.
- Marquise: Marquise, or Eye, is created by rolling a loose coil and pinching both opposite sides simultaneously. It is ideal for a leaf, wing, or flower petal.
- Marquis: The most basic quilling shapes include the teardrop and marquis, which can be created by pinching the ends of a loose coil.
- Square: Square or Rectangle shapes are created by pinching a loose coil at four equal distances to form corners. Use them for borders and mosaic patterns.
- Triangle: Triangle shape is made by pinching three sides of a loose coil firmly. Try it for mountains, trees, or abstract designs.
- Half circle: Basic shapes in quilling can also include squares, triangles, and half circles, which can be formed by manipulating loose coils.
- Oval: Gently stretch a loose coil without a sharp pinch for centers, bodies, and soft details.
Make a shape chart by gluing each labeled piece onto a sheet of cardstock. Note strip width, size, and color so you can confirm the recipe later.
Simple Scroll Shapes (No Glue at the End)
Scroll shapes in quilling can be made by twirling the paper without gluing the end, allowing for various designs by adjusting the rolling technique.
- Open scroll: Roll one end and let it relax for vines or waves.
- S-scroll: Roll both ends toward the center in opposite directions.
- C-scroll: Roll one or both ends in the same direction.
- Heart shape: Heart shape is formed by folding a strip in half and rolling both ends inward toward the center fold.
- V-Scroll: V-Scroll is created by folding a strip of paper in half and rolling both loose ends outward.
Scrolls are a helpful way to practice tension because the ends remain open.
Practice Drills: Building Control and Consistency
Short drills teach control faster than random practice, and following a comprehensive guide to paper quilling art for beginners can give you additional structure as you practice.
- Shape grid: Draw boxes on a page and fill each box with one shape.
- Timed set: Roll 10 matching teardrops in 10 minutes.
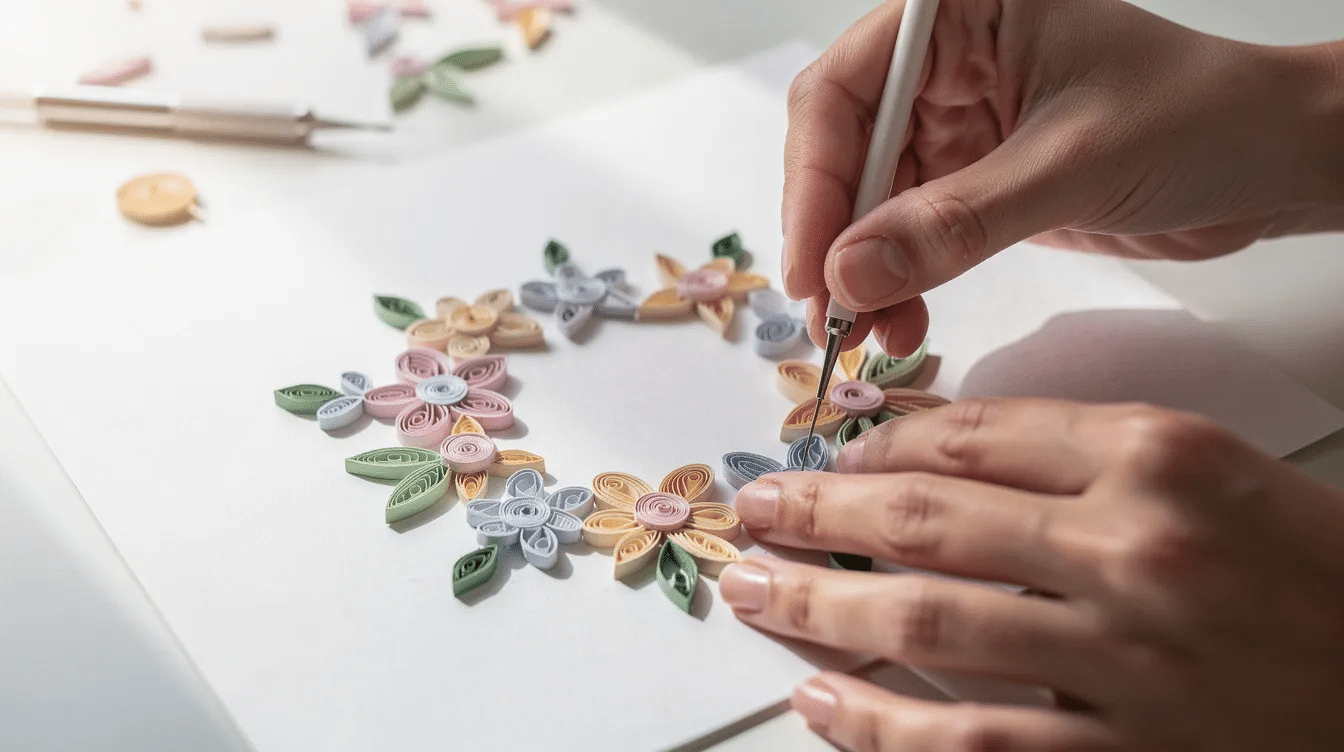
- Mini flower: Attach 6–8 teardrops around a tight coil center, then add a pair of marquise leaves.
- Variations: Cut different strip lengths and compare how width, color, and length expand the same shape.
Start with smaller paper quilling projects to avoid feeling overwhelmed and to build your skills gradually. Using a premade quilling pattern can be helpful for beginners, as it provides guidance and helps build skills, similar to cute crafts paper ideas for fun and easy DIY projects you can try with kids or friends.
Beginner Project Ideas Using Only Basic Shapes
You can create complete designs with simple layouts, and browsing Simply Paper Crafts for inspiration can spark new ways to use these basic shapes.
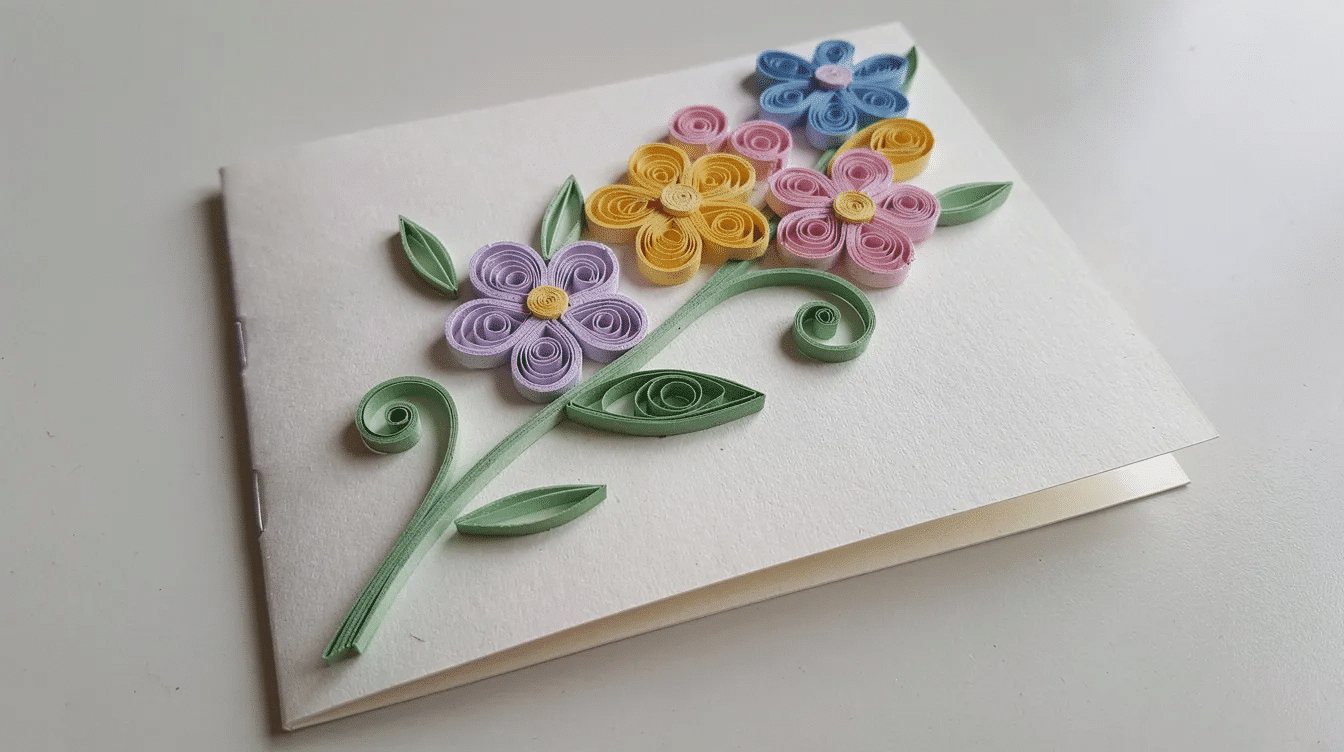
- Greeting card: Arrange marquise leaves, tight-coil centers, and teardrop flowers on cardstock.
- Heart bookmark: Combine teardrops, half circles, and heart scrolls, or switch things up with creative paper squishies ideas for a different kind of soft, dimensional paper project.
- Fish or butterfly: Use teardrops for fins and marquise shapes for wings or bodies.
- Flat first: One-layer projects are easier before you explore raised or 3D designs.
If you browse youtube videos or internet tutorials, keep a practice log, save a link you like, and give credit when you share an idea in a community comment. A bot, random account, or viral “wow” trick cannot replace hands-on practice, but good videos can teach small tips and tricks.
Common Beginner Mistakes (and How to Fix Your Shapes)
Use these suggestions when something looks tricky.
- Coils pop open: Add a tiny dab of glue, press the end firmly, and let it dry before moving.
- Shapes look uneven: Re-roll the coil, use the circle sizer, and keep even tension.
- Strips tear: Reduce pressure and avoid paper that is too thin or too stiff.
- Glue smudges: Use less glue, lift excess with a pin tip, and work on scrap paper or acetate.
- Sizes vary: Use the same strip length and mark favorite circles on your reference sheet.
- Imperfect pieces: Keep them for layout tests instead of throwing them away.
FAQ About Paper Quilling Shapes for Beginners
How many basic quilling shapes should I learn first?
Learn 6–8 shapes first: tight coil, loose coil, teardrop, marquise, square, triangle, half circle, and one scroll. It is better to understand a few shapes well than rush into advanced forms.
Can I use regular paper instead of quilling paper strips?
Yes, but quilling paper is easier because it is evenly cut. If you cut your own strips, use lightweight colored paper, a paper trimmer, and 3–5 mm widths.
Do I really need a slotted tool, or can I just use a toothpick?
A toothpick works, but a slotted tool holds the strip securely and helps beginners roll faster. Later, try a needle tool for cleaner, tighter work.
How do I keep my shapes the same size for a project?
Use a circle sizing board or ruler, the same strip length, and a labeled reference sheet. This helps every coil relax to a consistent diameter.
How should I store finished shapes if I’m not using them right away?
Store shapes in shallow lidded containers or compartment boxes. Label each section, such as “marquise – 10 mm,” to protect your work and make the next project easier.
Paper quilling rewards patience. Sign your first practice page, acknowledge your progress, and be glad if your first shapes are imperfect. Each step makes the next coil cleaner.



