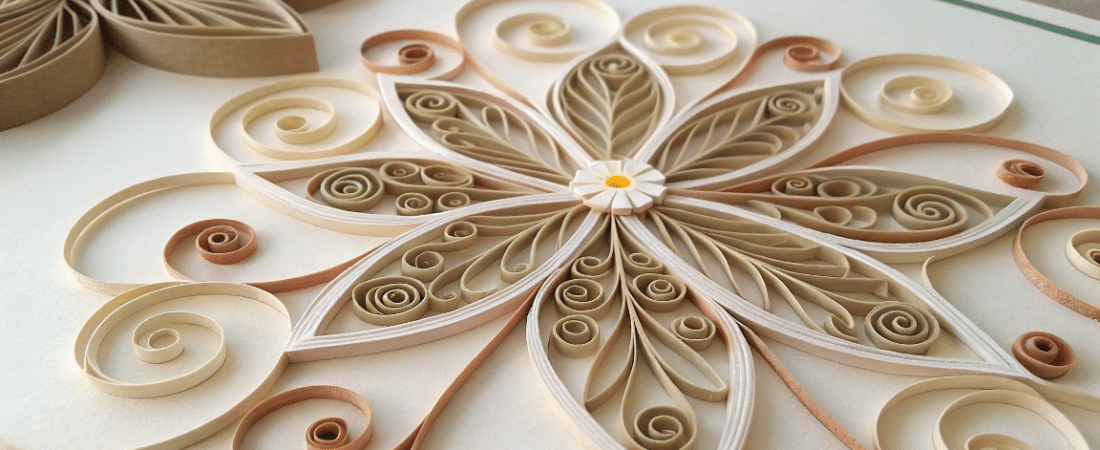
Paper quilling art, the craft of rolling and shaping paper strips into detailed designs, is both versatile and accessible. The name quilling is thought to come from birds’ feathers, or quills, which were used to coil strips of paper. In this article, you’ll learn about essential supplies, basic and advanced shapes, and creative project ideas to get you started or enhance your quilling journey. Let’s explore the art of paper quilling together.
Key Takeaways
- Gathering essential supplies, such as the right quilling tools and a dedicated workspace, is crucial for a successful paper quilling experience.
- Mastering basic shapes like coils, teardrop, and marquis forms lays a strong foundation for creating intricate quilling designs.
- Applying your quilling skills in creative projects like greeting cards, framed art, and jewelry allows for personal expression and showcases your artistic talent.
Essential Supplies for Paper Quilling Art
Before starting your paper quilling journey, gather the essential supplies to ensure an enjoyable and successful crafting experience. The most basic tool you’ll need is the quilling tool, which comes in two main types: the slotted tool and the needle tool. The slotted tool is often recommended for beginners because it makes it easier to roll the paper strips. However, some artists prefer the needle tool for its ability to create tighter coils. For beginners, 1/4″ wide quilling paper is recommended as it is easier to manipulate.
Tweezers are another must-have item for quilling. They help you handle small paper pieces with precision and speed up the process significantly. Thin scissors are also beneficial, especially for achieving clean edges on your paper strips, although some artists prefer to tear the strips for a more natural look. A needle-nosed glue bottle is essential for applying tiny drops of glue accurately, reducing mess and ensuring your quilling creations stay intact.
A designated workspace, like a drafting table or cork board, can greatly enhance your quilling experience. A drafting table offers organization and convenience, while a cork board provides a stable base to arrange designs, allowing the use of pins to hold pieces in place without causing damage.
Having the right tools and supplies is crucial for successful paper quilling, significantly enhancing the quality of your work and the helpful ease of creation when you have purchased the right quill materials.
Mastering Basic Shapes in Paper Quilling
Mastering basic shapes forms the foundation of paper quilling, essential for creating intricate designs. Quilling paper comes in various colors and widths, with the standard 1/8” width being a popular choice for many artists. Tracing paper can be useful for sketching your designs and transferring patterns accurately.
The three fundamental shapes in quilling are coils, teardrop shapes, and marquis shapes. Quilling designs begin with rolling a single strip of paper into a coil and then pinching the coil into shapes that can be glued together. These basic shapes form the building blocks for more advanced designs and are crucial for any quilling project that may include images, illustrating the concept of creativity in this art form.
First, learn how to create coils.
Creating Coils
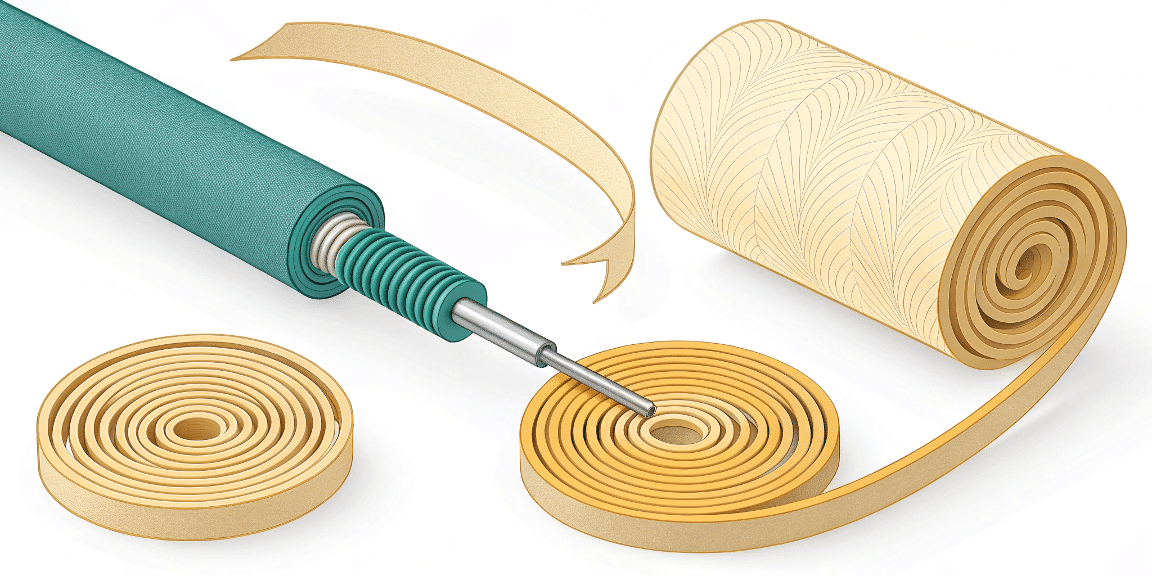
Coils are the most fundamental shapes in paper quilling and can be either open or closed. To create an open coil, start by rolling a paper strip around your quilling tool and allow it to loosen slightly before securing it with glue. For closed coils, roll the paper strip tightly around the tool and secure it with glue before letting it unroll.
Rolling quilling strips with the natural curve of the paper can enhance the quality of your coils, making them more uniform and visually appealing. Mastering consistent coils sets you on the line to crafting beautiful rolled quilling designs.
Crafting Teardrop Shapes
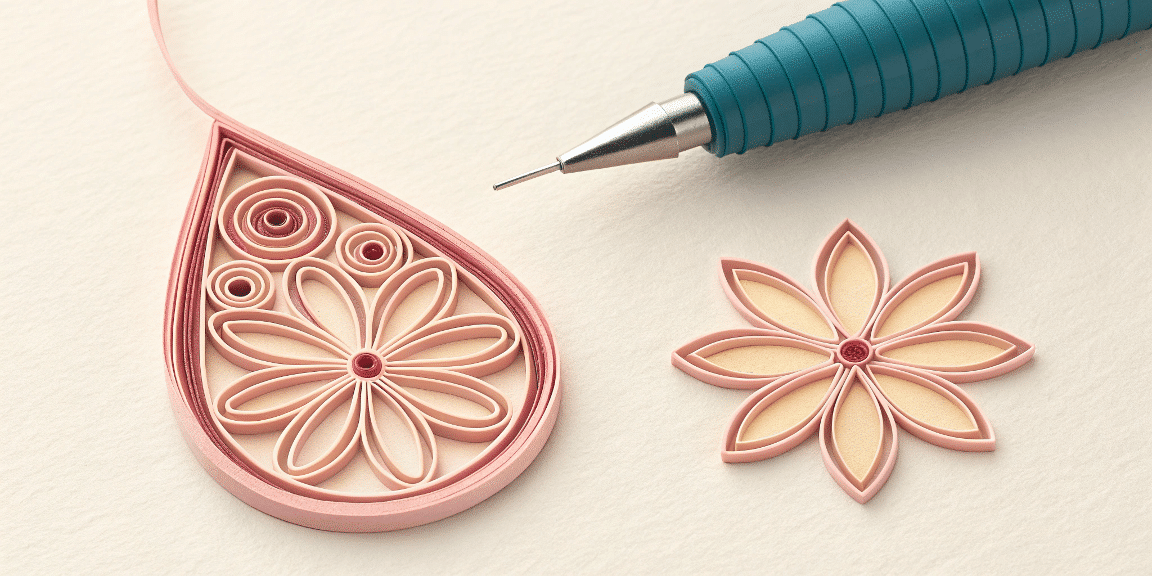
Teardrop shapes add a delicate touch to your quilling creations. Begin with a loose coil and pinch one end between your fingers to form a pointed shape that resembles a droplet. Adjust the inside coils to achieve the desired appearance for a polished teardrop effect.
This simple yet elegant shape can be used in various designs, from flower petals to intricate patterns. Mastering the teardrop shape opens up new possibilities for your quilling projects.
Forming Marquis Shapes
Marquis shapes are created by pinching both ends of a teardrop shape, resulting in a long, pointed form that is shaped by how much you press the coils together.
These shapes are versatile and can be used to create leaves, petals, and other intricate designs. Mastering the marquis shape adds another valuable tool to your quilling repertoire.
Advanced Paper Quilling Shapes
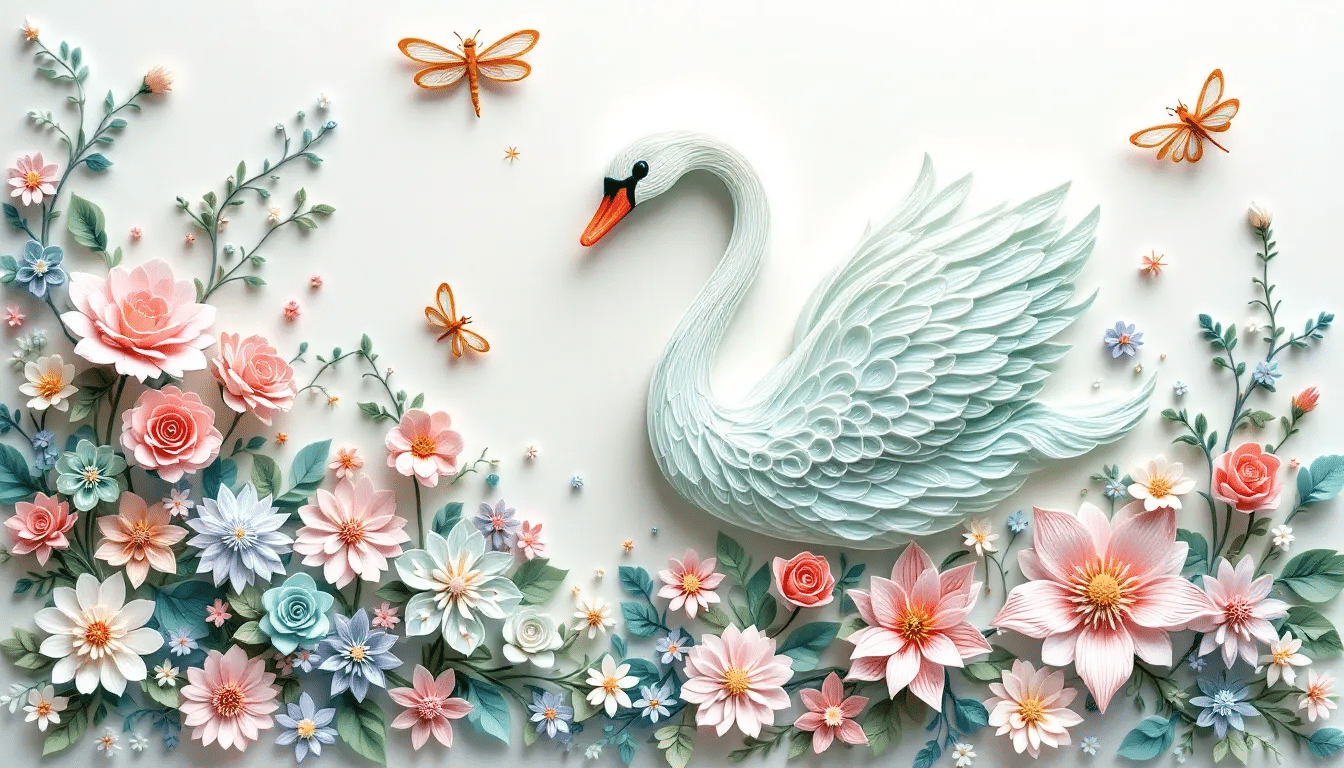
Once you’ve mastered the basic shapes, it’s time to explore more advanced quilling techniques. Understanding and combining these shapes will allow you to create more intricate and detailed designs.
Start by listing some forbidden forms of the keyword “step” according to the rule 5. Next, explore how to create tulip shapes, slug shapes, and hearts and stars. This step will enhance your artistic expression and inspire you to continue pushing the boundaries of your quilling creations.
Making Tulip Shapes
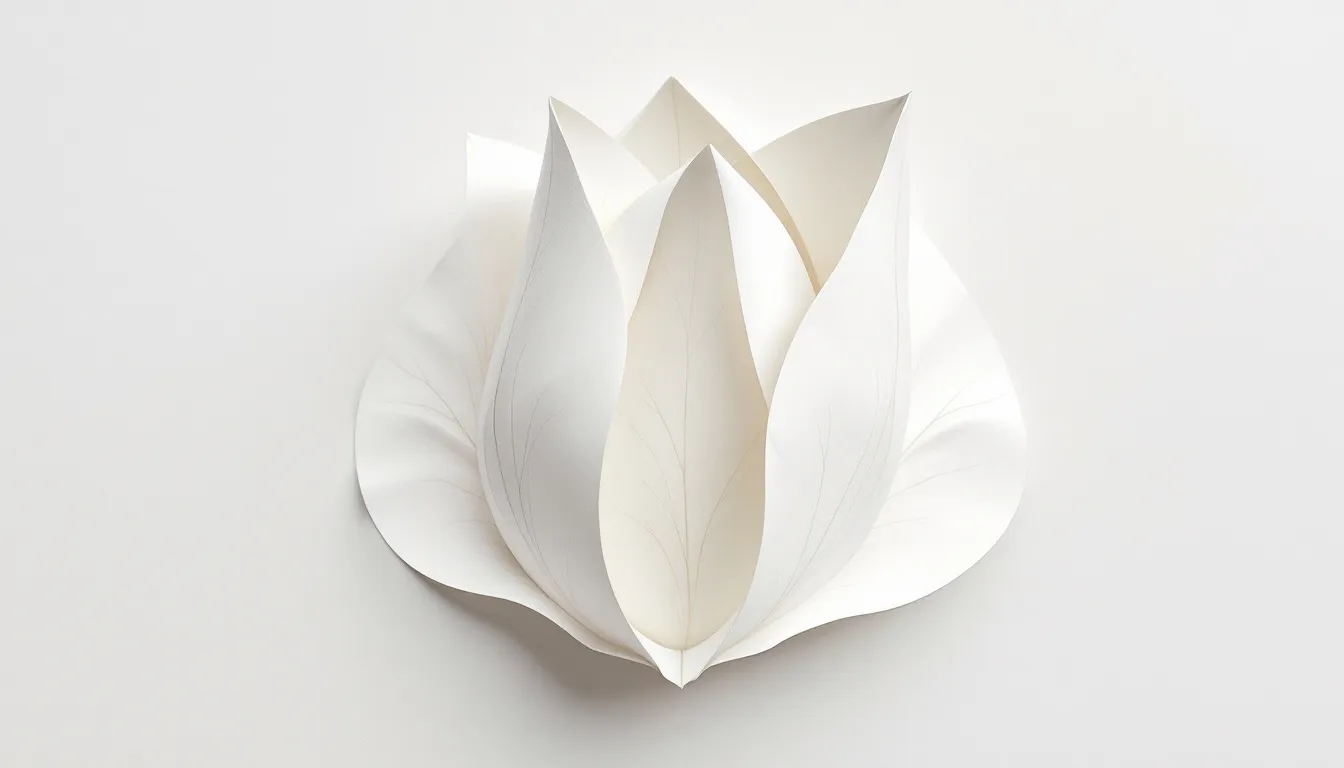
To create tulip shapes, start with a marquis shape and pinch additional points on the sides where the marquis curves inward. To create a tulip shape, begin by rolling a marquis and then pinching a center peak with your fingers. This technique gives the impression of tulip petals, adding a floral touch to your designs.
Refine your tulip shapes by adjusting the pinches for a more natural look, experimenting with different angles and pressure to perfect your technique. Tulip shapes can add a beautiful, natural element to your quilling projects.
Designing Slug Shapes
Slug shapes are crafted by wrapping marquis shapes around a cylindrical tool or your finger to achieve a unique round curved design that can cut a three-dimensional form, adding depth to your quilling creations using this method.
Experiment with wrapping each end of the marquis shape in opposite directions to create dynamic slug shapes. These shapes can be used in various designs to add movement and interest.
Shaping Hearts and Stars
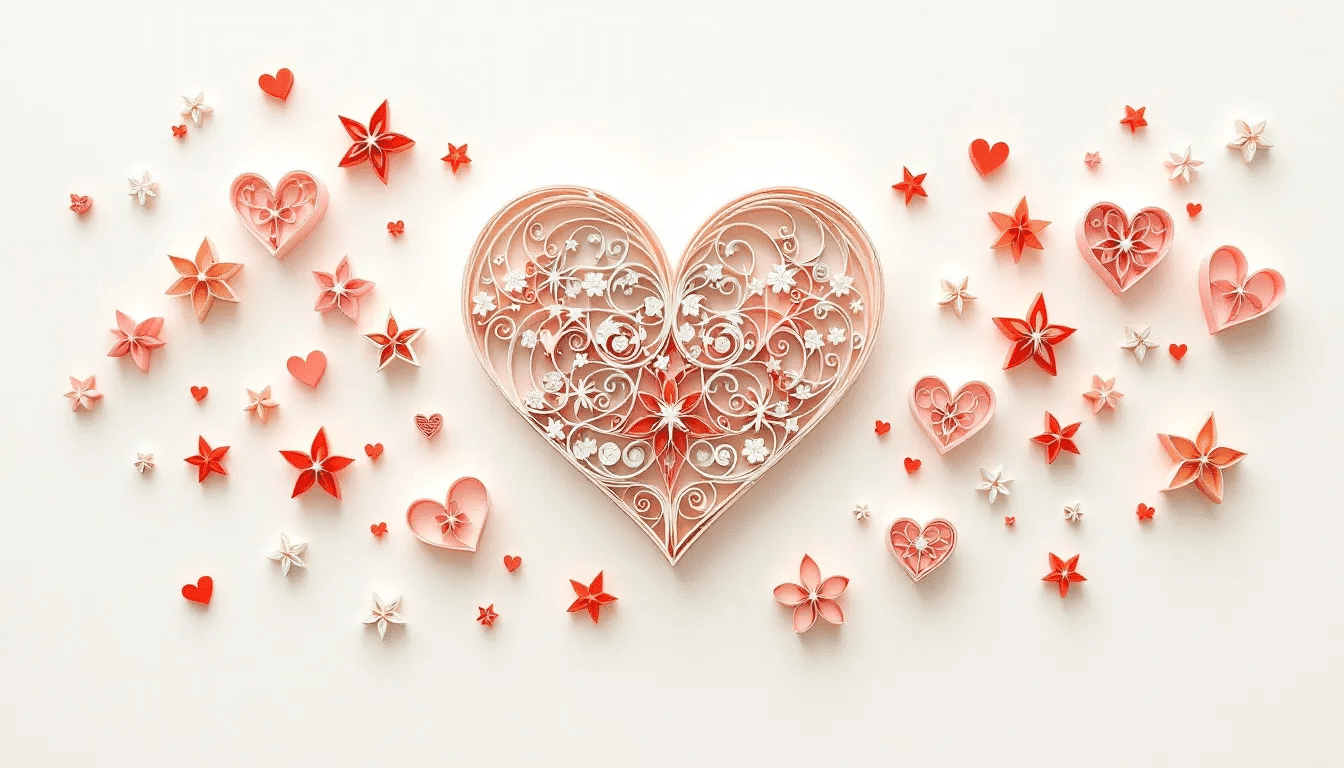
Heart shapes can be made by bending and sealing both ends of a teardrop shape, creating a classic symbol of love. Stars, on the other hand, can be formed by adjusting the angles of a pentagon shape to create defined points.
These shapes are perfect for creating themed designs and adding a personal touch to your quilling projects. Mastering hearts and stars enables you to tell your own quilling story and create designs that resonate with emotion and creativity.
Creative Paper Quilling Projects
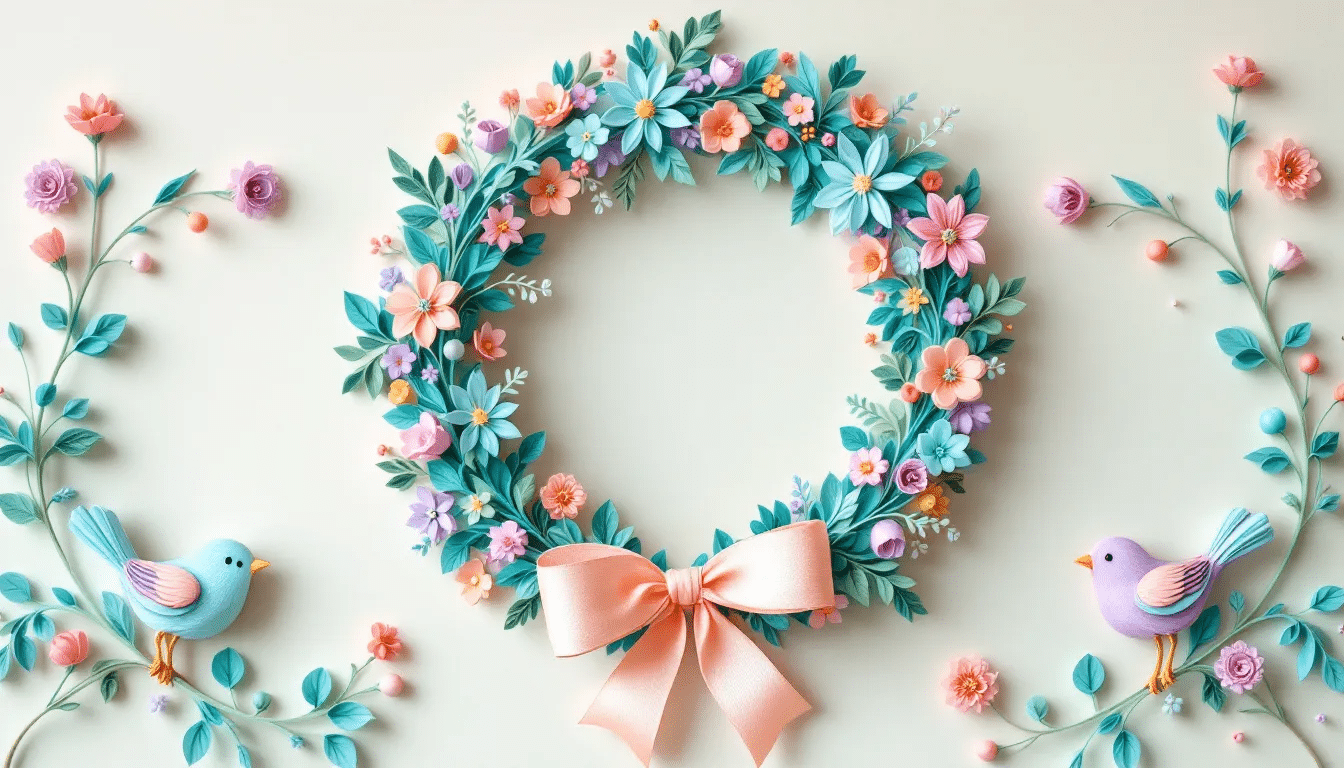
Now that you’ve learned various shapes, it’s time to apply them to creative quilling projects. The possibilities are endless, and your imagination is the only limit. From greeting cards to framed art and jewelry, you can create beautiful and intricate designs that showcase your quilling skills.
Here are some specific project ideas to suggest inspiration for you. Whether you’re creating a personalized gift or a piece of art for your home, these craft projects will help you make the most of your quilling abilities.
Quilling Greeting Cards
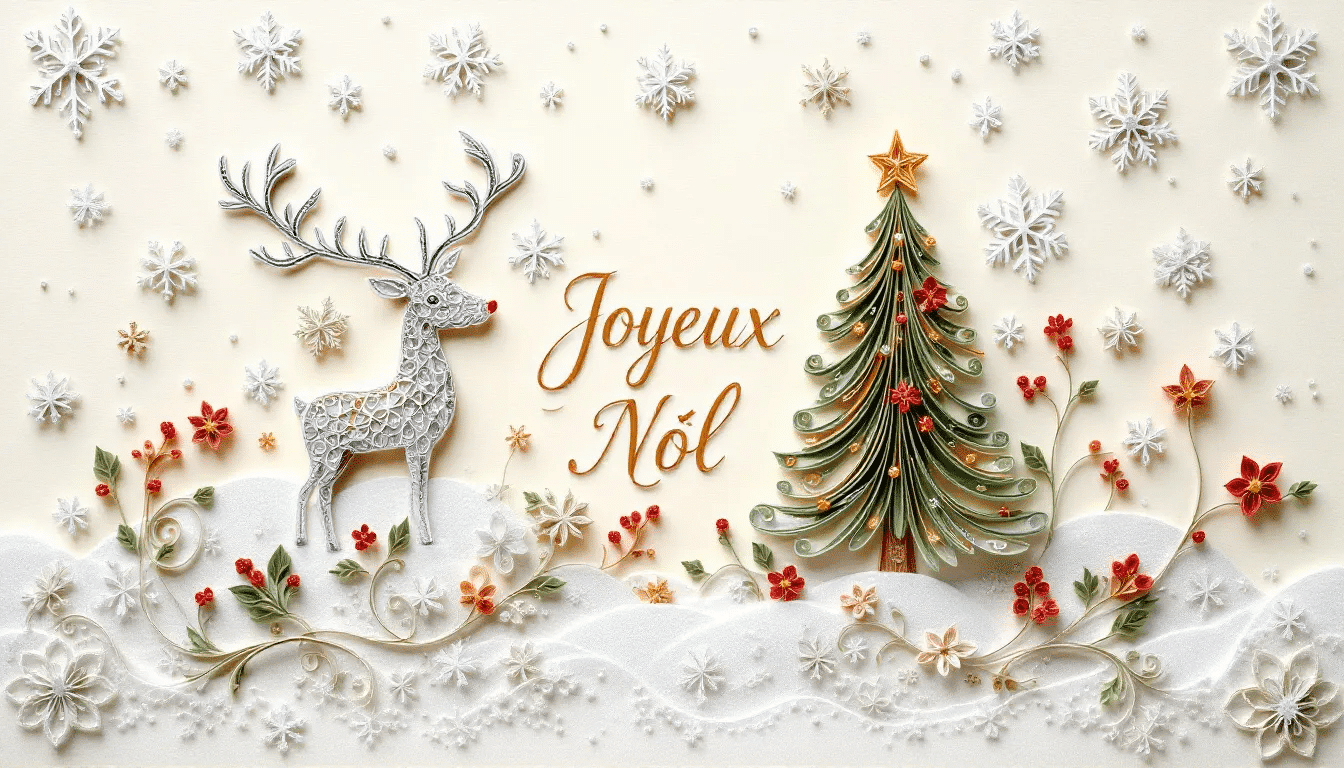
Quilled greeting cards are a great way to share your creativity with others. You can draw inspiration from existing designs or come up with your own unique concepts. Seasonal themes can make your cards even more special and timely.
Using different quilled shapes adds visual appeal and personalization to each card. Whether it’s for a happy birthday, anniversary, or holiday, a quilled greeting card is sure to bring joy to the recipient.
Framed Quilling Art
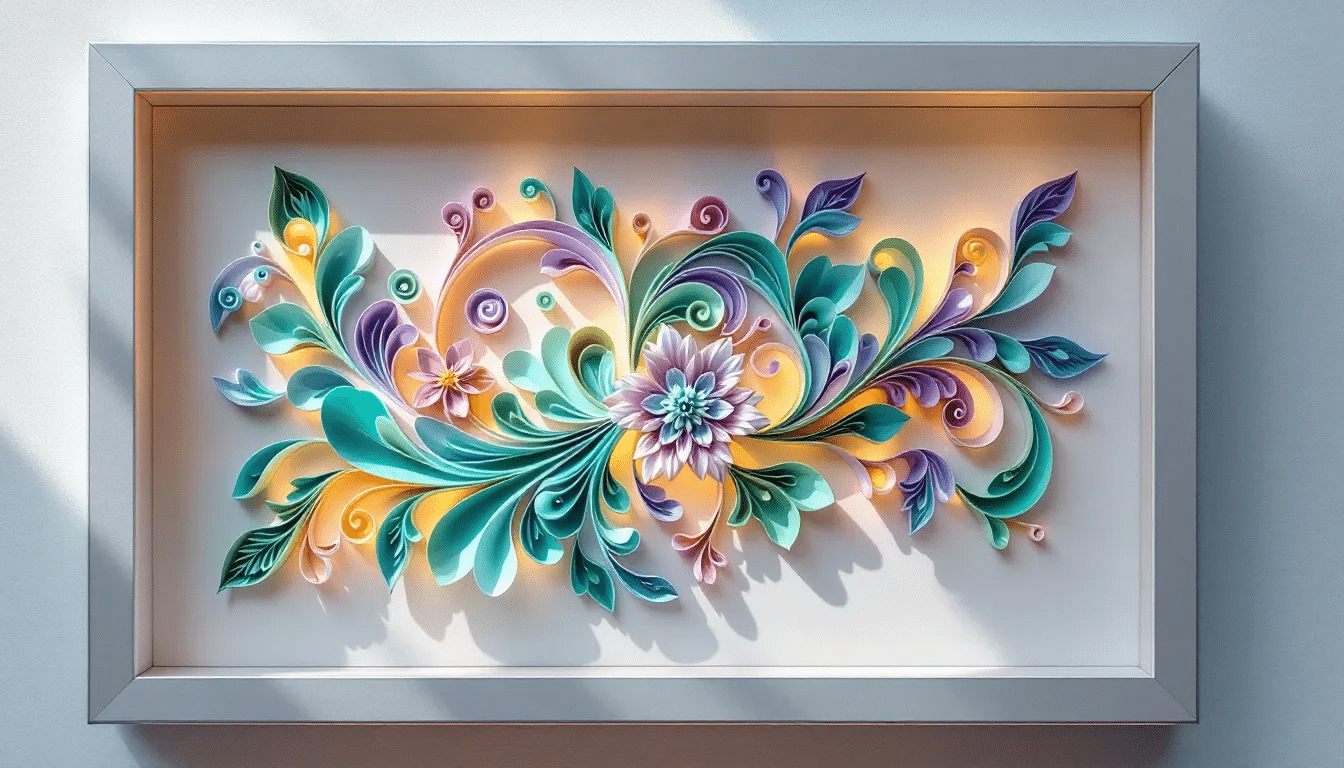
Creating framed quilling art allows you to combine various shapes and colors into a unique piece that can be proudly displayed in your home. Using shadowbox frames provides ample space for the three-dimensional nature of quilled designs.
Take the overall decor and lighting into account when displaying your framed art to highlight its intricate details. Framed quilling art can add a touch of elegance and creativity to any room.
Quilled Jewelry
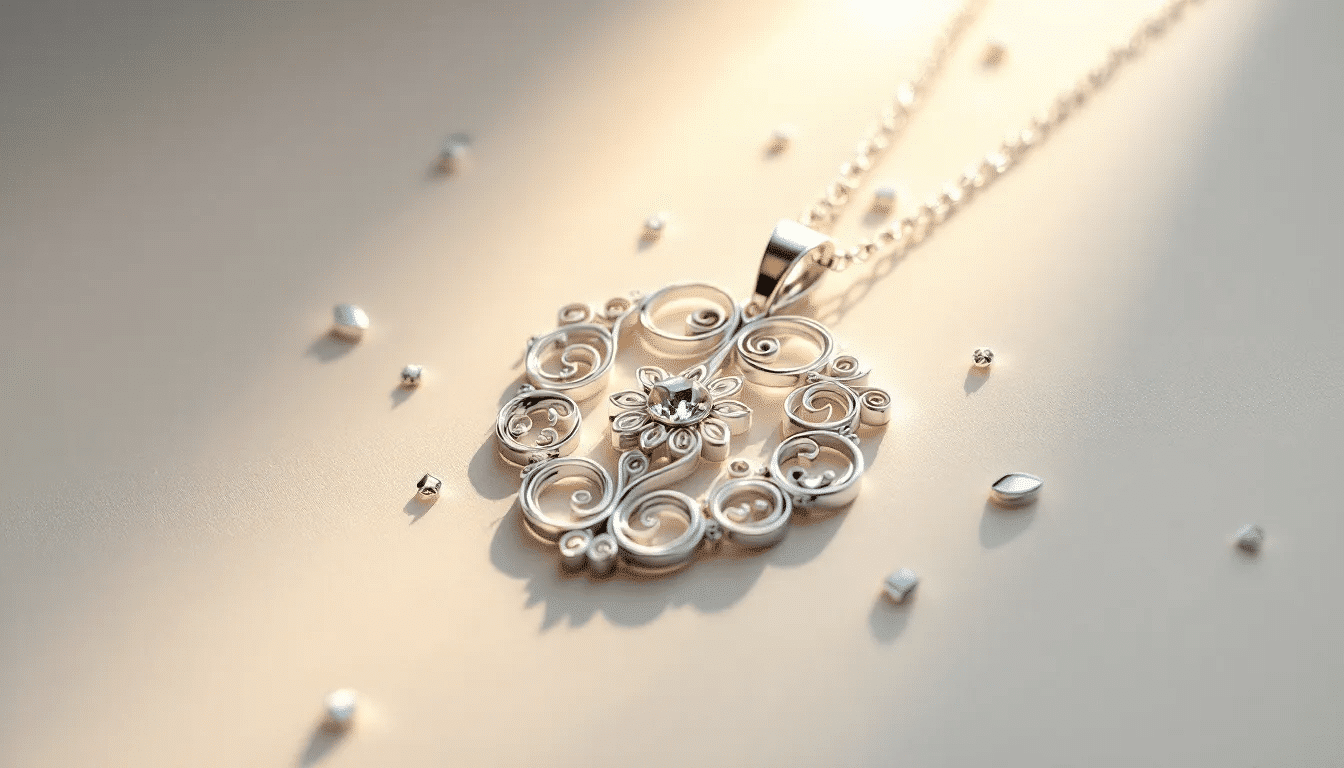
Quilling is perfect for creating lightweight and durable jewelry, such as earrings and pendants. These pieces can be crafted quickly, often taking less than an hour to complete, making them easy and accessible for beginners. A first-time quilling tool can be made by splitting the tip of a toothpick, offering a simple and cost-effective way to start.
Rolling and shaping paper strips into intricate designs allows you to create unique and stylish accessories, adding a personal touch to your wardrobe. Quilled jewelry is a fun and rewarding project that allows you to wear your art with pride.
Tips for Perfecting Your Quilling Technique
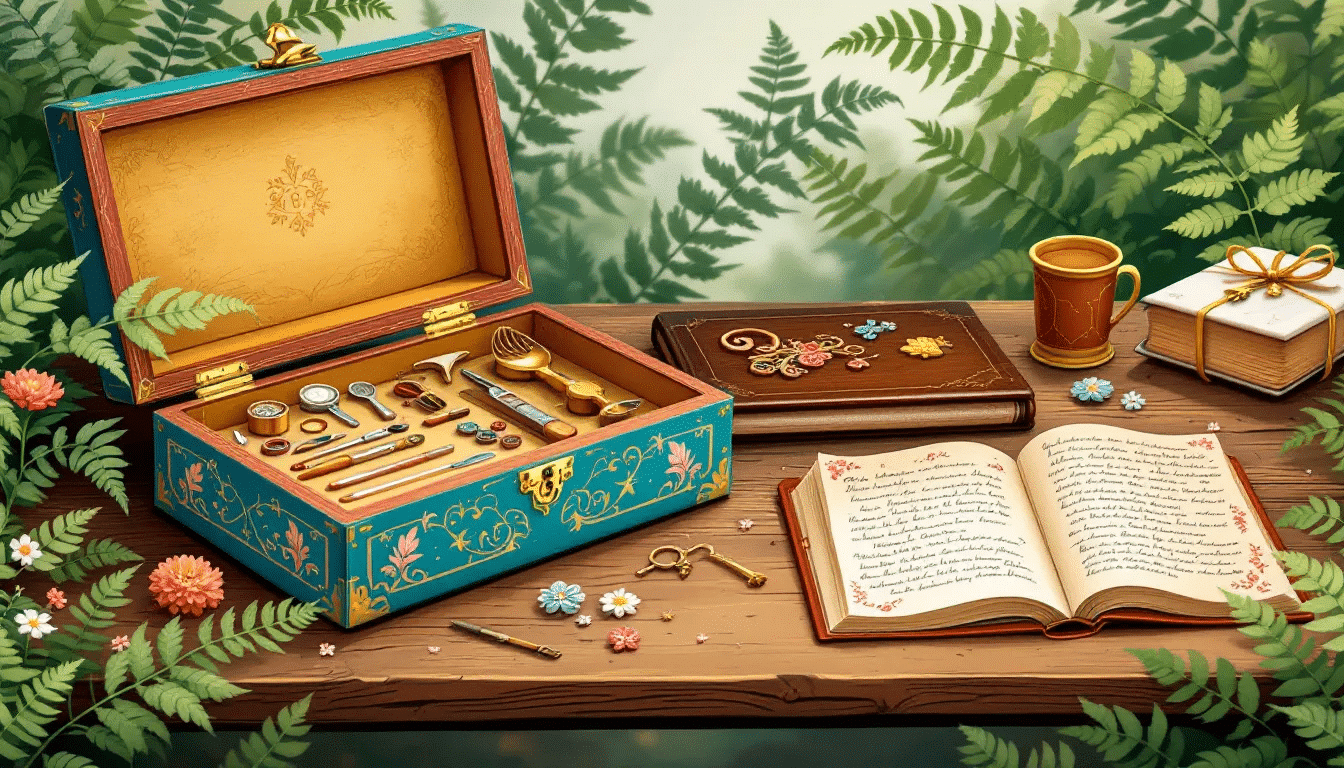
Perfecting your quilling technique requires practice, patience, and the right tools. Regularly experimenting with different techniques can significantly enhance your skills and lead to more refined and professional-looking quilling creations.
Here are tips on choosing the right tools, applying glue effectively, and the importance of regular practice. These tips will help you improve your technique and achieve beautiful results in your quilling projects.
Choosing the Right Tools
Selecting the right quilling tools is essential for achieving the best results. A needle quilling tool is preferred by some crafters for its ability to create tighter coils, while a slotted tool can make the rolling process smoother and more precise.
Dedicated tweezers can greatly improve the speed and precision of your quilling projects, making each bit of detail stand out. Choosing the right tools significantly enhances the ease and quality of your final creations.
Glue Application Tips
Applying glue effectively is crucial for keeping your quilling creations intact. Regular white glue can be effective if applied sparingly to avoid excess that could mar the finished design. Using a needle-nosed glue bottle allows for precise application of tiny glue drops, reducing mess and ensuring a clean finish.
Best practices in glue application ensure the integrity of your designs and a professional look. Keep a wet sponge nearby to prevent the glue from drying out and clogging the applicator tip. If the pieces are not properly aligned, they may become glued incorrectly.
Practice Makes Perfect
Setting aside dedicated practice time can significantly boost your quilling proficiency over the hours. Weekly practice sessions can lead to noticeable improvements in your skills and confidence, but you may wonder how much time you should spend for optimal results.
Joining quilling groups or online communities can provide motivation and feedback, enhancing your learning experience and helping you stay inspired. Practice makes perfect, and patience is key to mastering the art of quilling.
How to Display and Preserve Your Quilling Art
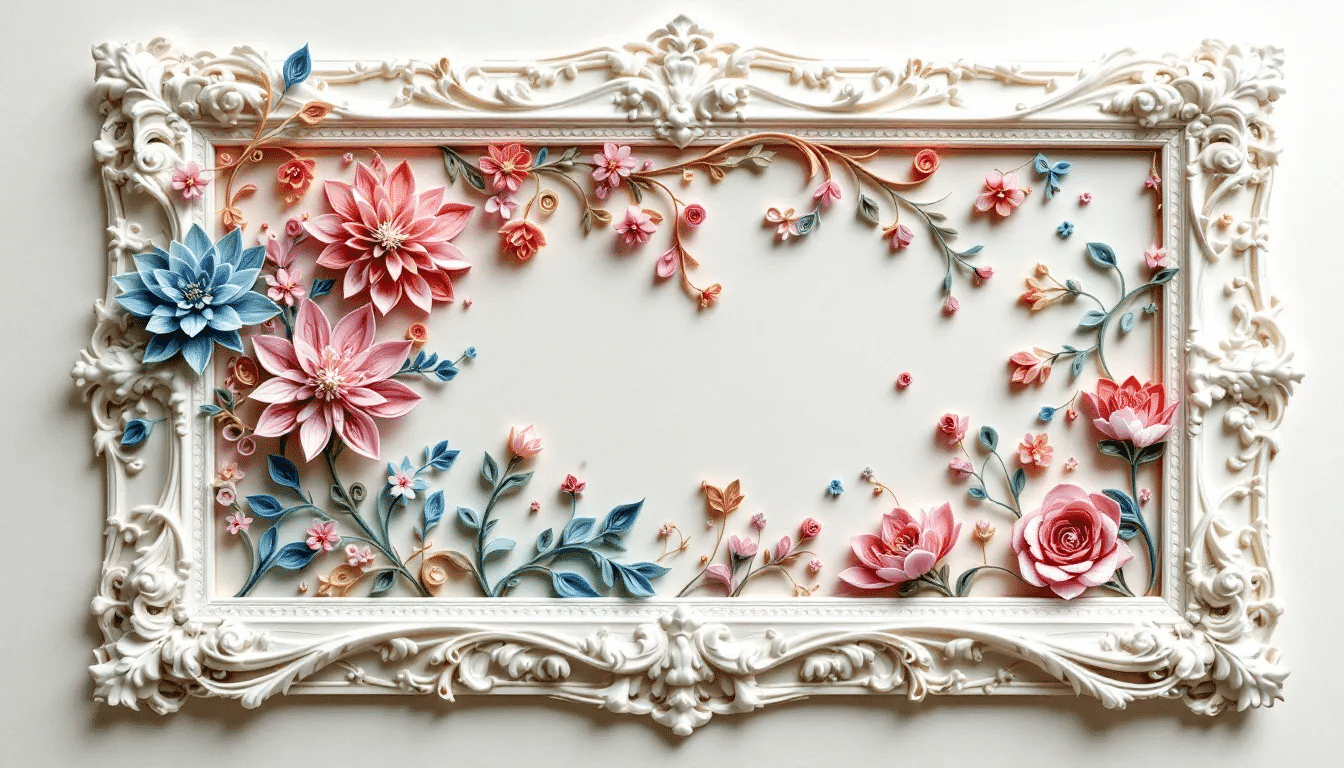
Displaying and preserving your quilling art photos is essential to maintain its beauty and longevity. Proper techniques for framing and mounting can enhance the visual appeal of your pieces and protect them from physical damage.
Here are tips for framing and mounting your quilling art and how to protect it from damage. Following these guidelines ensures that your quilling creations remain vibrant and intact for years to come.
Framing and Mounting
Framing and mounting quilling art showcases its intricate designs and protects the artwork. Deep or double mat frames create a suitable gap to accommodate the height of your quilled art without squishing it.
A shadowbox frame provides a three-dimensional display that emphasizes the intricate detail of your quilling art. Non-reflective glass is recommended to ensure that the details remain visible without glare. Matting enhances the presentation by providing a buffer between the artwork and the glass.
Protecting from Damage
Proper storage preserves your quilling art. Storing your pieces in a cool, dry place reduces the risk of damage from humidity, which can cause the paper to distort or fade. Regular dusting is necessary to maintain the appearance of quilling art displayed without glass.
Using glass frames can protect your work from dust and moisture while keeping it visible. Additionally, avoiding direct sunlight can prevent color from fading, ensuring your quilling creations remain vibrant and beautiful for years. A good paint can also enhance the overall presentation of your quilling.
Summary
In this guide, we’ve covered the essential supplies needed for paper quilling, the fundamental and advanced shapes, and provided creative project ideas to inspire your next quilling creation. We’ve also shared tips on perfecting your technique and how to display and preserve your art. Quilling is resurfacing as a more accessible and affordable hobby for people of every age and background. Paper quilling is not only a rewarding hobby but also a beautiful way to express your creativity.
As you embark on your quilling journey, remember that practice and patience are key to mastering this art form. Each piece you create is a testament to your growing skills and creativity. So, gather your supplies, and let your imagination guide you in crafting stunning quilled art. Enjoy the process, and happy quilling!
Frequently Asked Questions
What are the essential supplies needed for paper quilling?
To dive into the delightful world of paper quilling, you’ll need quilling paper, a quilling tool, tweezers, thin scissors, a glue bottle, and a comfortable workspace. With these supplies, you’ll be all set to create beautiful designs!
How do I create basic shapes in paper quilling?
Creating basic shapes in paper quilling is simple and fun! Start by rolling paper strips to form coils, then pinch one end for teardrops and both ends for marquis shapes. Enjoy the creative process!
What are some advanced shapes I can try in paper quilling?
You can explore advanced shapes like tulips, slugs, and intricate hearts and stars in paper quilling. These shapes add depth and creativity to your projects, making your quilling experience even more enjoyable!
What are some creative quilling projects I can try?
Try your hand at quilled greeting cards, beautifully framed quilling art, or even quilled jewelry! These projects are a fantastic way to unleash your creativity and make personalized items that truly stand out.
How can I preserve and display my quilling art?
For vibrant quilling art that lasts, frame it in a shadowbox with non-reflective glass to protect its beauty. Storing it in a cool, dry place will help keep it safe from humidity and dust.
