Looking to become a paper model maker? This guide covers key techniques, tool recommendations, and advanced tips to help you create amazing paper models. Whether you’re just starting or looking to improve, you’ll find valuable insights here.
Key Takeaways
- Precision cutting and proper folding techniques are fundamental to achieving high-quality paper models.
- Utilizing the right software tools, such as Pepakura Designer and GIMP, enhances the transition from digital designs to physical models.
- Integrating electronics with papercrafts allows for innovative projects and expands creative possibilities.
- Understanding the Basics of Paper Model Making
- Choosing the Right Software Tools
- Finding and Importing 3D Models
- Unfolding and Preparing Templates
- Enhancing Models with Color and Texture
- Printing and Assembling Your Paper Models
- Integrating Paper Models with Electronics
- Creative Uses for Paper Models
- Tips and Tricks for Advanced Paper Crafting
- Free Templates and Resources
- Summary
- Frequently Asked Questions
Understanding the Basics of Paper Model Making
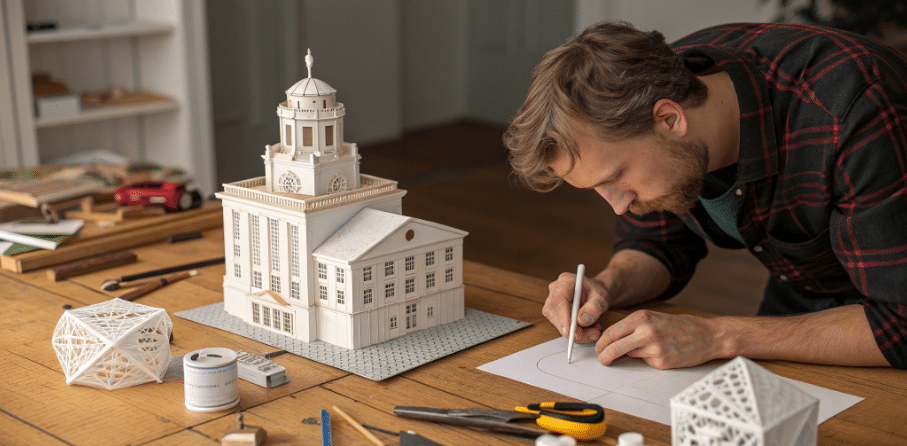
The foundation of any great papercraft model lies in precision cutting. Clean edges are essential, as they ensure a better fit during assembly and contribute to the overall appearance of the fine model. Without precise cutting, even the most beautifully designed templates can result in a finished product that looks sloppy and unprofessional, regardless of the length of the pieces. The center of attention in any project is the quality of the cuts made. A metal ruler is critical for guides to ensure perfectly straight cuts and for scoring, making it an indispensable tool for achieving precision.
Equally important are the folding techniques used in origami papercrafting. Properly executed folds can significantly influence the model’s final appearance and stability. Whether you’re creating sharp creases for geometric designs or gentle curves for more organic shapes, mastering various folding methods, including valley folds, is crucial for achieving professional results with folded paper. A scoring tool or bone folder creates creases in paper, preventing it from cracking during folding, which is essential for clean and precise folds.
Choosing the right paper is also a critical step in the papercrafting process. Different paper thicknesses affect the ease of cutting and the durability of the final model. Thinner paper allows for more intricate designs but is more prone to tearing, while thicker cardstock, specifically 80 lb (220g/m²), provides better durability. Cardstock in the 60 to 110 lb range is ideal for most paper models due to its durability, offering a balance between flexibility and sturdiness. Understanding these basics will set you on the path to creating stunning papercraft models.
Choosing the Right Software Tools
Selecting the right software tools is the first step in bringing your digital creations to life. One of the most popular programs for papercrafting is Pepakura Designer. This software turns 3D models into 2D patterns that you can cut, glue, and assemble, making it an invaluable tool for any papercrafter. Its user-friendly interface and robust functionality make it easy to get started.
Another essential tool is GIMP, a versatile photo editing software that can handle PDF files and is often used to add color to papercraft templates. GIMP allows users to import PDFs for editing, though it can only handle the default view of layered PDFs, which may require workarounds for more complex projects. Despite this limitation, GIMP remains a powerful tool for enhancing your papercraft designs.
When you decide which tools to use, consider your specific needs and preferences. Some may prefer the simplicity of Pepakura Designer, while others might value the advanced editing capabilities of GIMP. Understanding the strengths and limitations of each program will help you determine the best tools for your papercrafting projects.
Finding and Importing 3D Models
Finding the right 3D models is crucial for creating impressive papercraft models. Low-poly models are ideal for papercrafting due to their simplicity and ease of assembly. One of the best platforms for locating free 3D models is Thingiverse, which offers a vast collection of models suitable for papercraft.
For those who prefer to create their own models, here are some 3D design tools:
- Tinkercad: A user-friendly online 3D design tool perfect for creating low-polygon models.
- Metasequoia: A modeling software used for reducing polygon counts in 3D models before importing them into Pepakura.
- Blender: A powerful but complex 3D design software that can also be used for creating papercraft models, suitable for more advanced users.
Once you have your model, importing it into Pepakura Designer is straightforward. The software supports various 3D file formats, with the .obj file format being particularly compatible. By following these steps, you can easily load and prepare your models for papercrafting.
Unfolding and Preparing Templates
The process of unfolding and preparing templates is a critical step in papercrafting. Pepakura Designer enables users to convert 3D models into flat templates suitable for cutting and assembly. A well-structured template enhances the building experience and results in better assembly outcomes.
Adjusting paper size settings in Pepakura Designer to match your printer specifications is essential for ensuring that your templates print correctly. Additionally, customizing flap configurations can aid in the assembly process by making it easier to glue and secure the pieces together.
After making these adjustments, users can export their designs as PDF files using a virtual printer setup. This allows for easy printing and ensures that your templates are ready for the next step in the papercrafting process.
Enhancing Models with Color and Texture
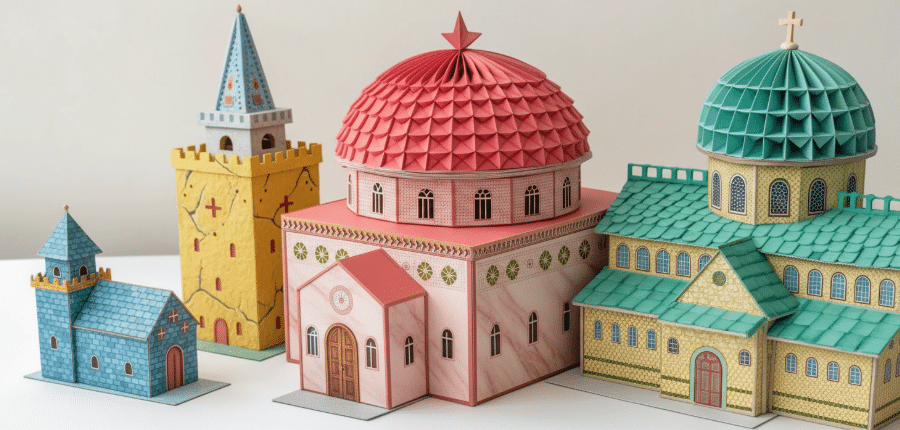
Enhancing your papercraft models with color and texture can significantly elevate their visual appeal. Using GIMP, you can quickly change the color of a model with the ‘Hue and Saturation’ tool, allowing for adjustments to the overall hue and lightness of the selected yellow color. This tool is particularly useful for creating custom designs and adding a personal touch to your models.
Another technique for enhancing your models is using felt-tip markers to color the cut edges. This can mask the white edges and make your model look more polished and professional. Additionally, eliminating unnecessary colors in the template can conserve ink, which is a practical consideration for anyone working on multiple projects. Please take note that these drawing techniques can significantly improve the overall appearance of your work.
Pepakura Designer also provides options for setting the appearance of cut and fold lines, which can further enhance the design of your model. By paying attention to these details, you can create stunning papercraft models that stand out.
Printing and Assembling Your Paper Models
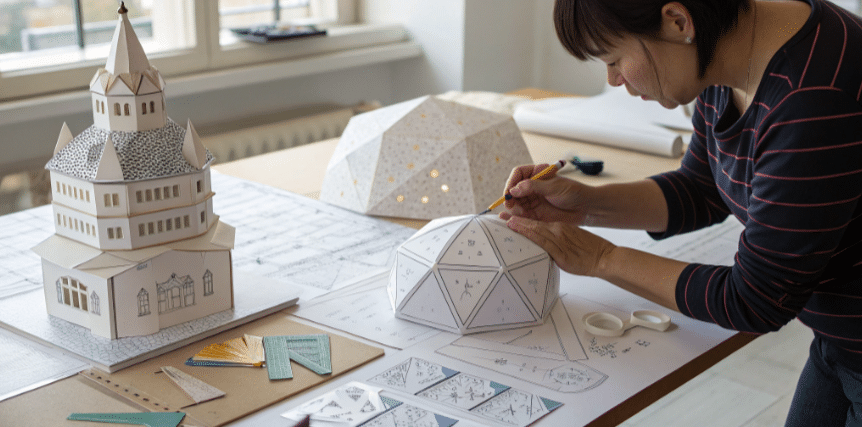
Once your templates are ready, the next step is printing and assembling your papercraft models. To improve print quality in GIMP, it’s recommended to adjust the canvas size to about 92% before printing to avoid internal margin issues that can reduce the scaled print size. Additionally, the ability to undo actions in GIMP is vital, allowing users to correct mistakes during the editing process.
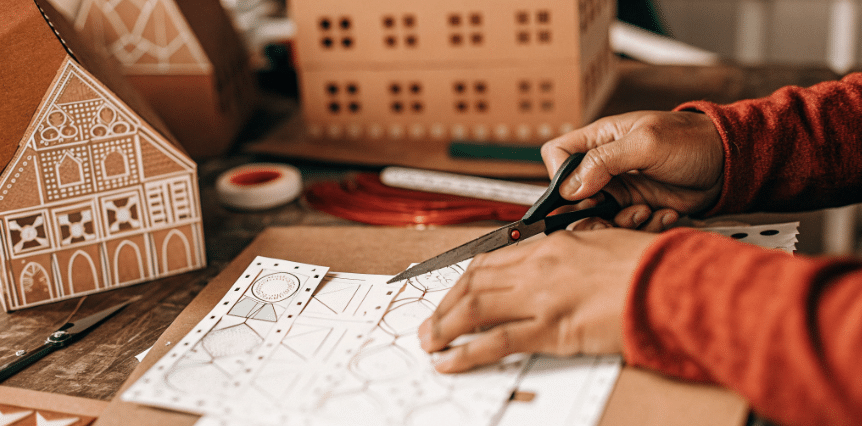
When it comes to assembling your models, scoring fold lines with a blunt edge, such as a butter knife, can improve accuracy by compressing the paper fibers without cutting through. For clean edges, scissors are often easier for cutting out model pieces than a hobby knife, especially for intricate shapes. Dry fitting pieces before gluing ensures accurate alignment of components in model assembly, reducing errors and improving the final result.
The ‘Flap’ method involves applying glue to a tab and pressing it against another face to secure the connection, which is crucial for a stable assembly. Interlacing flaps or tabs during assembly can also improve structural integrity, ensuring a more stable connection between parts. Using a strong, fast-drying, and acid-free glue that won’t warp paper is crucial for lasting results, as it ensures the model remains intact and visually appealing over time.
Integrating Paper Models with Electronics
Integrating paper models with electronics opens up a world of creative possibilities. Incorporating paper models into electronic projects enhances both creativity and functionality, allowing you to create interactive and dynamic designs. Paper models can be used as housings or structures in robotics projects, providing a lightweight and customizable solution.
Using conductive materials, such as conductive tape, allows for easy metal connection creations in paper circuits. Conductive paint can also be applied to paper models to create electrical traces that connect electronic components, blending art and technology seamlessly.
Creating paper circuits enables interactive designs that enhance the functionality of paper models. Additionally, battery holders can be crafted from paper and copper tape, providing an efficient power solution for these projects. By integrating electronics, you can take your papercraft models to the next level.
Creative Uses for Paper Models
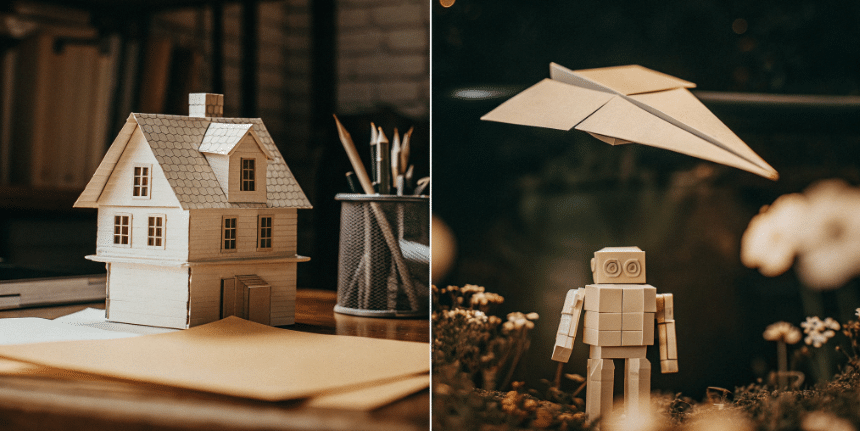
The creative uses for papercraft models are virtually limitless. 3D paper models can serve as impressive home decor, functioning as art pieces, centerpieces, or even lighting fixtures. Decorative items like paper lanterns can enhance the ambiance of a space or add a festive touch to special occasions.
Papercraft can also be used to create personalized items such as:
- Jewelry
- Bookmarks
- Greeting cards These add a unique and personal touch to gifts and special occasions. Additionally, paper mosaics can be crafted as decorative art pieces suitable for wall displays or gifts.
The versatility of papercraft allows for its application in various creative and educational projects, making it an engaging hobbyist for both beginners and experienced hobbyists. The possibilities are endless, and the only limit is your imagination.
Tips and Tricks for Advanced Paper Crafting
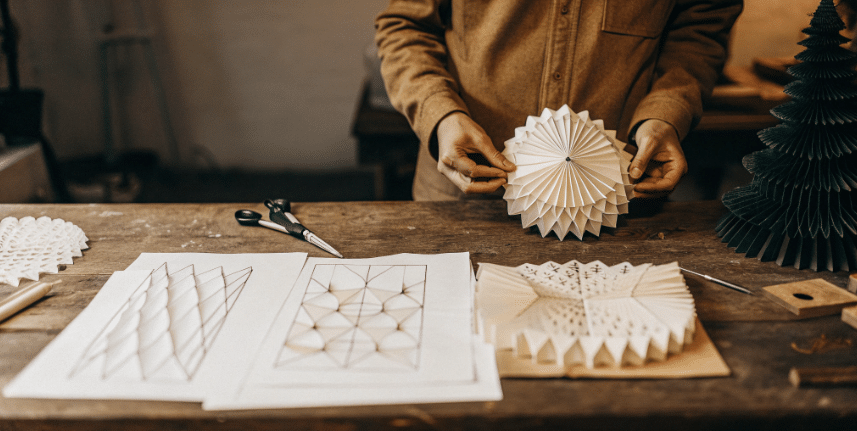
For those looking to take their papercrafting skills to the next level, there are several advanced tips and tricks to consider. Meshlab is a useful tool for converting high-detail models into low-polygon versions, making them more suitable for papercraft. When preparing models, aiming for a polygon count between 200 and 500 ensures optimal cutting ease and assembly.
For detailed texture applications, GIMP supports various methods, though some may require more advanced knowledge of the software. Reinforcement techniques like layering and internal bracing can also enhance the stability and durability of your construction material mix models.
By incorporating these advanced techniques, you can create more intricate and impressive papercraft models that showcase your computer code skills and creativity, constructed to highlight your features abilities.
Free Templates and Resources
One of the best ways to get started with papercrafting is by using free templates and resources available online. There are numerous websites where you can find templates for various themes, including anime, military, and vehicles. These templates allow aspiring paper model makers to create models more efficiently and accurately.
Users can find download papercraft templates for specific characters from popular games and shows, adding a fun and personalized touch to their projects. Exploring multiple platforms online can lead to discovering even more free templates and resources, expanding your papercrafting possibilities. For example, you can find templates that cater to various skill levels.
By taking advantage of these free resources, you can save time and money while honing your affordable papercrafting course sheet skills. Please notice the benefits of utilizing these tools.
Summary
In summary, papercrafting is a rewarding and versatile hobby that combines creativity with precision. From understanding the basics of cutting and folding to choosing the right software tools and finding 3D models, each step in the process contributes to the creation of stunning paper models. Enhancing your models with color and texture, integrating electronics, and exploring creative uses further expand the possibilities of this fascinating craft.
Whether you’re a beginner or an experienced hobbyist, the tips and resources provided in this guide will help you on your papercrafting journey. So grab your tools, unleash your creativity, and start crafting your masterpieces today!
Frequently Asked Questions
What is the best type of paper to use for papercraft models?
For papercraft models, using 80 lb (220g/m²) cardstock is ideal as it offers superior durability compared to standard printing paper. This choice ensures your creations are sturdy and long-lasting.
How can I improve the stability of my paper models?
Incorporating reinforcement techniques such as layering and internal bracing will significantly improve the stability and durability of your paper models. This approach will help ensure they withstand handling and maintain their structure effectively.
Where can I find free templates for papercraft models?
You can find free templates for papercraft models online, including themes like anime, military, and vehicles, available for download on various websites. Just search for specific categories to find what you need.
What software should I use to create papercraft templates?
For creating papercraft templates, Pepakura Designer is an excellent choice for converting 3D models into 2D patterns, while GIMP can enhance and edit those templates effectively.
How can I integrate electronics into my papercraft models?
You can effectively integrate electronics into your papercraft models by using conductive materials such as tape or paint to create paper circuits, along with crafting battery holders from paper and copper tape. This approach allows for an innovative blend of art and technology, enhancing your models with interactive features.
