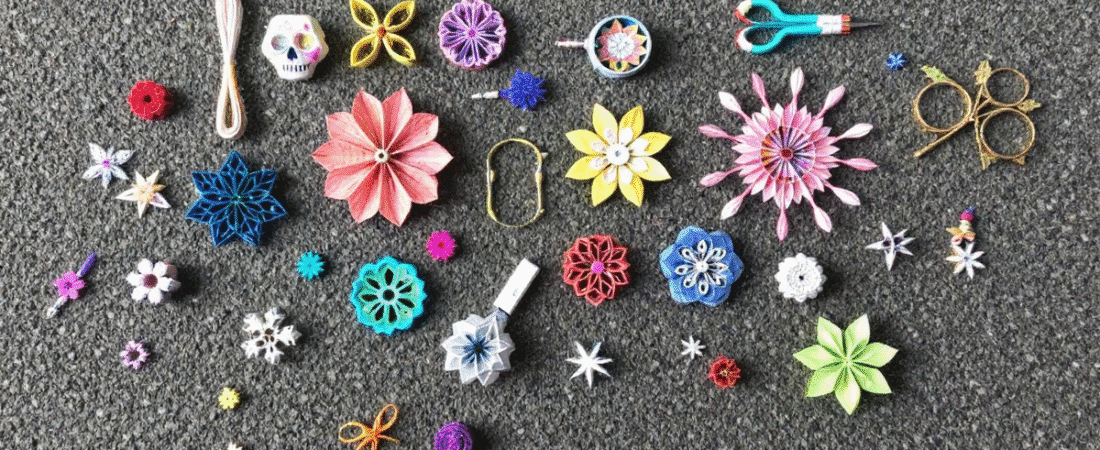
Paper bead ideas are such a fun way to get creative without spending a ton. If you’ve got old magazines or junk mail, you’ve already got what you need. Making paper beads is easy, cheap, and gives you endless ways to create cool stuff. You can make jewelry, decorations, gifts, and more with just a few simple tools. Paper bead ideas can be a fun project for kids, teens, or even just a chill night for yourself. There’s something so cool about turning trash into treasure. Plus, paper beads are eco-friendly alternatives to plastic beads, helping reduce waste. You don’t need to be perfect, just have fun with it. Let’s jump into some easy and fresh paper bead ideas you can try right now!
We hope you enjoy these crafting projects and find them easy to undertake.
Key Takeaways
- Making paper beads is easy, fun, and doesn’t cost much.
- You can make so many different things with them!
- Try out different paper bead ideas and see what you love the most.
- Mix papers, colors, and bead shapes for your own unique style.
- Each paper bead is unique and can have different textures depending on the type of paper used and the crafting techniques applied.
- Paper bead ideas are the best way to turn simple paper into cool treasures!
- Introduction to Paper Beads
- Materials Needed
- Cutting the Paper
- Rolling the Beads
- Shaping the Beads
- Making Paper Bead Jewelry
- 10 Paper Bead Ideas You Should Totally Try
- Designing with Paper Beads
- Working with Different Materials
- Adding a Finish
- Tips and Variations
- Creating Unique Pieces
- FAQ's
Introduction to Paper Beads
Paper beads are a delightful and eco-friendly way to craft unique jewelry pieces. Imagine turning recycled paper, old magazines, or even junk mail into beautiful beads that you can use to create stunning accessories. You can use recycled paper, catalog pages, and magazines to make paper beads. The process is simple and requires just a few basic supplies: a paper strip, some glue, and a bamboo skewer. To make your beads durable and shiny, you can seal them with Mod Podge. With a bit of practice, you’ll be able to create paper beads in various shapes and sizes, each one a tiny work of art. Whether you’re looking to make a statement necklace or a delicate bracelet, paper beads offer endless possibilities for creativity and fun.
Materials Needed
- Old magazines, junk mail, or scrapbook paper
- Printed designs or free printables
- Scissors or a craft knife
- Glue stick or white glue
- Bamboo skewer, toothpick, or a pencil
- Clear nail polish or Mod Podge
- String, elastic, or wire for jewelry
- Ruler for cutting straight lines
Cutting the Paper
Pick colorful pages for the coolest beads. Tear pages from old magazines to create colorful strips. Cut long triangles if you want classic shaped beads. Cut strips if you want chunky, fat beads. Use a ruler if you want them neat. Cut a bunch at once to save time. The wider the base of the triangle, the fatter the bead. Experiment with different shapes!
Rolling the Beads
Start rolling at the wide end of your paper triangle.
It’s important to roll from the wider end to the other end for the best results.
Tightly roll it around the skewer or toothpick.
Add a dab of glue near the tip and press down.
Keep the roll tight for a smooth finish.
Practice makes better (not perfect, and that’s fine).
Wipe off any extra glue with a napkin.
Let them dry before sealing.
Shaping the Beads
Want rounder beads? Gently squeeze while rolling. Want fatter beads? Start with a wider base on your paper. Want a pointy look? Use longer, skinnier triangles and taper the strips to a point. It’s super easy to change the shape just by changing the paper cuts. Experiments with different strip widths and cutting methods result in various textures and styles of beads.
Making Paper Bead Jewelry
Once you’ve got a bunch of beads, it’s time to make stuff! Stringing beads onto a cord is an essential step in making jewelry, involving cutting the cord to the appropriate length, tying knots, and ensuring the beads are properly secured.
Try these ideas:
- String them onto elastic to make stretchy bracelets.
- Use wire and hooks to make earrings.
- Mix paper beads with wooden beads for a fun look.
- Make a layered necklace with different sized beads.
- Add charms, tassels, or pendants to dress them up.
A little clear nail polish or Mod Podge will help your beads last longer. It also makes them shiny and water-resistant.
10 Paper Bead Ideas You Should Totally Try
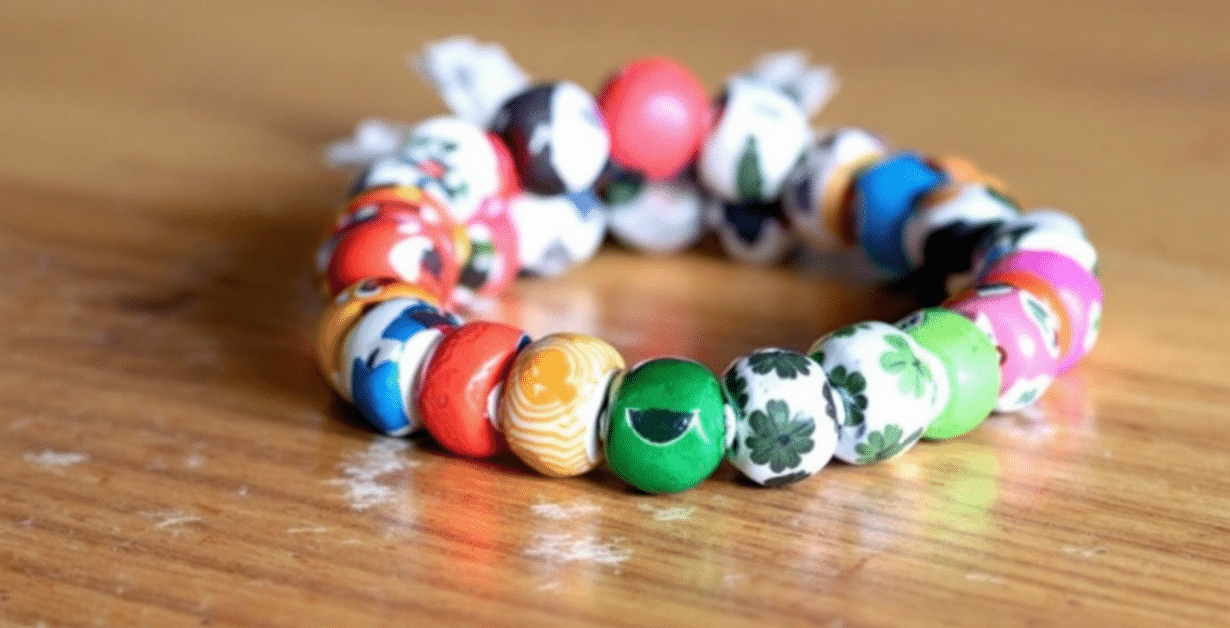
1. Classic Bracelet
Use bright magazine pages for colorful beads.
String them on elastic cord.
Make a bunch and stack them!
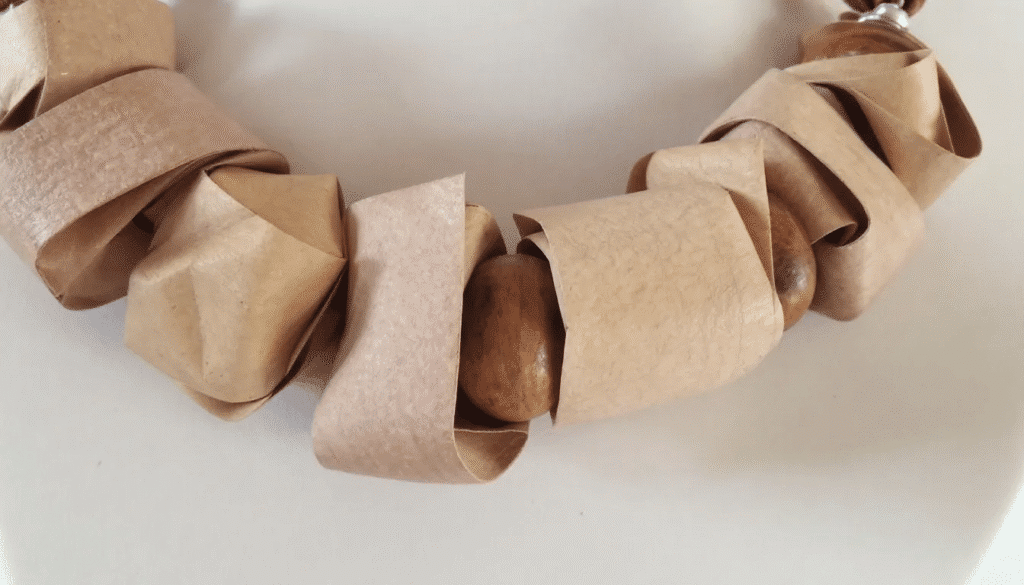
2. Chunky Necklace
Cut wider paper triangles for fatter beads. Measuring the length of the paper strips is crucial; aim for strips that are 12 inches long to achieve the desired bead shape and size.
Mix in wooden or glass beads.
Use a strong wire to hold the weight.
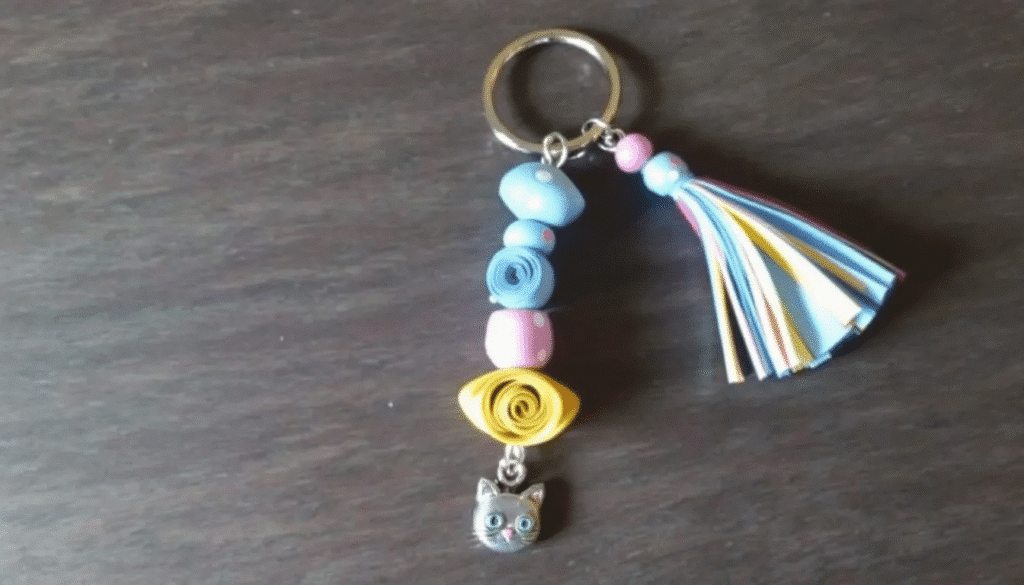
3. Paper Bead Keychains
Attach paper beads to a key ring. Ensure the beads can easily slide onto the key ring by applying a small amount of glue to the ends of the rolled paper strips. Add a cute charm or tassel. Great as quick gifts!
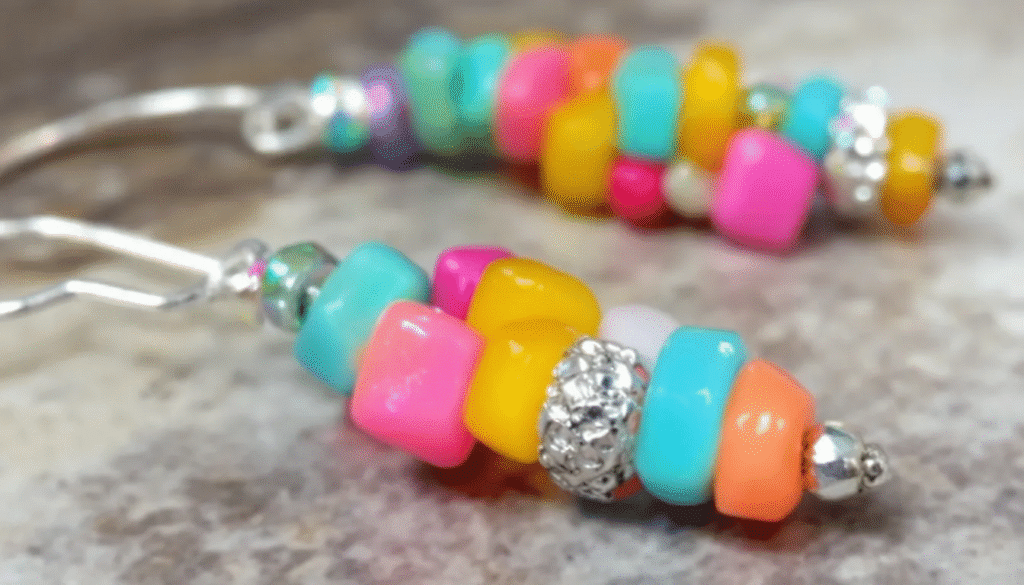
4. Colorful Earrings
Use tiny beads for lightweight earrings.
Thread them on earring hooks.
Mix colors and shapes for a playful vibe.
5. Beaded Bookmarks
Tie a few paper beads to a string. Slip the string in a book for a cute bookmark. Perfect for readers!
Note: Ensure the beads are securely tied to the string to prevent them from slipping off.

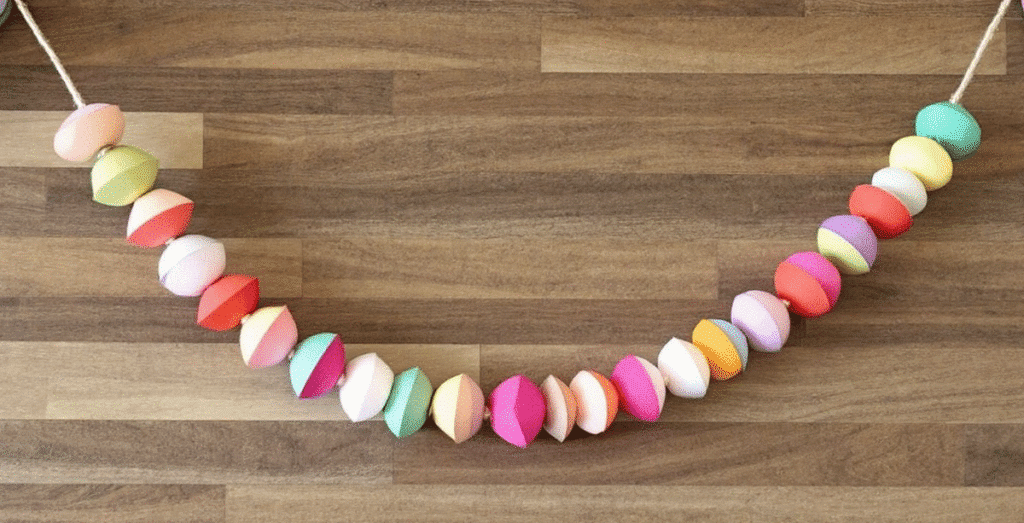
6. Bead Garland
String a ton of beads onto yarn or twine. Ensure that the beads are secure to prevent them from slipping off. Hang it around a room, a window, or even a party table. Instant color boost.
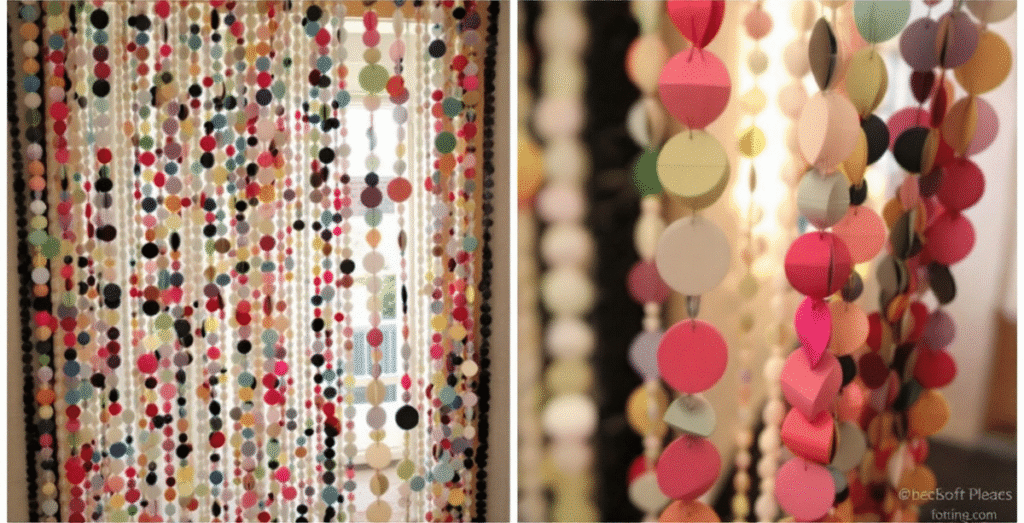
7. Paper Bead Curtain
Feeling bold? Gather your materials and make hundreds of beads, then string them into a curtain. Perfect for a doorway or window.
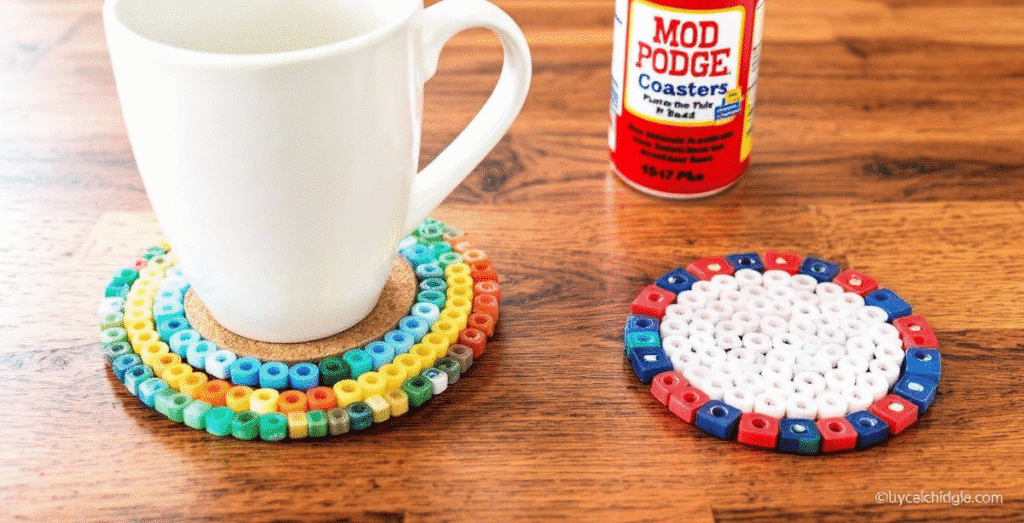
8. DIY Coasters
Glue beads into a circle pattern. Seal them with Mod Podge. Use a cork base for extra strength.
Once your coasters are complete, consider sharing a post about them on social media to showcase your finished project and inspire others.
9. Personalized Gifts
Spell out names or words with your beads.
Use them for necklaces, keychains, or bracelets.
Add a hand-written tag for a sweet touch.

10. Dreamcatchers
Add paper beads to your dreamcatcher designs. Using eco-friendly materials helps care for the Earth. Mix them with feathers and ribbon. Looks amazing hanging in a bedroom.

Designing with Paper Beads
Mix colors, textures, and sizes. Layer beads for a chunky look. Stick to one color for a clean, modern feel. You can even match paper bead colors to the seasons or holidays! Printable templates can help you design paper beads with precision, ensuring symmetry and achieving the desired results.
A few fun combos:
- Red, white, and blue for Fourth of July
- Pastels for spring
- Deep oranges and browns for fall
Paper beads are perfect for gifts too. Handmade jewelry always feels more special.
Working with Different Materials
Try different types of paper!
Here are some ideas:
- Wrapping paper for shiny beads
- Scrapbook paper for thick, bold beads
- Comic books for fun, colorful designs
- Maps for cool travel-themed jewelry
Old stuff lying around your house can be your best craft supply.
Adding a Finish
Seal your beads so they stay strong. Consider using paint for finishing the beads to enhance their appearance. Use clear nail polish for an easy coat. Or brush on Mod Podge for extra shine. You can even sprinkle a little glitter if you want. Sealing paper beads with gloss spray sealant or clear nail polish can make them shiny and more durable. Let them dry completely before using. Sealing makes your beads last longer and look amazing.
Tips and Variations
When it comes to making paper beads, there are plenty of tips and variations to keep your projects exciting. For a classic rounded bead, start with a long triangle-shaped paper strip. If you’re aiming for fatter beads, use a wider strip. Don’t be afraid to experiment with different shapes and sizes to create unique designs. To ensure your beads last, seal them with clear nail polish or a coat of Mod Podge, which will also give them a glossy finish. Mixing different colors and patterns of paper can result in pretty paper beads that stand out. Remember, the key is to have fun and let your creativity flow as you explore the endless possibilities of paper bead making.
Creating Unique Pieces
Creating unique pieces of paper bead jewelry is all about experimenting with different shapes, sizes, and colors. Use magazine pages or brochures to add interesting textures and patterns to your beads. For a vibrant necklace, try using round paper beads in your favorite colors. Paper bead bracelets can be made by combining beads of various shapes and sizes for a playful look. Small paper beads paired with a wooden skewer can be transformed into charming earrings. If you’re feeling entrepreneurial, consider selling your paper bead jewelry on Etsy or at local craft fairs. With a bit of creativity and experimentation, you can craft beautiful and unique pieces that are sure to make a statement.
FAQ’s
What are some fun ideas for using paper beads in crafts?
You can use paper beads to make jewelry such as bracelets, necklaces, and earrings, create decorative garlands or curtains, make customized keychains and bookmarks, or even design unique coasters and dreamcatchers.
Can I use recycled paper for my paper beads?
Absolutely! Recycled paper like magazines, junk mail, or scrapbooking paper works great for making eco-friendly paper beads. Different types of paper can also add interesting textures and colors to your projects.
How do I ensure my paper beads last longer?
Sealing your paper beads with clear nail polish or Mod Podge helps protect them from water and damage, making them more durable and shiny. Make sure to let them dry completely before using or assembling your jewelry.
How do I make the perfect shape for my paper beads?
You can create different shapes by cutting your paper into triangles for classic beads, strips for chunky beads, or other shapes. The width and length of your paper strips will influence the bead’s shape and size, so experiment with different cuts to get the look you want.
What materials do I need to start making paper beads?
To start making paper beads, you’ll need old magazines, junk mail, or scrapbook paper, scissors or a craft knife, glue stick or white glue, a bamboo skewer or toothpick, clear nail polish or Mod Podge for sealing, and string, elastic, or wire for jewelry.
