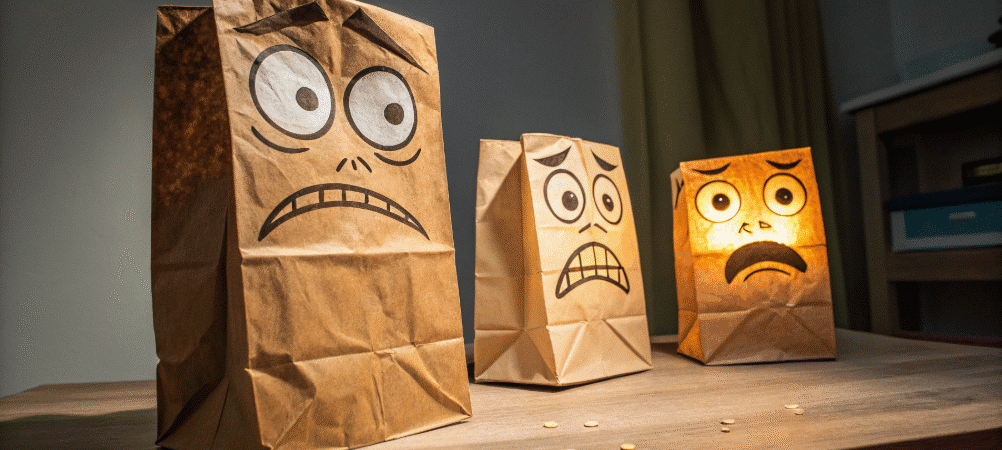
If you’re looking for a fun project that sparks a bit of creativity and imagination, paper bag puppet faces are a great place to start. Paper bag puppet faces are always a hit with kids and adults, making them a popular choice for craft time.
These simple crafts can turn plain old paper bags into playful characters that kids and adults alike will love making and playing with. All you need is a few bits and bobs like coloured paper, a bit of glue, and some snips of the scissors, and you’re off – you can create lots of different puppets that’ll keep the story going and the imagination running wild for hours.
- Introduction to Paper Bag Puppets
- Getting Started: The Basics
- Bringing Your Paper Bag Puppet Faces to Life
- A Step-by-Step Guide to Making a Paper Bag Puppet Face
- Fun Ideas for Paper Bag Animal Puppets
- The Benefits of Paper Bag Puppets
- Putting on a Puppet Show
- Using Paper Bag Puppets to Learn and Play
- Storing and Taking Care of Your Paper Bag Puppets
- Where to Find More Inspiration
- Wrapping Up
Introduction to Paper Bag Puppets
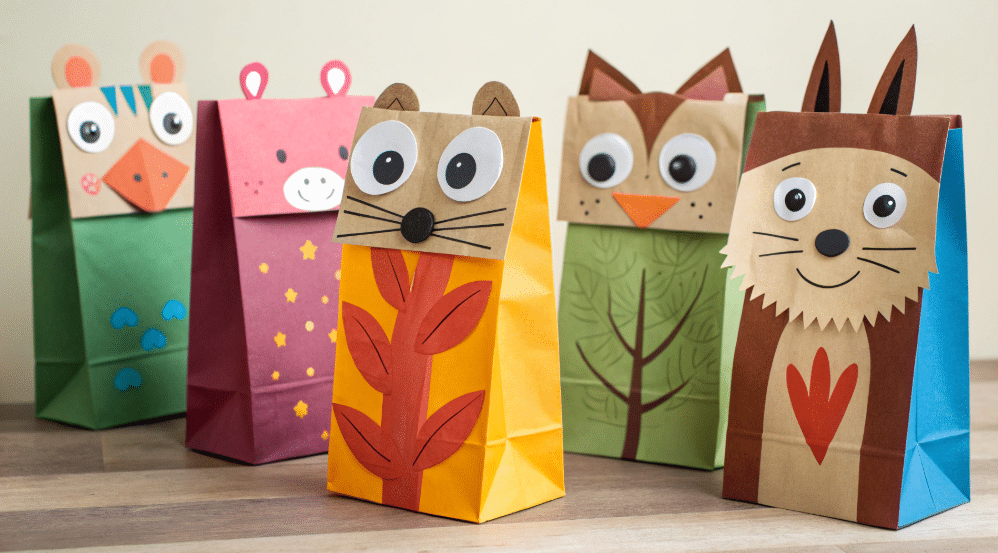
Paper bag puppets are a dead-simple way to get the kids creativity flowing and their imaginations running wild. With just a few basic bits and bobs—like paper bags, some coloured paper, and a bit of glue—the little ones can dive right into a world of fun and knock up their very own puppets. Whether youre at home or mucking about in the classroom, this cracking project is a top way to get everyone stuck into some proper hands-on crafting.
The beauty of paper bag puppets is that you dont need anything fancy to get going. Just grab a paper bag, some coloured paper, and let your imagination take the wheel. Kids can design animals, people, or even come up with their own mad characters, turning an ordinary bag into a lively puppet thats ready for stories and a good play. Its a brilliant way to get children expressing themselves, exploring new ideas, and bringing their creative visions to life. Plus, making puppets together is a cracking way to spend some quality time, share a few laughs with your mates, and see what amazing creations everyone comes up with!
Getting Started: The Basics
Before you dive in, gather some of the basic supplies. You’ll want to:
- Plain paper bags (a brown lunch bag works just fine)
- Coloured or construction paper (the more colourful the better)
- Glue – either sticky or liquid will do
- A pair of scissors
- Markers or crayons for adding some personality
- Googly eyes or buttons (they’re totally optional, but add a lot of fun)
- Any other decorations you like – stickers, yarn, or whatever takes your fancy
- Download and print templates for puppet faces if you want ready-made shapes
It’s really easy to get all these bits and bobs together – most are probably lurking around the house or down at the local shop. Having everything ready to go makes the whole craft process a lot more fun, and keeps the creativity going. If you prefer, you can download and print templates to make the preparation even easier.
Bringing Your Paper Bag Puppet Faces to Life
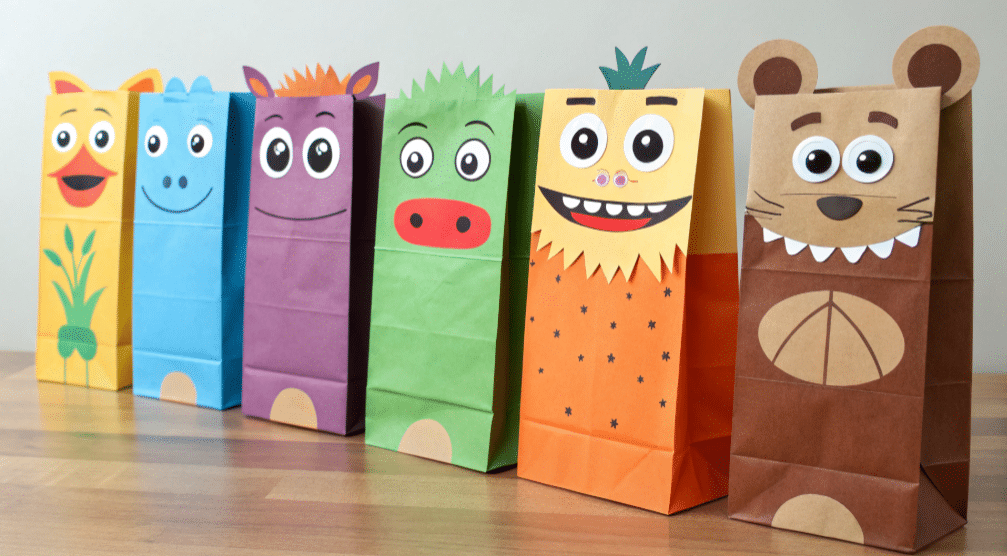
When you’re making your paper bag puppet faces, think about what kind of character you want to create. Will it be an animal, a monster, a person or something completely unique? It really doesn’t matter – the possibilities are endless! Start by deciding on the basic features – eyes, nose, mouth and ears. Deciding on these features is a great way to engage children and encourage creative thought. These are the parts that give your puppet its personality and bring it to life.
As you choose each feature, remember that putting thought into the design can make your puppet even more special.
Eyes and Nose
Eye-as big and bright as you like – they’re usually the first thing people notice. Think about what kind of eyes would suit your character. Big round eyes will make a puppet look friendly and a bit silly, while smaller eyes will give a more mysterious vibe. You can cut eyes out of paper, use those cute googly eyes or even draw them on.
Choosing the right color for the eyes and nose can make animal puppets, like zebras, stand out and add to their charm.
The nose is pretty simple – a circle, oval or triangle will do just fine. You can add depth by layering up different colours or add a bit of texture by using some textured paper.
Mouth and Expressions
The mouth is what really makes your puppet expressive. You can cut a simple smile or a big ‘O’ shape. Some puppets are made so the mouth can open and close – literally! By lifting the flap of the paper bag, you can change the expression of your puppet in an instant. The bottom part of the paper bag flap can be used to create a movable chin or mouth for extra expression. Add a tongue or some teeth and you’ve really got a character on your hands.
Ears and Other Features
Ears are what really help define what kind of puppet you’re making. For animals, the ears can be pointy, round, big or small. Cut them out of paper and attach them to the top or sides of the bag.
For example, when making an owl puppet, you can create its unique tufts or “ears” by cutting out small triangles and attaching them to the top of the bag, then add large round eyes and a beak to capture the owl’s distinctive facial features.
But don’t stop there – add some whiskers, horns, hats or even glasses and you’ll make your puppet really stand out. These little details make your puppet feel like a real character, and add loads of fun to playing with it.
A Step-by-Step Guide to Making a Paper Bag Puppet Face
Here are step by step instructions for making a basic animal puppet face:
- Grab a paper bag and flip it around so the flap is at the bottom.
- Cut out some eye, nose and mouth shapes from coloured paper.
- Stick the eyes near the top of the bag’s front side using a bit of glue
- Glue the nose just below the eyes
- Attach the mouth on the flap so it moves when you open and close the bag
- Cut and glue the ears on the top corners of the bag
- Add any extra decorations you like – whiskers, spots or whatever takes your fancy
- Let it all dry before you start playing
And that’s it! You can make all sorts of animals or characters by changing the colours and shapes. The possibilities are endless!
Fun Ideas for Paper Bag Animal Puppets
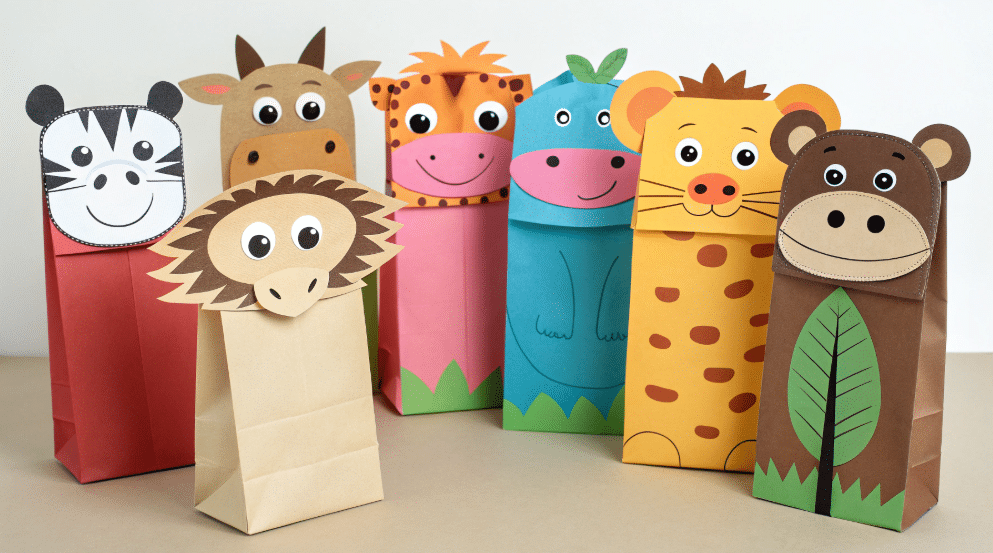
Here are a few ideas to get you started:
- Farm Animals: cows, pigs, chickens and sheep are all easy to make with simple shapes and colours. Try using a template for each animal to make crafting even easier.
- Zoo Animals: lions, tigers, monkeys and elephants let you get really creative with bold colours and patterns. These puppets make wonderful toys for imaginative play.
- Ocean Creatures: sharks, octopuses and whales are great for experimenting with different shapes. You can read more about these animals or find a related book to pair with your puppet making.
- Forest Friends: owls, foxes and bears are all great for getting a bit more subtle with colours and textures. At night, you might hear owls calling—try mimicking their “who, who” sounds with your owl puppet!
- Summer-Themed Puppets: Create sun, beach animals, or ice cream puppets for a fun summer activity.
- Community Helpers: Puppets can be created to represent community helpers like police officers, firefighters, or doctors, adding an educational twist to the fun.
Each year brings new puppet design ideas and trends, so keep exploring fresh inspiration.
Pair your puppet making with reading a storybook or using a coloring book for extra creativity. After making your puppets, use them as creative toys for playtime or to act out stories. Encourage kids to read stories with their puppets or read more about the animals they create. Puppets can also help shy children express themselves and feel more comfortable in social situations, making them a valuable tool for emotional and social development.
Visit our website for more templates, ideas, and inspiration to keep your puppet projects exciting all year round.
The Benefits of Paper Bag Puppets
Theres so much more to paper bag puppets than just a dead simple afternoon craft—they offer a cracking range of benefits for the little ones. Creating paper bag puppets is a top way to get the creativity flowing and spark the imagination, as kids dream up all sorts of new characters and stories. This fun project also helps get those fine motor skills sorted, as the kids cut, glue, and knock together their puppets, all while having a proper good time.
Paper bag puppets are perfect for both the classroom and home, making them a right versatile tool for teachers and parents alike. They get the storytelling and role-playing going, helping kids build up their confidence as they bring their puppets to life and share their own stories. No matter the age or ability, kids can create their own unique puppets and explore endless possibilities. With paper bag puppets, every child gets a chance to shine, create, and let their imagination soar—making them a truly cracking addition to any creative playtime or learning activity.
Putting on a Puppet Show
Once you’ve got a few puppets, why not put on a show? Setting up a simple stage with a cardboard box or tablecloth is all you need. You can:
- Create a story with your puppets as the main characters.
- Use different voices for each puppet – it makes it a lot of fun!
- Invite family or friends to come and watch or get involved.
- Add some extra props or backgrounds to really bring the story to life.
Puppet shows are a great way to get creative and build confidence when it comes to speaking or performing. We hope you enjoy putting on your own puppet shows and sharing them with others.
Using Paper Bag Puppets to Learn and Play
Paper bag puppets aren’t just for fun – they’re also a great tool to help kids learn. Playing with puppets can:
- Help boost language skills by encouraging storytelling.
- Improve fine motor skills through cutting and gluing.
- Help shy kids find their voice and get involved.
- Teach social skills like taking turns and cooperating.
- Creating paper bag puppets can aid in developing language skills as children practice storytelling, making it a fun and educational activity.
Teachers and parents often use puppets to make learning more interactive and fun.## Tips for Customizing Your Puppets
Want to give your puppets a bit of personality? Here are some ideas to get you started:
- Trying using fabric scraps or felt for texture – it’s a great way to add some depth.\
- Don’t be afraid to use yarn for hair or fur – it’s a small detail that makes a big difference.\
- Get creative with markers or paint and draw some patterns – you can make it as simple or as wild as you like.\
- Add some personality with small toy or button accessories – they’re a great way to add a bit of whimsy.\
- Experiment with different sizes of paper bags to mix things up a bit.
Don’t be afraid to test the waters and see what works for you – that’s actually where the most fun happens.
Storing and Taking Care of Your Paper Bag Puppets
To keep your puppets looking their best and ready to go:
- Store them in a safe place – a box or bag will keep them from getting bunched up.\
- Keep them away from dampness – it can be the death of a good puppet.\
- If something gets loose, a bit of glue can work wonders.\
- And if they get dirty, just wipe them down with a damp cloth.
Looking after your puppets is the secret to making them last – and trust us, it’s worth the effort.
Where to Find More Inspiration
If you’re looking for more ideas, you’re in luck – there are loads of websites, books, and videos out there with free templates and tutorials to get you started. Printable templates can be a lifesaver if you’re short on time – just search for paper bag puppet templates online and you’ll be spoiled for choice.
Wrapping Up
Paper bag puppet faces are an easy way to bring some creativity and fun into your life – whether you’re making puppets with the kids, teaching a class, or just looking for a fun project to work on. They bring stories to life and offer up hours of entertainment – so grab some paper bags, scissors, and glue and get started!
Make sure you check out the video links at the bottom of the page – they’ve got some top tips for getting started.
Alright then – time to get started! Try making a simple animal or character first, then see where your imagination takes you. Happy crafting!
