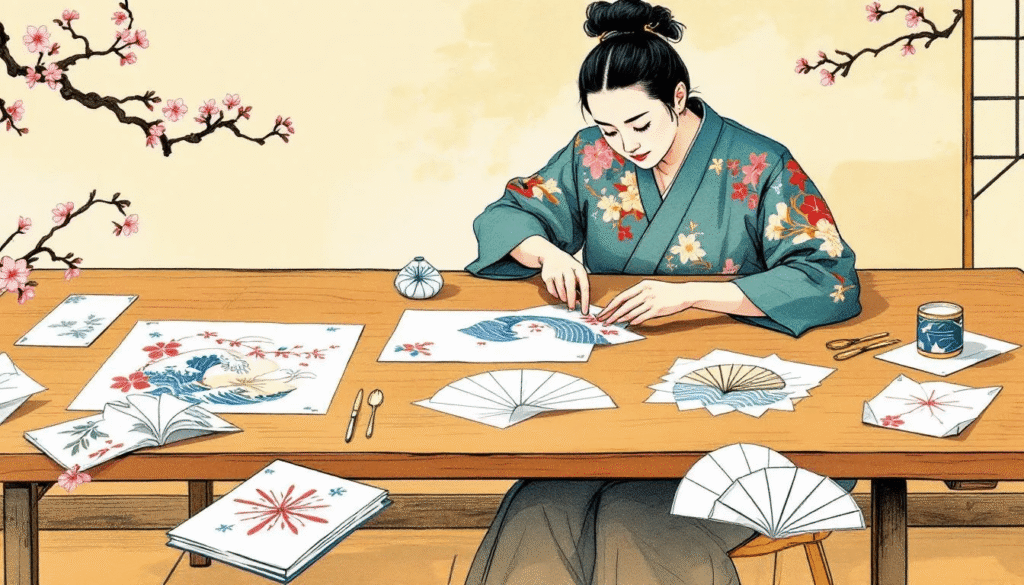
Ornamental paper is perfect for creating beautiful decorations and crafts. In this guide, you’ll learn to make stunning paper ornaments step by step, from choosing materials to adding the final touches. Ornamental paper is a versatile material used to add unique patterns, textures, and color to a wide range of crafts and decor.
Key Takeaways
- Gather quality materials like cardstock and crêpe paper, and choose the right glue for your project to ensure beautiful outcomes.
- A well-organized workspace is essential; use storage solutions and safety tips to craft efficiently and protect yourself.
- Add finishing touches like decorative embellishments and custom colors to elevate your paper ornaments and make them unique.
- Essential Materials for Ornamental Paper Crafting
- Preparing Your Workspace
- Step-by-Step Guide to Making Ornamental Paper Shapes
- Assembling and Gluing Layers
- Adding Finishing Touches
- Displaying Your Ornamental Paper Art
- Troubleshooting Common Issues
- Summary
- Frequently Asked Questions
Essential Materials for Ornamental Paper Crafting

Before starting, gather the right materials. The success of your paper ornaments depends on the quality and suitability of the items you select. Make sure you are ready to begin. Cutting machines can be utilized to simplify the creation of paper ornament shapes, making the process more efficient and precise.
Explore different types of paper, glue options, and additional embellishments to make your designs click and stand out through research.
Types of Paper
The right type of paper is essential for a successful crafting project. Here are some popular options:
- Cardstock: popular for its sturdiness and versatility, providing a firm structure for complex shapes.
- Craft paper: available in various colors and textures, offering flexibility and decorative flair.
- Crêpe paper: excellent for vibrant and flexible options. The thickness of the paper affects the sturdiness of the paper ornaments, so choose accordingly based on your project needs.
Specialty papers like glitter or textured paper can enhance visual interest when layering. Choosing the wrong type of paper can hinder your project, so choose wisely to ensure beautiful results. Translucent ornamental papers like washi are ideal for making lampshades and lanterns, emitting a soft glow when lit.
Glue Options
The right glue is crucial for your project. Here are some options:
- White craft glue: a staple for its strong bond and clear drying properties.
- Art Glitter Glue: offers strong adhesion without visible marks for precision work.
- Collall All Purpose Glue: allows adjustments before setting for repositioning elements. Many paper ornaments require a glue that dries quickly to maintain their shape effectively.
Hot glue provides a robust bond for heavier materials. Glue sticks are ideal for lighter papers, offering clean, mess-free application. Consider the weight and type of paper when choosing glue for optimal adhesion.
Additional Embellishments
Embellishments can elevate your paper ornaments from simple to spectacular. Beads and glitter add texture and highlight key features. Ribbons, sequins, and washi tape provide additional decorative flair, making your creations unique.
Mixing paints or using patterned papers can breathe new life into your projects. These small touches significantly enhance the visual appeal of your paper crafts, making them stand out.
Preparing Your Workspace
A well-organized, clutter-free workspace is crucial for efficient and enjoyable working crafting. A dedicated area with specific zones for different tasks enhances focus and creativity.
Storage containers and organizers keep your tools and materials visible and easily accessible, as provided in the cart.
Tools and Supplies Setup
Stocking your workspace with the right tools and materials is the first step to successful crafting. Ensure you have:
- Various types of paper
- Adhesives
- Decorative elements
- An office chair with wheels to increase mobility and comfort.
A clean workspace significantly reduces the risk of accidents.
Safety Tips
Safety should be a priority in any crafting session. Here are some important tips:
- Use protective eyewear to prevent injuries when using sharp tools.
- Use a small brush or fine-tip applicator to avoid glue messes.
- Use acid-free adhesives to ensure the longevity of your paper artwork by preventing degradation.
Understanding the risks of using sharp tools prevents injuries. Follow these safety tips for a fun and hazard-free crafting experience.
Step-by-Step Guide to Making Ornamental Paper Shapes

Creating ornamental paper shapes is a delightful and rewarding process. From basic folding techniques to advanced shapes, each step enhances your skill and creativity. The Triskele Paper Globes are constructed using three interlocking strips of paper to create a spiraling globe effect, adding a dynamic element to your designs.
Explore fundamental folds, simple shapes, and intricate designs to transform your paper into things to print on paper ornaments that you can open and read.
Basic Folding Techniques
Precise folding is the cornerstone of paper crafting. Well-executed folds result in clean edges and well-defined shapes. Pre-scoring curved folded fold lines ensures accuracy and ease.
Mastering these basic techniques set you up for success in more complex designs.
Creating Simple Shapes
Starting with simple shapes like globes and circles builds confidence and skill in writing for kids. Creating a globe requires three interlocking strips of paper each day, continuing to send a bit email.
These shapes are easy to make and serve as the foundation for more intricate designs and form shape.
Advanced Shapes
Advanced shapes elevate your crafting, adding depth and sophistication. Techniques like modular origami involve intricate folding and layering strategies, enhancing visual interest and sophistication.
Creating advanced shapes requires understanding various folding techniques and layout strategies. These shapes can be used in decorations, gift wrapping, and art displays.
Assembling and Gluing Layers
Layering and gluing are essential for creating elegant paper ornaments. Properly assembling and gluing layers adds depth and complexity, making your designs more visually striking.
Learn layering techniques and gluing tips to ensure your creations are sturdy and beautiful.
Layering Techniques
Layering multiple sheets of decorative paper is crucial for achieving depth in your designs. Techniques like using foam spacers and double-sided foam mounting tape enhance depth and create dynamic shadows.
Employing various textures like torn edges and scalloped cut enhances the visual appeal of your projects.
Gluing Tips
Applying glue evenly ensures a strong bond and prevents paper warping. For a neat appearance, use a glue that dries clear. When repairing tears, apply thin layers of white glue to the back, allowing each layer to dry before adding the next.
For larger tears, reinforce the area with a patch of tissue or rice paper before applying additional glue layers. These tips help achieve clean and professional-looking results in your paper crafting projects.
Adding Finishing Touches

Finishing touches elevate your paper ornaments from ordinary to extraordinary at the end. Adding decorative embellishments and customizing colors are key to making your designs unique and visually appealing.
Learn techniques for adding embellishments and experimenting with colors.
Decorative Embellishments
Decorative embellishments add a personalized touch, enhancing visual appeal. These include:
- Beads, which create texture and dimension
- Glitter
- Ribbons
- Sequins
- Lace These elements add further creativity to your designs.
Glitter adds sparkle and vibrancy to your ornaments. Apply it carefully to avoid mess. These small touches significantly enhance the visual appeal of your creations.
Customizing Colors
Contrasting patterns and colors when layering enrich the overall design of your paper ornaments. Experimenting with different color combinations and patterns leads to more personalized and striking designs.
Incorporating layers of varying colors and patterns creates depth and visual interest. Adding metallic threads or crystals as final touches elevates the elegance of your ornaments.
Displaying Your Ornamental Paper Art

Displaying your ornamental great print paper art image on a specific Pinterest site page date creatively enhances its beauty and makes it a focal point of love in your home or event.
Learn methods for hanging ornaments and creating tabletop displays to beautifully showcase your work.
Hanging Ornaments
Clear fishing line provides an invisible way to hang paper ornaments, making them appear to float while preserving their aesthetic appeal. Hang lightweight ornaments closer to the tips of branches and secure with ribbons and wire for added stability.
Proper placement and secure hanging methods prevent ornaments from falling. These techniques enhance the visual appeal and security of your hanging ornaments.
Tabletop Displays
Ways to create appealing displays with paper ornaments include:
- Elevating paper ornaments on pedestals or cake stands to create a striking visual display.
- Arranging ornaments on decorative trays or stands to create appealing centerpieces.
- Layering different heights of display items to add a dynamic element to your arrangement.
Ornaments can be arranged on tabletops alongside other seasonal decorations to create a visually interesting focal point. These ideas help you showcase your paper art beautifully and creatively.
Troubleshooting Common Issues

Even with the best materials and techniques, issues can arise during paper crafting. Address common problems like tears and glue messes with practical solutions to keep your projects on track and looking their best.
Fixing Tears and Rips
Tears and rips in paper can be frustrating but are often fixable. To repair a tear, carefully align the edges and use a small amount of glue to secure them. For larger tears, reinforce the area with a patch of tissue or rice paper before applying additional glue layers.
These methods help maintain the integrity and appearance of your paper crafts, ensuring they remain beautiful and intact.
Avoiding Glue Messes
Tips for using glue effectively:
- Apply glue sparingly to prevent excess mess and paper saturation.
- Use precision tools like tweezers to place small components without smudging glue.
- Keep a damp cloth nearby to quickly clean up any glue spills during the crafting process.
A neat workspace is crucial for the quality of your ornamental paper crafting. These tips make the crafting process easier and more enjoyable, ensuring your projects are neat and professional. Note that maintaining organization is key to success.
Summary
Creating elegant designs with ornamental paper is a rewarding and enjoyable process. By selecting the right materials, mastering various techniques, and adding finishing touches, you can craft beautiful and intricate ornaments. We hope this guide has inspired you to start your paper crafting journey and create stunning pieces that bring joy and beauty to your surroundings.
Frequently Asked Questions
What type of paper is best for creating durable ornaments?
Cardstock is the way to go for durable ornaments—it’s sturdy and versatile for any shape you want to create! For more inspiration, check out these cardboard crafts ideas to spark your creativity with eco-friendly projects.
How do I avoid glue messes when crafting?
To avoid glue messes, just apply glue sparingly and use tools like a fine-tip applicator for better control. It’ll make your crafting way cleaner and more fun!
What are some ways to display my paper ornaments creatively?
Hanging your paper ornaments with clear fishing line gives them a floating effect, while using pedestals or trays can really showcase them on tabletops. Get creative with mixing them in with other decor for an extra pop!
How can I repair tears in my paper ornaments?
To fix those tears in your paper ornaments, just line up the edges and use a little glue to hold them together. If the tear is bigger, stick a patch of tissue or rice paper behind it before adding more glue for extra support.
What are some embellishments I can use to enhance my paper ornaments?
Adding beads, glitter, ribbons, sequins, and washi tape is a great way to jazz up your paper ornaments. These embellishments will really make your creations pop!


