

Key Takeaways
- The secret to truly round paper beads is very long, gently tapered strips plus the right paper thickness, ideally around 200 gsm.
- For a 10–12 mm finished bead, start with a paper strip about 30–35 inches (75–90 cm) long and 10–14 mm wide at the base.
- Shorter paper strips result in thin or flat bead shapes, while longer strips help form a round sphere.
- Consistent tension, clean measurements, and multiple sealing coats make paper beads look polished and durable.
Introduction: Why Round Paper Beads Are Tricky
If you want to know how to make paper beads round, the issue is usually not your fingers; it is the template. Classic Victorian paper beads use short triangles that naturally form cones, tubes, or bicones.
Round paper beads are different because:
- The paper strip must be long and gradually tapered.
- The wide end should roughly match the bead’s finished diameter.
- The roll must stay centered on the toothpick, skewer, or bead roller.
- The final coat must be smooth, shiny, and even.
This tutorial keeps the math light, but gives you practical measurements you can use right away.
- Supplies You’ll Need for Round Paper Beads
- The Core Secret: Long, Gently Tapered Paper Strips
- Choosing and Preparing the Right Paper
- Cutting Paper Strips for Truly Round Paper Beads
- Rolling Technique: Turning a Paper Strip into a Round Paper Bead
- Refining Shape: Math, Measuring, and Consistency
- Finishing: Sealing and Polishing Your Round Paper Beads
- Coloring and Decorating for Beautiful Paper Beads
- Using Round Paper Beads in Jewelry Projects
- Troubleshooting: Fixing Common Round Paper Bead Problems
- FAQ
Supplies You’ll Need for Round Paper Beads
Consistent beads start with consistent materials, and choosing top craft paper supplies for creative projects will make your bead shapes more predictable. Gather these supplies before you cut strips:
- paper: 160–220 gsm works, but 200 gsm light cardstock is best.
- different papers: wrapping paper, junk mail, old magazines, magazines, catalogs, wallpaper, and scrapbook sheet offcuts.
- Cutting tools: scissors, pencil, ruler, craft knife, or rotary cutter.
- Rolling tools: toothpick, skewer, metal mandrel, stick, or bead roller; the tool controls the holes.
- Adhesive: glue stick, tacky glue, or PVA with a brush.
- Sealers: mod podge, acrylic varnish, floor polish, clear nail polish, or PC-Petrifier Wood Hardener.
- Drying support: styrofoam, plastic tray, soft cloth, and a small paint brush.
Lightweight papers, such as glossy magazine pages or wrapping paper, roll more easily for making beads, but they may need extra length or backing.
The Core Secret: Long, Gently Tapered Paper Strips
The shape of the paper strip determines the shape of the final bead; straight strips create cylindrical beads, while angled cuts can produce diamond and oval shapes. To achieve a round bead, a long and gradually tapering triangle strip of paper is necessary.
For medium round paper beads, aim for:
Goal | Starting measurement |
|---|---|
10–12 mm bead | 12 mm wide end |
Good roundness | 30–35 inches length |
Paper weight | About 200 gsm |
Tip | Taper to a fine point |
Making round paper beads involves cutting paper into long triangular strips and rolling them around a mandrel. A short, steep triangle creates a pointed bead; a shallow triangle builds layers toward the center. |
Tip: include a simple diagram in your own craft notebook showing the wide end, narrow point, and taper angle.
Choosing and Preparing the Right Paper
Round paper beads need many tight layers, so thickness matters. A good example is 200 gsm white cardstock, 12 mm base width, and 80 cm strip length for a 10–12 mm round paper bead.
Different types of paper can be used for making beads, including old newspapers, magazines, and wrapping paper, allowing for a variety of colors and patterns; understanding the best types of paper for craft helps you pick ones that roll smoothly and seal well. Matte cardstock grips glue better; glossy paper can slip.
Cut with the grain when possible, usually along the long side of the sheet, so thicker paper is less likely to crack or tear.
Cutting Paper Strips for Truly Round Paper Beads
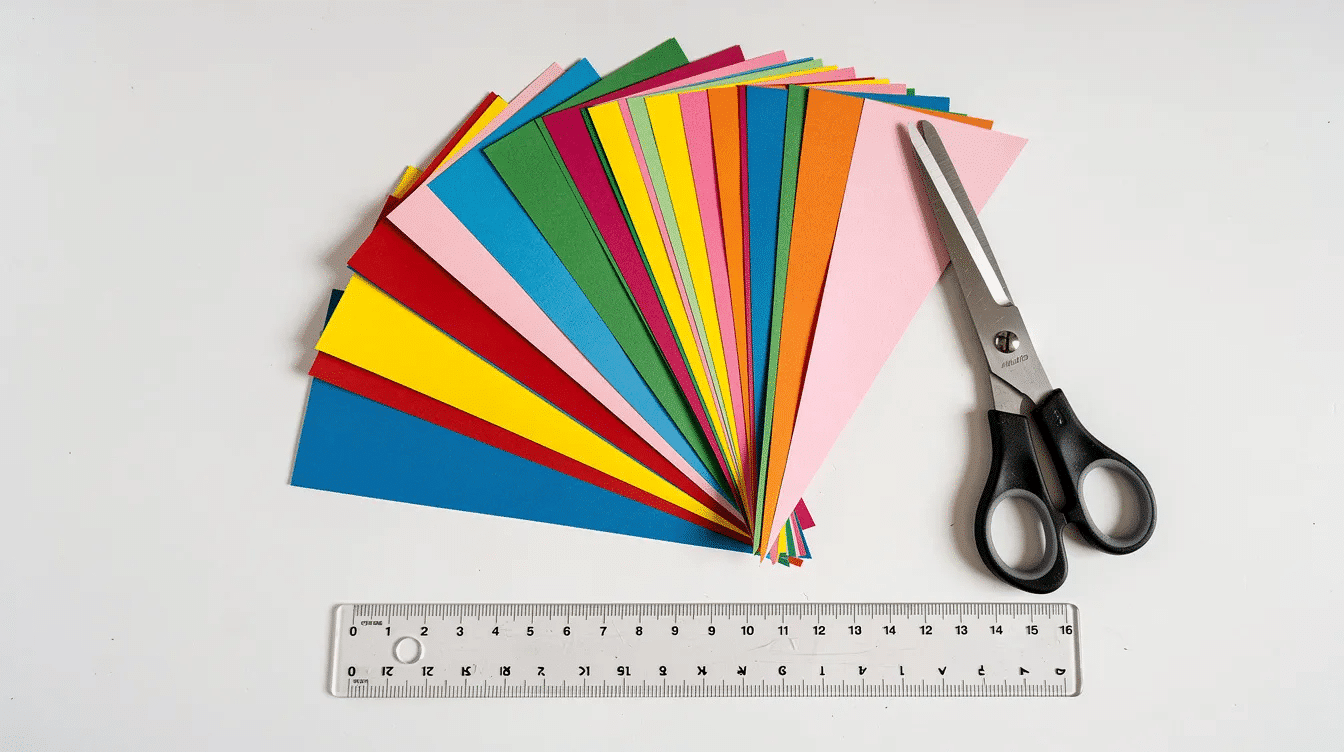
Accurate cutting is the foundation of uniform paper beads. To create round paper beads, cut strips of paper at least 1 foot long and 1/2 inch wide, as the length of the strip determines the thickness of the final bead. To make paper beads, strips of paper should be cut at least 1 foot long and 1/2 inch wide, with the length affecting the thickness of the final bead.
For better results, go longer:
- Lay one side of the sheet flat.
- Mark every 12 mm along one edge.
- On the other side, stagger marks so each strip narrows to one end.
- Use a ruler and pencil to join the marks.
- cut clean triangle strips with scissors or a rotary cutter.
Using measured templates for cutting paper strips can enhance precision in bead shapes. Printable templates for paper beads provide guidelines for achieving consistent shapes, and free printables are helpful when cutting batches for bracelets or a necklace, especially when you move on to creative paper bead ideas for stunning DIY jewelry projects.
Rolling Technique: Turning a Paper Strip into a Round Paper Bead
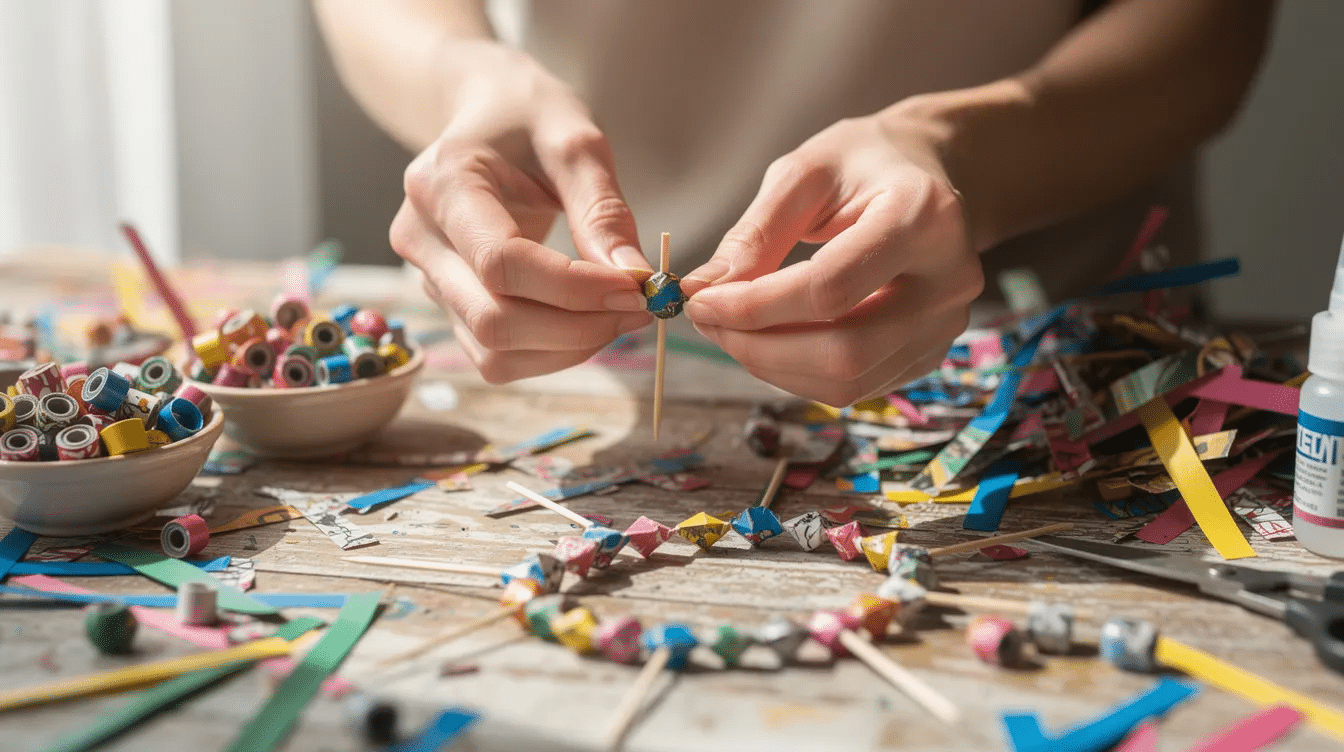
Even a perfect paper strip will fail without even pressure. Place the wide end against the skewer, toothpick, or bead roller. Keep it centered and make the first roll tight.
Rolling the paper strips onto a skewer or similar tool helps form the beads; secure the end with a dab of glue to hold the shape. Consistent tension is important while rolling beads to prevent them from losing shape.
Add glue only to the last 5–7 inches of the strip. Too much glue early can make layers slide. Hold the final point down for a few seconds, then leave the bead on the mandrel until dry. When firm, gently remove it without squeezing one side.
If the bead looks uneven, roll a test bead, adjust, and experiment before making the full project.
Refining Shape: Math, Measuring, and Consistency
You do not need advanced geometry, but you do need measurements. Measure the finished bead with a ruler or calipers.
If it looks oval, add length or widen the base. If it looks barrel-shaped, shorten the strip slightly or make the taper steeper. Write down formulas like:
“12 mm base, 80 cm length, 200 gsm card, 2 mm mandrel.”
Change only one variable at a time. That is how you create repeatable round paper beads instead of guessing every week.
Finishing: Sealing and Polishing Your Round Paper Beads
Sealing turns fragile crafts into durable jewelry beads. After rolling the paper strips into beads, applying a coat of floor polish can help stabilize and add a glossy finish to the beads.
PC-Petrifier Wood Hardener is a popular choice for sealing paper beads, as it hardens the beads and gives them a shiny finish. You may also use acrylic floor polish, mod podge, varnish, or clear nail polish, all of which are staples in many paper crafting tutorials and inspiration.
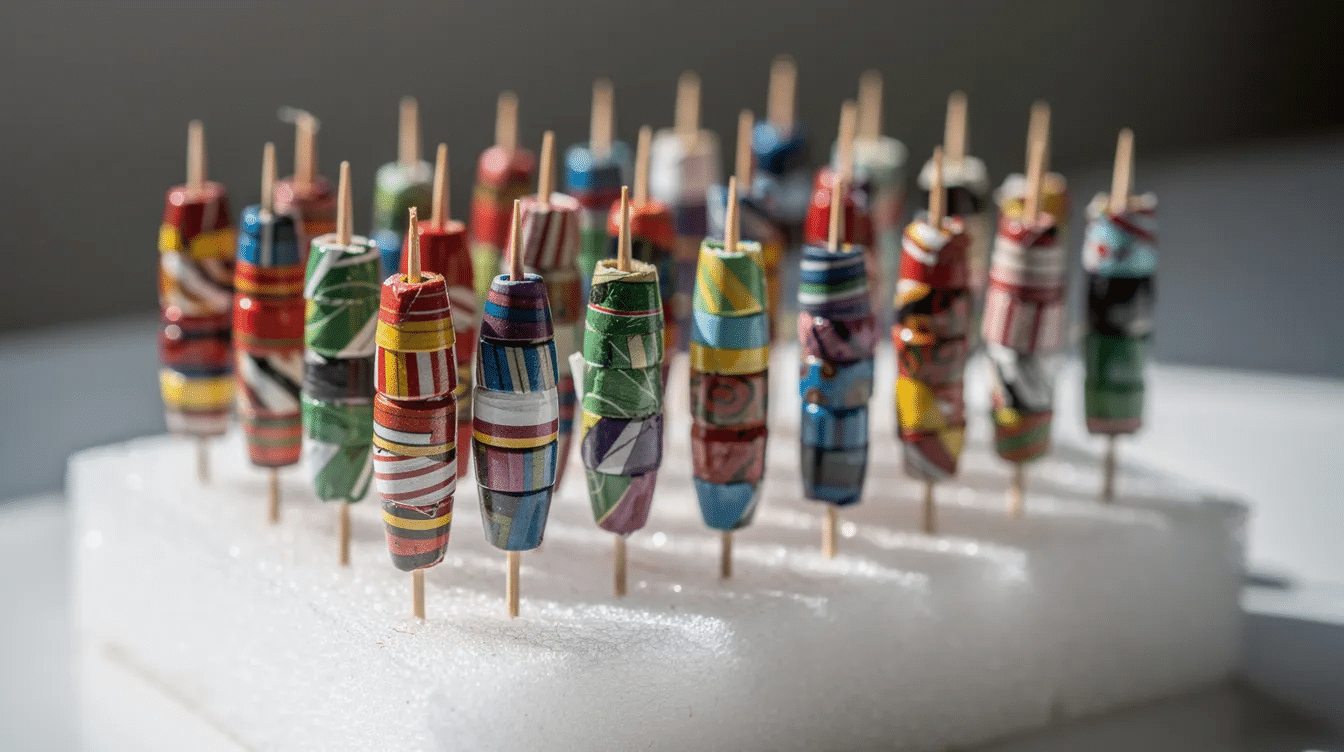
Applying multiple coats of a sealing product, such as acrylic floor polish or clear nail polish, can enhance the durability and appearance of paper beads. Use a thin coat each time, rotate the toothpicks, and let the holes seal too.
After sealing, it is recommended to let the beads dry completely, which may take several hours to a few days depending on the sealing product used.
Coloring and Decorating for Beautiful Paper Beads
Plain white beads can become beautiful paper beads with paint, ink, or marker patterns, just like other fun paper activities for creative minds. Acrylic paint works well; two thin coats usually cover without hiding the shape.
Try metallic dry-brushing, tiny dots, floral patterns, or translucent washes to echo vintage paper craft ideas. Dark colors plus a glossy coat can make paper beads look like ceramic or glass art.
Using Round Paper Beads in Jewelry Projects
Round paper beads are light, so they work well for earrings, bracelets, pendants, and a necklace, or as accents on cute crafts paper ideas for fun DIY projects. String them with metal spacers, seed beads, or other beads.
You can also attach single beads to headpins, keychains, bookmarks, zipper pulls, or gift tags, or pair them with handmade paper sheets for creative projects to build coordinated sets. This is a fun way to use recycled materials without making the project feel cheap.
Troubleshooting: Fixing Common Round Paper Bead Problems
Most crafters need practice before every bead looks round, just like when you first learn how to make paper snowflakes.
- Cone shape: the taper is too steep or the strip is too short.
- Flat bead: increase length; shorter paper strips result in thin or flat bead shapes, while longer strips help form a round sphere.
- Loose center: roll tighter and use a small core scrap.
- Cracking: use slightly thinner paper or check grain direction.
- Slipping: use less glue and avoid glossy surfaces until the final wraps.
I hope this post helps. If you test a formula, leave more comments or a link to your finished beads so others can compare results.
FAQ
How long should my paper strip be for a 10–12 mm round paper bead?
For 200 gsm cardstock, start with a strip about 30–35 inches long and 10–14 mm wide at the base. Adjust by 2–3 inches after your first test.
Can I use magazine pages instead of cardstock?
Yes. Magazine pages are thinner and slippery, so use longer strips, layered strips, or stronger sealant to keep the bead firm.
How do I keep paper beads from getting soft if wet?
Use several thin coats of water-resistant sealer, including inside the holes, and allow full cure before wearing.
Why do my beads unroll while I work?
You may be using too much glue too early. Apply glue near the end only, wipe excess, and hold the final wrap firmly.
Can I make very large round beads?
Yes, but use longer strips of lighter paper instead of very thick card. Large focal beads pair well with smaller accent beads.



