

Key Takeaways
- You can cut your own paper quilling strips at home in about 10–15 minutes with a craft knife, ruler, and cutting mat.
- The best paper for quilling is text-weight paper or lightweight cardstock, with a weight of 80–120 gsm.
- Uniform strips for quilling typically measure 3 mm to 6 mm in width; beginners often do best with 3 mm or 5 mm.
- A self-healing mat and craft knife provide the most precise method for cutting paper strips for quilling.
- Homemade quilling paper lets you control color, length, width, cost, and finish without needing expensive kits.
Introduction to Making Your Own Quilling Paper
Paper quilling involves coiling, shaping, and gluing narrow strips of paper into decorative designs. If you have ever wanted custom colors for cards, framed art, jewelry, or other quilling creations, learning how to make quilling paper at home is a helpful skill.
Homemade strips are usually cheaper than store-bought quilling paper, and you can avoid an extra purchase at the craft shop. In this tutorial, you’ll learn how to choose sheets, measure widths, cut strips, use a quilling tool, and store everything flat for your next project.
- Choosing the Right Paper for Quilling Strips
- Standard Quilling Strip Sizes and Measurements
- Tools You Need to Cut Your Own Paper Quilling Strips
- Step‑by‑Step: How to Cut Quilling Paper by Hand
- Using a Paper Trimmer, Pasta Machine, or Shredder
- Preparing Your Homemade Strips for Quilling
- How to Use Your Own Paper Strips in Quilling Projects
- Storage and Organization Tips for Quilling Paper Strips
- Common Mistakes When Making Quilling Paper (and How to Fix Them)
- FAQ about Making Quilling Paper at Home
Choosing the Right Paper for Quilling Strips
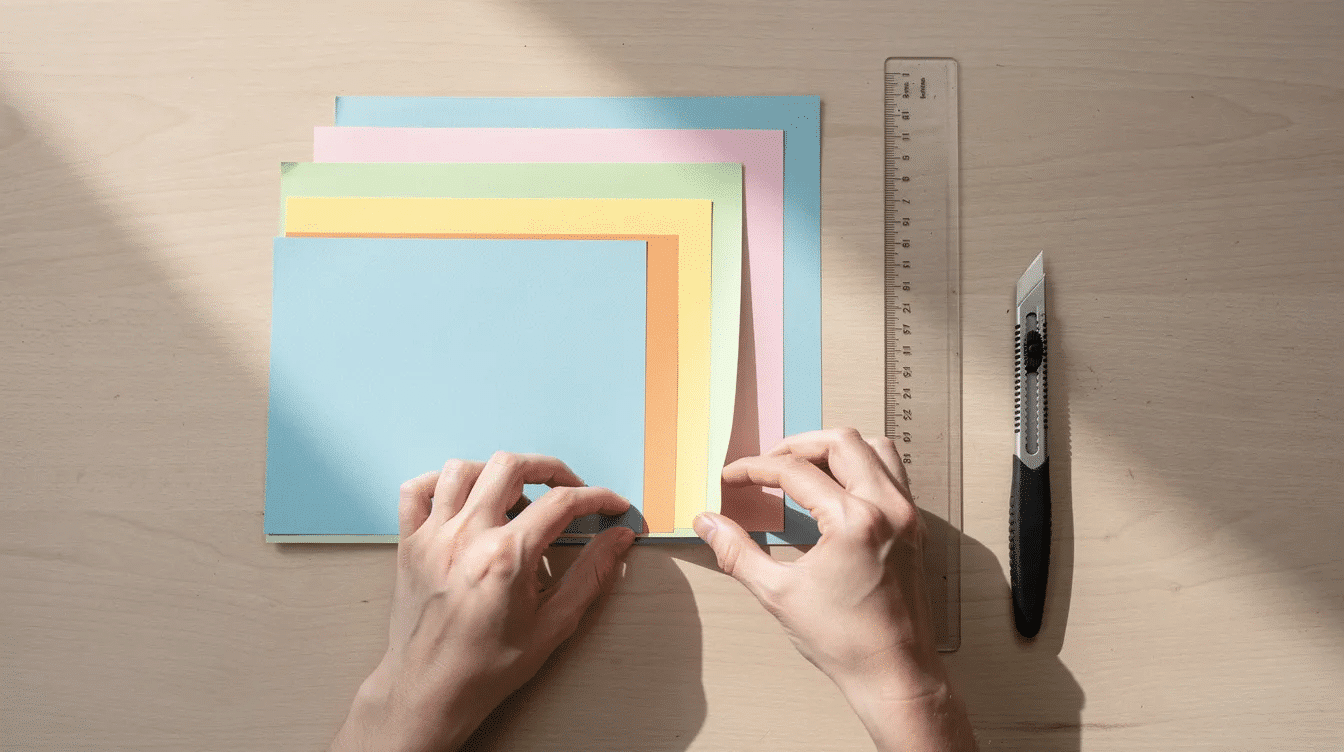
The first thing to choose is paper. Standard A4 or 8.5” x 11” sheets are convenient because their full length becomes the strip length. If you want to explore other options, a broader guide to the best types of paper for craft projects can help you compare textures and weights. To make quilling paper, cut lightweight paper into long strips with an ideal width of 3 mm to 5 mm.
For most people, 80–120 gsm smooth printer paper, colored copy paper, or lightweight cardstock works well. Slightly heavier card stock, around 160 gsm, is better for bold borders or 3D paper quilling elements, but it is harder to roll.
Smooth finishes roll easily and accept glue well. Pearlized, metallic, or scrapbook paper looks amazing, but glossy finishes may need more drying time. Solid or double-sided colors are best for visible coils, while a pattern can be awesome for borders or fringed flowers. I suggest beginning with red, blue, yellow, white, and black.
Standard Quilling Strip Sizes and Measurements
Common quilling paper sizes include:
Width | Best use |
|---|---|
1/16” or 1.5–2 mm | very fine details |
1/8” or about 3 mm | detailed coils and beginner shapes |
5 mm | flowers and mixed designs |
1/4” or about 6 mm | bold borders and larger crafts |
Use thinner strips for delicate outlines and wider strips for strong shapes. A full 8.5” sheet cut at 1/8” can make about 68 paper strips. Join strips with a tiny dot of glue when you need extra length for large scrolls. |
Tools You Need to Cut Your Own Paper Quilling Strips
You only need a few quilling supplies:
- sharp craft knife or X-Acto knife
- metal ruler with inch and centimeter marks
- self-healing cutting mat
- pencil
- scissors for trimming ends
Optional supplies include a paper trimmer, rotary cutter, pasta machine, or paper shredder. A straight-cut shredder can work if the slots match your desired width, and it’s worth looking at top craft paper supplies for creative projects if you want to expand your tool kit.
Be careful: always cut away from your body, keep fingers behind the ruler edge, and use a sharp blade. Using a sharp blade and holding the ruler firmly in place is crucial for cutting straight paper strips, as a dull blade can slip and result in uneven cuts.
Step‑by‑Step: How to Cut Quilling Paper by Hand
This method gives the cleanest result when making your own strips. Once you’re comfortable cutting strips, you can move on to a more complete overview of mastering paper quilling art for beginners.
- Place the sheet on the mat with the long edge parallel to the grid.
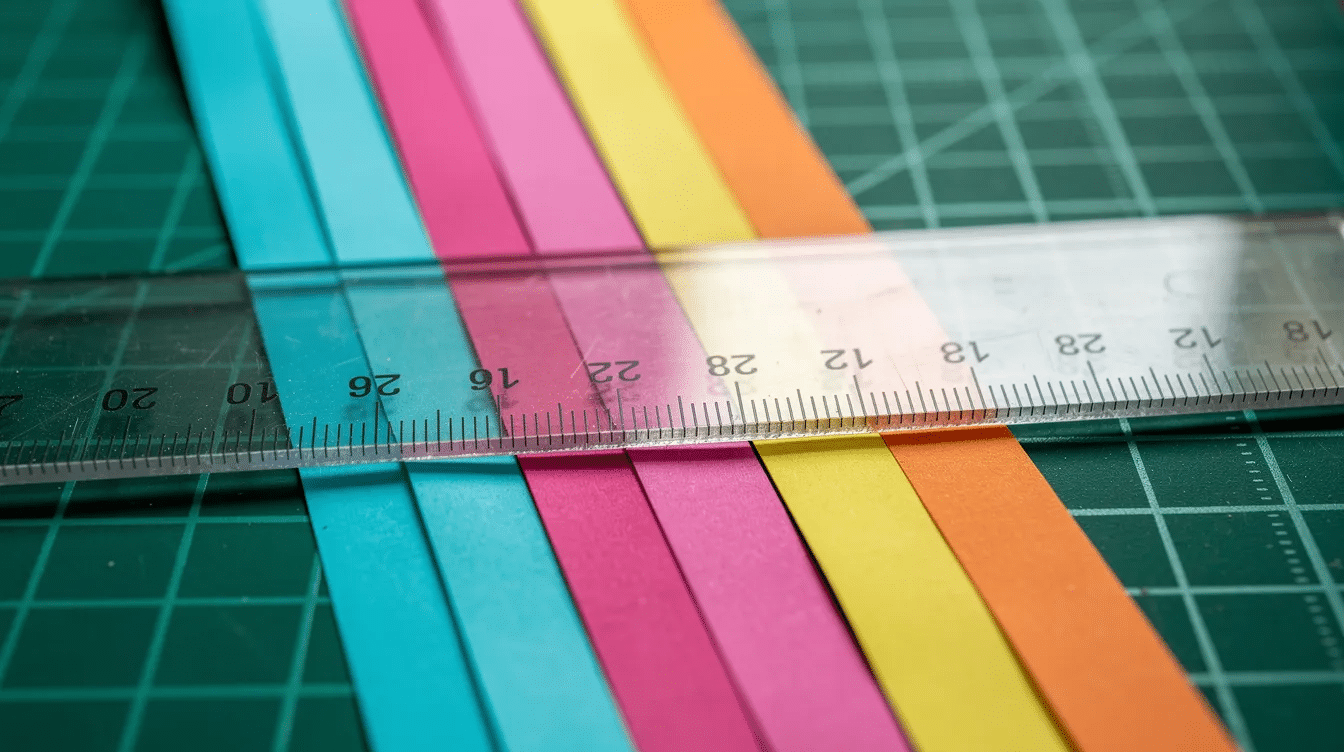
- To cut your own paper strips, mark off the desired width on one edge of the paper using a ruler, typically at 1/8” intervals, and make the same marks on the opposite side before cutting.
- Line up the ruler between matching marks.
- Cut gently with several light passes instead of one hard slice.
- Continue across the sheet, checking that every strip stays even.
- Trim rough ends with scissors.
Once you feel confident, cut several sheets at once to build a small stock of homemade paper quilling strips. Test a few before cutting a whole batch.
Using a Paper Trimmer, Pasta Machine, or Shredder
A paper trimmer is fast: set the guide to 3 mm, 5 mm, or 1/4”, hold the paper firmly, and cut. If you enjoy making your own materials, you might also like experimenting with handmade paper sheets for creative projects.
Using a pasta machine to cut paper strips for quilling can significantly speed up the process, producing strips that are approximately 0.7 cm thick. A pasta machine can be used to quickly cut paper strips for quilling, with the thickness of the strips depending on the cutter size, typically around 0.7cm (0.27”) thick. Dedicate it to crafts, not food.
A paper shredder is useful only if it is straight-cut. Avoid cross-cut shredders because they make pieces too short to quill.
Preparing Your Homemade Strips for Quilling
Fresh strips may curl. Gently run your fingers along each strip to relax it, then keep it flat. Bundle paper quilling strips by color and width with clips or bands.
A helpful tip: label each batch by size, such as “3 mm yellow.” This makes the process faster when a design needs matching materials, especially if you plan to sell quilled cards or wall art inspired by paper crafts that sell well.
How to Use Your Own Paper Strips in Quilling Projects
Homemade strips work like commercial ones. Slide one end into a slotted quilling tool and roll evenly. A slotted quilling tool is the easiest to use but can be substituted with a toothpick, bamboo skewer, or stiff needle.
A simple DIY quilling tool can be made using a dowel and electrical tape, which allows for better control while rolling paper strips. To create a DIY quilling tool, cut a slot down the middle of a dowel to hold the paper strip, and wrap electrical tape around the dowel to create a bumper that prevents slipping. Once you’re set up with basic tools, you can branch out into cute paper craft ideas for fun DIY projects that make use of your quilling skills.
To create shapes in quilling, pinch a loose coil with your thumb and index finger. Practice tight coils, loose coils, teardrops, marquise shapes, and scrolls. These same skills translate beautifully to making tissue paper flowers for any occasion, where controlled rolling and shaping also matter. To attach shaped coils to a canvas, dip the outer edge into glue or apply a dot with a needle-tip bottle. Standard white craft glue or Tacky Glue can be used for quilling; tacky glue is especially useful when you need a stronger hold. Work on a non stick surface so glue does not ruin your table.
Storage and Organization Tips for Quilling Paper Strips
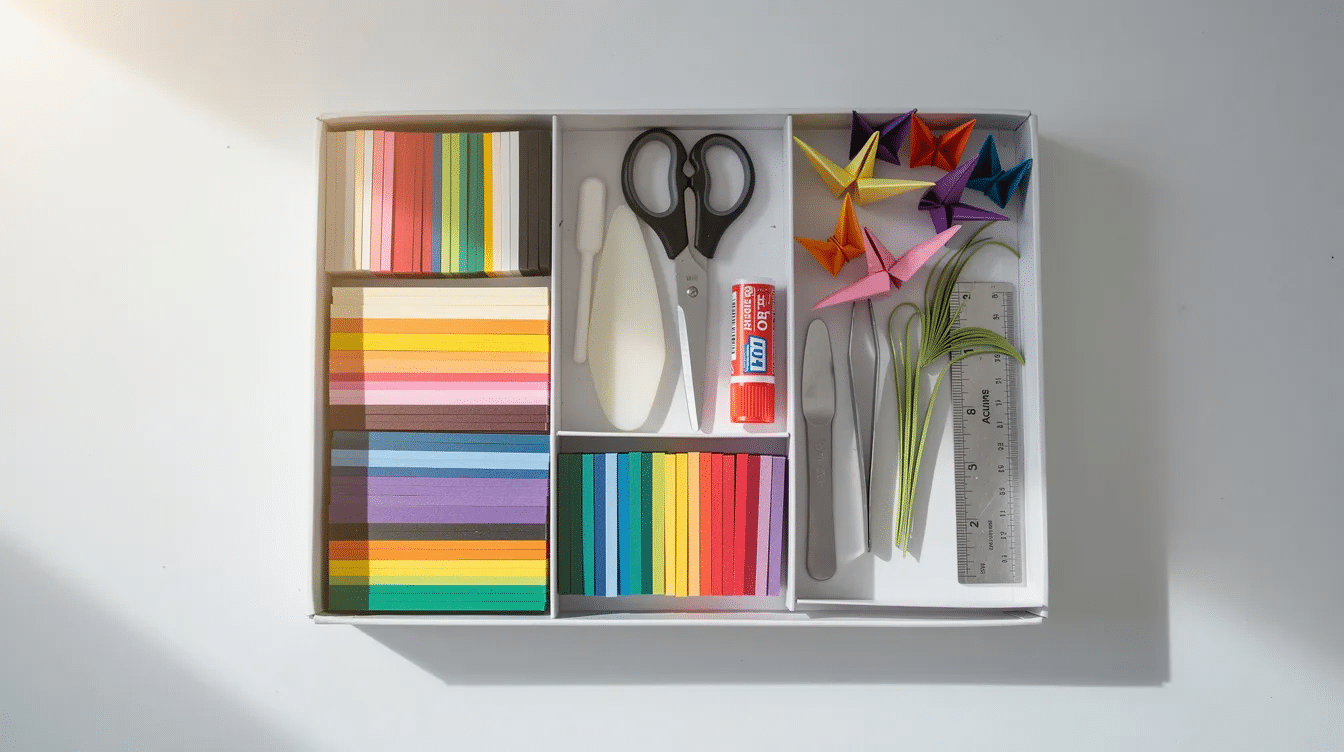
Store strips flat in a long envelope, photo box, or lined food container. Add cardboard dividers for different colors and widths.
Keep the box away from sunlight and moisture. This helps prevent fading, waviness, and brittle edges. If you cut often, write the date on each bundle.
Common Mistakes When Making Quilling Paper (and How to Fix Them)
- Uneven widths: slow down, check the ruler, and follow the mat grid.
- Frayed edges: replace the blade or use a sharper knife.
- Tearing while you roll: reduce tension or try 100–120 gsm paper.
- Poor glue hold: test glossy paper first and apply glue sparingly.
- Cutting too much too soon: make practice coils before a large batch.
If you need inspiration, google beginner quilling videos, browse paper crafting tutorials and project ideas, or experiment with edge effects. You can paint the edges later, but accuracy matters more when you begin.
FAQ about Making Quilling Paper at Home
Can I use regular printer paper for quilling?
Yes. Standard 80–90 gsm printer paper works well for basic coils and shapes. It rolls easily with a quilling tool, though it may feel softer than commercial strips.
What is the best width for beginner quilling strips?
1/8” or about 3 mm is the most common beginner width. If that feels too fine, try 1/4” or about 6 mm for flowers and larger shapes.
Do I need to color the edges of my homemade quilling paper?
No. Colored paper already shows color on the edges. Edge coloring with ink or paint is optional and better after you learn the basic technique.
How long can homemade quilling strips be stored?
They can last months or years if kept dry, flat, and away from direct sunlight. A lidded box in a cool room is ideal, and you can store other projects like DIY paper squishies and similar crafts in the same space to keep your materials organized.
Can I reuse scrap paper or magazine pages for quilling?
Yes, especially for practice. Glossy magazine paper can be slippery and harder to glue, so test small coils first. You can also turn printed designs or templates from creative things to print on paper into quilling backgrounds or card bases. For keepsake art, use acid-free paper.
With a ruler, sharp blade, and a little patience, you can create your own paper quilling strips anytime. I hope this guide was helpful and gives you inspiration for your next quill project.



