

Key Takeways
- Beginners can make sturdy paper mache animals in a weekend with newspaper, white glue, cardboard, and a simple base form.
- A flat animal silhouette armature makes proportions easier before any wet paper mache is added.
- Work in stages: build the armature, add foil padding, apply the first layer, let it dry completely, then refine.
- This method works for animal sculptures like a cat, dog, birds, dinosaurs, dragons, and other creatures.
- The FAQ covers drying time, kids’ safety, outdoor use, cracks, and strips vs. paper mache clay.
Start sculpting your paper mache animals the easy way
If you are wondering how to make paper mache animals for beginners, start small: a 20–25 cm sitting cat, fox, or bird is ideal. The core process is simple: create a cardboard pattern, bulk out the shape with foil or paper, then cover it with paper mache or paper mache clay.
You do not need advanced sculpting skills. If you can trace a photo, cut cardboard, tear a strip of newspaper, and smooth paste with your fingers, you can begin. This same tutorial works for mammals, birds, reptiles, and fantasy creations from your imagination.
- Where this beginner‑friendly method comes from
- Why armature patterns make paper mache animal sculptures easier
- Choose your animal and gather basic materials
- Trace or draw a simple animal pattern
- Add a basic grid if you want to scale up
- Transfer the pattern to cardboard and cut the armature
- Position and attach the legs
- Reinforce the armature so it stands on its own
- Mix your paper mache paste or paper mache clay
- Apply the first layer of paper mache
- Build up shape and details with more layers or clay
- Sand, prime, and paint your animal sculpture
- Beginner‑friendly project ideas to try next
- Frequently Asked Questions about paper mache animals
Where this beginner‑friendly method comes from
The history of papier mâché is older than many people expect. The history of paper mache dates back to its origins in China, where paper was also invented. The technique of paper mache spread from China to Japan and the Middle East before reaching Europe in the 17th century. In Europe, paper mache became popular for creating decorative objects such as masks, dolls, and jewelry.
The term comes from french and means “chewed paper,” as explained by Britannica. Modern makers use different techniques, including wire, chicken wire, clay cores, and cardboard armature patterns. This post keeps the process simple for beginners.
Why armature patterns make paper mache animal sculptures easier
An armature is the hidden support structure that holds the sculpture in shape. For beginners, a flat cardboard silhouette is easier than building with wire because patterns lock in the animal’s proportions.
For example, if you make a 30 cm dachshund, the side-view pattern keeps the long back, short legs, head, and tail consistent. You can fix a neck that is too long or a body that is too short while the design is still on paper.
This structure supports classic strip paper mache and thicker paper mache clay without collapsing, and it opens the door to many creative paper mache project ideas.
Choose your animal and gather basic materials
Pick an animal with clear shapes: a sitting cat, bear cub, small bird, or simple dog. Choose one side-view photo or image where the whole body is visible.
You only need a few basic supplies, including paper, glue, and a base form; choosing the right craft paper supplies for your project makes the process smoother. Gather:
- clean cardboard from a shipping box
- newspaper, plus paper towels for finer details because they absorb well
- masking tape, aluminum foil, and optional hot glue
- white glue, craft glue, wallpaper glue, or flour paste
- scissors or craft knife
- acrylic paints and clear acrylic varnish
- a protected surface, such as plastic, newspaper, or an old tablecloth
To create paper mache, you can use a simple glue mixture made from flour and water, or opt for stronger alternatives like wallpaper glue or craft glue. A popular glue option for paper mache is a homemade mixture made from flour and water, which is cheap and easy to make. You can also use wallpaper glue or craft glue for a stronger, faster-drying option in paper mache projects.
Trace or draw a simple animal pattern
Draw or trace the animal outline onto paper: body, head, tail, and simplified legs. Avoid tiny details like claws, eyelashes, or fur at this stage.
For a 20 cm tall giraffe, draw an oval body, a long neck, a small head, and straight legs. Keep the body and tail on one pattern, then draw leg pairs separately so you can attach them later.
For small mache animals, a 15–20 cm body length is easy to handle, especially if you are just getting into simple paper crafts for beginners.
Add a basic grid if you want to scale up
Using a grid system to transfer a small pattern to a larger piece of cardboard can help create an accurate armature for your paper mache sculpture.
For a small project under 25–30 cm, you can skip the grid. For a 40–50 cm animal, draw a 1 cm grid over the sketch and a matching 2 cm square grid on cardboard. Doubling the square size roughly doubles the finished animal and hints at how easily you can explore creative uses of paper mache in larger projects.
Transfer the pattern to cardboard and cut the armature
Trace the pattern onto cardboard, either square by square from the grid or by outlining the paper template. Use sturdy, clean cardboard from a shipping box; if possible, run the corrugation along the legs for support.
Cut the body and leg pieces separately. The edges do not need to be perfect because the surface will be covered with foil, tape, and paper mache.
Position and attach the legs
Correct leg placement helps the animal stand naturally. Check front or back reference photos to judge spacing.
Attach legs at the shoulders and hips using hot glue or strong white glue. The front legs should line up with the chest, and the back legs with the pelvis. Tape them lightly first if you want to test a pose, such as one front leg stepping forward.
Use crumpled foil or paper as spacers and padding
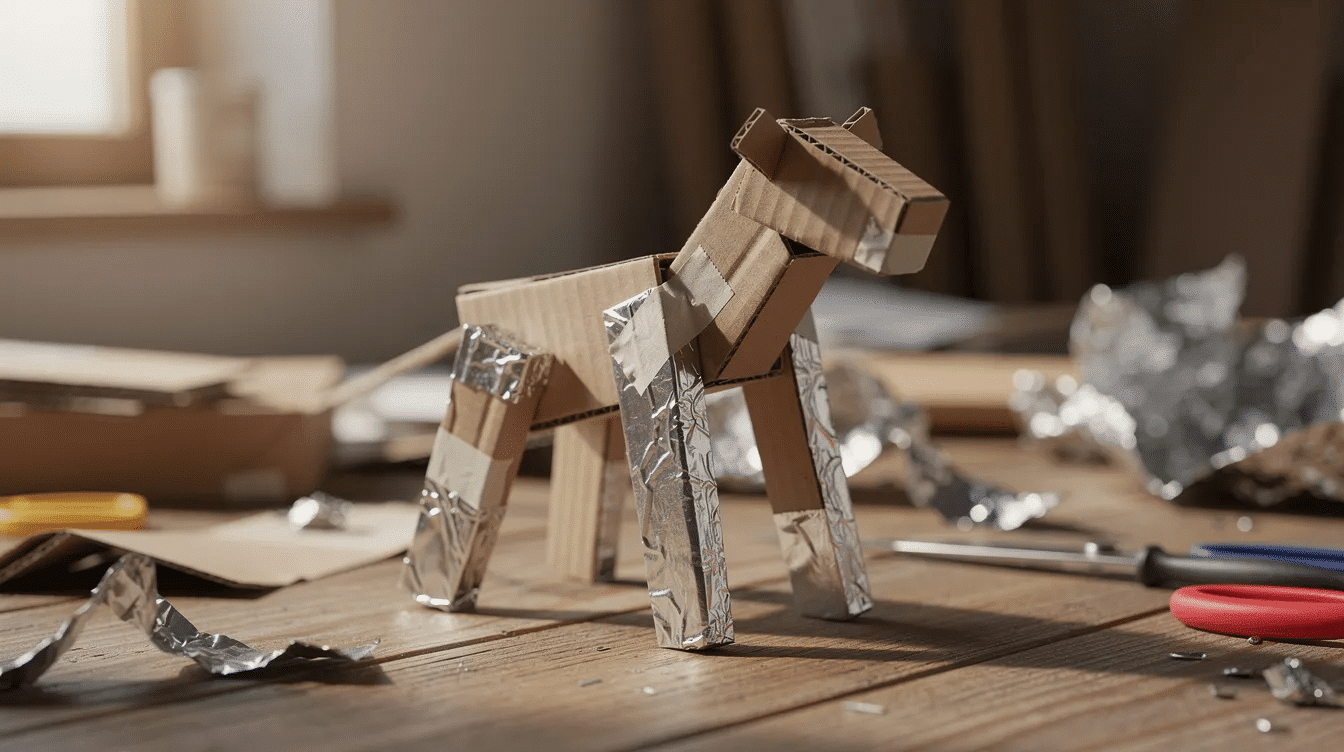
Creating an armature with aluminum foil and hot glue allows for flexibility in adjusting the placement of legs and posture before finalizing the structure, much like building the base for fun DIY paper squishies projects where simple shapes become expressive characters.
Crumple foil into cushions where legs meet the body. Add foil or crushed scrap paper around the neck, shoulders, belly, hips, ears, and tail. Wrap with tape until the form is smooth enough to cover.
Reinforce the armature so it stands on its own
Before adding anything wet, lay the armature on a flat table and check whether it leans, twists, or wobbles. Add tightly crumpled foil around ankles, knees, and weak joints.
For thin legs, such as a deer or flamingo, tape a bamboo skewer or dowel beside the cardboard. This prevents repairs later when the sculpture is heavier.
Mix your paper mache paste or paper mache clay
For strip paste, use equal parts white glue and water, or mix 1 part flour with about 1–1.5 parts water. Stir until the mixture has a smooth, creamy consistency. Add a teaspoon of salt to flour paste in humid climates to slow mould growth.
Paper mache clay is thicker. It is usually made from soaked paper, white glue, a little joint compound, and flour. Beginners should start with strips for the first layer, then use clay for faces, paws, feathers, or scales, and later branch out into cute paper craft ideas for easy DIY projects.
The paper-to-paste ratio is crucial for achieving a durable and lightweight paper mache sculpture: strips should be wet, not dripping.
Apply the first layer of paper mache
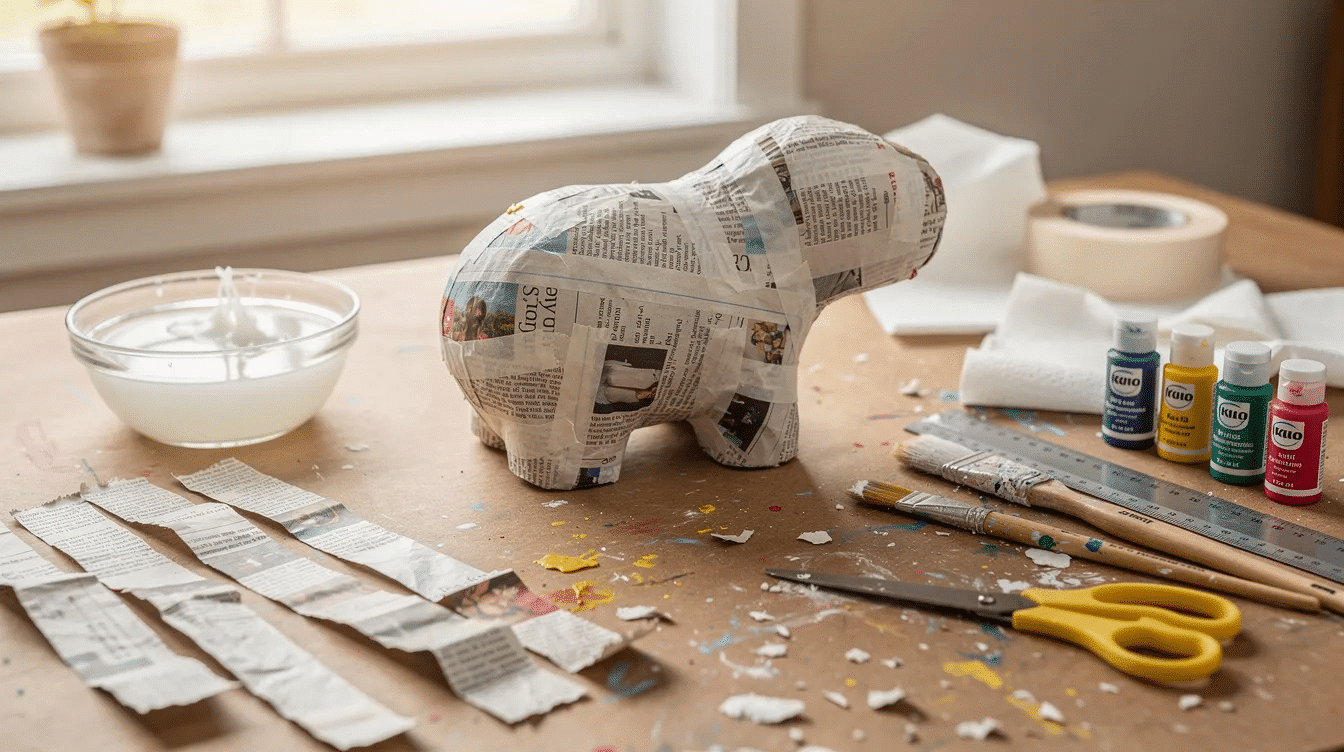
Newspaper is the most commonly used paper for paper mache due to its thin structure, which allows for easy tearing and shaping. It is recommended to tear newspaper strips instead of cutting them to avoid creating bulky lines in the sculpture.
Tear strips 2–3 cm wide. Dip each strip into paste, wipe off excess between your fingers, and lay it over the armature. Overlap edges slightly and cover the entire surface.
Let the first layer dry completely, often overnight or 24 hours.
Build up shape and details with more layers or clay
The number of layers needed for paper mache typically ranges from three to five, depending on the desired sturdiness of the final product. Let each layer dry fully before adding the next. To prevent mold growth in paper mache, ensure that each layer is completely dry before adding the next, and work in a well-ventilated area.
Once dry, add paper mache clay for eyes, nose, ears, paws, and texture. Use a spoon, blunt knife, or skewer to press fur, feathers, or scales into the soft surface. Thick clay areas may need 24–72 hours to dry.
Sand, prime, and paint your animal sculpture
When the sculpture is hard and dry, sand rough bumps gently, ideally outside or with a dust mask. Add white gesso or white craft paint as a base coat.
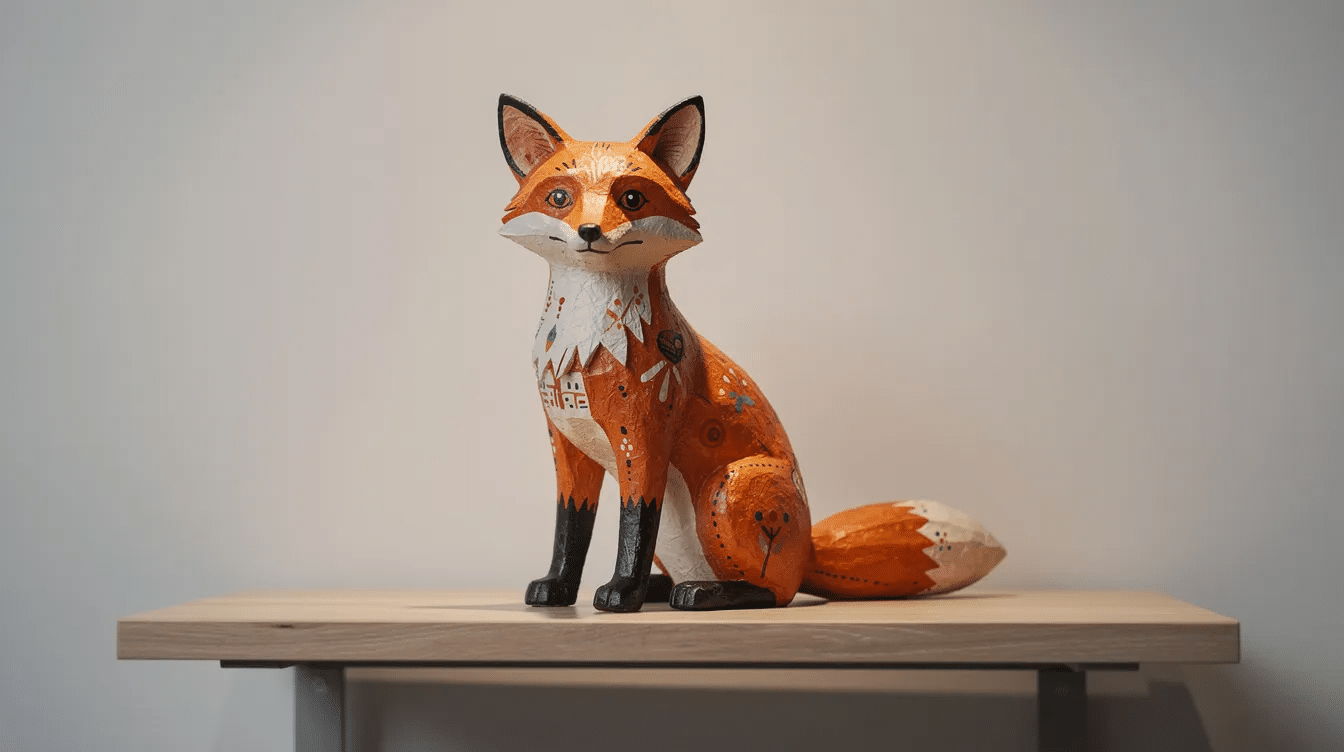
Acrylic paints can be used to finish paper mache sculptures, and sealing them with a clear acrylic varnish protects them from moisture. Try realistic fur, a bright red bird, or a cool blue fox with gold stars.
Beginner‑friendly project ideas to try next
Build confidence with several small projects instead of one huge house-sized creature. Try:
- a 15 cm sitting cat
- a round penguin made over a balloon or ball
- a 25 cm dinosaur
- two simple birds on a branch
- a wall mask or animal sign you can hang
Reuse the same pattern method. Keep photos, notes, and more comments about what worked so your next art project improves.
Frequently Asked Questions about paper mache animals
How long does it take for a paper mache animal to dry completely?
Thin layers may dry overnight. Multiple layers or paper mache clay can take 24–72 hours, depending on humidity. Turn the sculpture occasionally and keep it in warm, moving air, not direct heat.
Can kids make paper mache animals safely?
Yes. Paper mache is a great crafting activity for children, as it helps develop fine motor skills and creativity. The process of tearing, gluing, and painting in paper mache is enjoyable for children and can keep them occupied for hours. Working on paper mache projects can teach children teamwork and patience, especially when collaborating on larger projects.
Adults should handle craft knives and hot glue, especially with children under 10.
Can I put my paper mache animals outside?
Traditional paper mache is not waterproof. Varnish helps, but rain and heavy humidity can still soften it. Keep animal sculptures indoors or in covered outdoor areas.
What if my paper mache animal cracks or feels soft after drying?
Fill small cracks with fresh clay or extra strips and paste. If a leg or body feels soft, it needs more drying time. Add white-glue strips around weak joints for strength.
Which is better for beginner animal sculptures: strips or paper mache clay?
Strips and paste are easier for beginners. Paper mache clay is better for details after the first layer is dry. Many artists combine both techniques: strips for strength, clay for fine features.



