

Key Takeways
- To make paper beads, cut long triangular strips from magazine paper or junk mail, then roll them tightly around a skewer, pencil, or roller.
- Glossy magazine pages can create colourful pages of beads that look surprisingly like glass beads or ceramic when sealed.
- Beginners need only scissors, white glue, and just a toothpick; frequent crafters may prefer paper bead rollers and a paper cutter.
- Sealing finished beads with mod podge, often misspelled modge podge, varnish, or clear nail polish makes them stronger and water-resistant.
- Making paper beads from old magazines is an eco-friendly way to upcycle pages into jewelry components.
Introduction: Turning Magazine Paper Into Jewelry
This tutorial shows how to make paper beads from magazine pages, junk mail, and old paper products from 2020–2025 into a necklace, bracelet, earrings, or other art projects. A paper bead is simply rolled paper shaped from a triangle strip. Glossy magazines work well because the coating gives an amazing polished look after sealing. You can finish a small first batch in 30–60 minutes, making this one of the most fun crafts for adults, teens, and supervised kids.
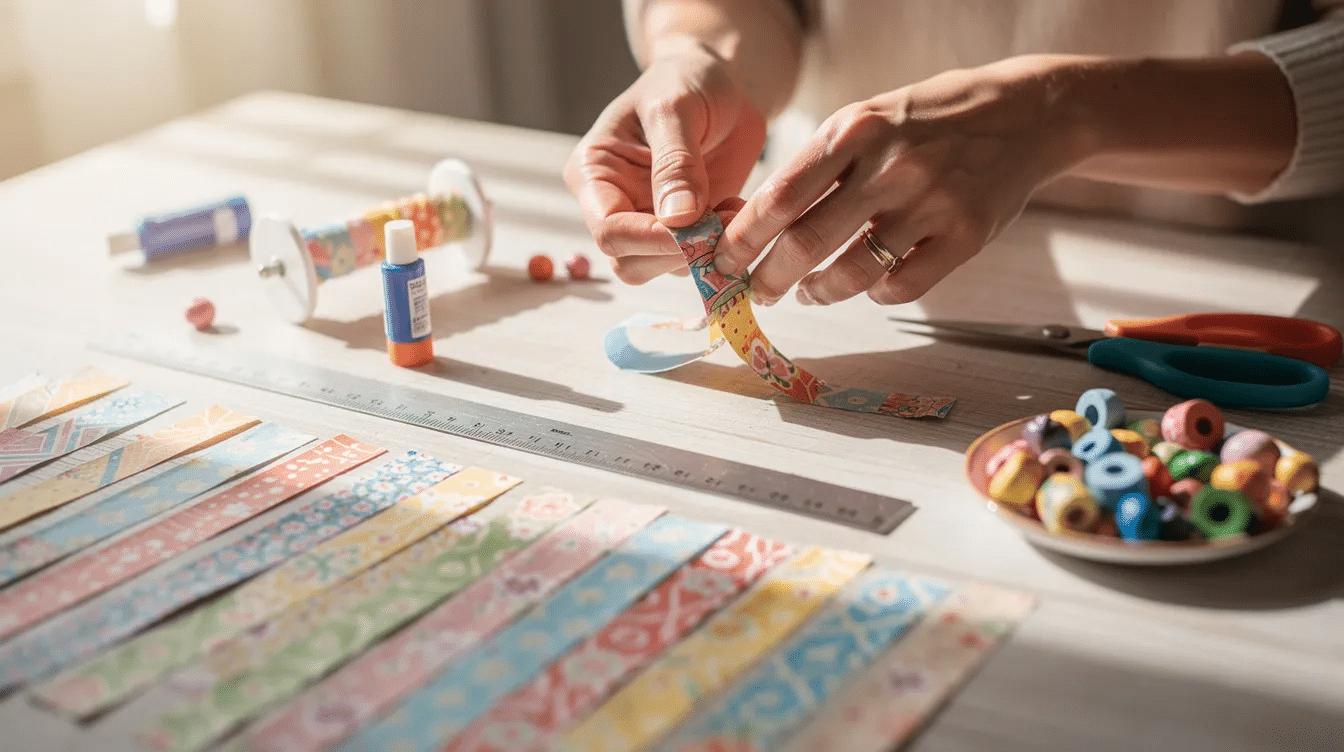
What You Need to Make Paper Beads
Gather these materials on a flat surface:
- Paper: magazine pages, old magazines, junk mail, scrapbook paper, wrapping paper, wallpaper, gift wrap, or any sturdy other paper product. Avoid very thin papers like tissue paper because they may tear and are not sturdy enough; choosing the best types of paper for craft will help you match materials to each project.
- Cutting tools: scissors, or a craft knife, cutting mat, and metal ruler for straight cuts; pairing these with top craft paper supplies for creative projects can make bead cutting easier and more precise.
- Faster cutting: a rotary cutter with a quilting ruler and mat can cut multiple layers of paper at once for efficient bead strips.
- Rolling tools: toothpick, bamboo skewer, cocktail straw, round pencil, or paper bead rollers.
- Adhesives: white glue, glue stick, plus an extra dab for the point.
- Sealers: clear nail polish, nail polish, varnish, high gloss spray sealer, Super Gloss Mod Podge, or matte mod podge.
- Support items: pencil, ruler, small paintbrush, scrap cardboard, and foam for drying.
Choosing and Preparing Magazine Paper
Choose a colorful page from an old magazine. Fashion, interiors, travel, and craft catalogs usually have bold colors and fewer blank areas, and you can explore other fun paper activities for creative minds to use up leftover pages. Light print makes soft pastel beads; full-photo pages create saturated beads.
Carefully tear pages from the spine, trim ragged edges, and sort different papers into color groups. Magazine paper and junk mail are ideal because they are strong, free, and already decorative, and they can also be transformed into handmade paper sheets for creative projects.
How to Cut Paper Strips for Beads
The dimensions of paper strips dictate the final shape and size of the bead. To create a classic bicone shape, long triangles are needed for paper cuts. A good starter paper strip is 3/4 inch, or 2 cm, at the wider edge and 10–12 inches long, tapering to a point.
Using a ruler to measure and mark intervals helps create consistent bead sizes. Mark one long side every 2 cm. Mark the other side at 1 cm, then every 2 cm. Connect marks at a slight angle to draw each triangle, then cut.
Thick base width and height of triangles affect the final dimensions of the beads. Wider strips create wider beads, shorter strips make fatter beads, and narrow long triangular strips make slim shapes.
Quick start: To make paper beads, start by selecting a colorful page from an old magazine and cut it into long triangular strips, with wider strips creating wider beads.
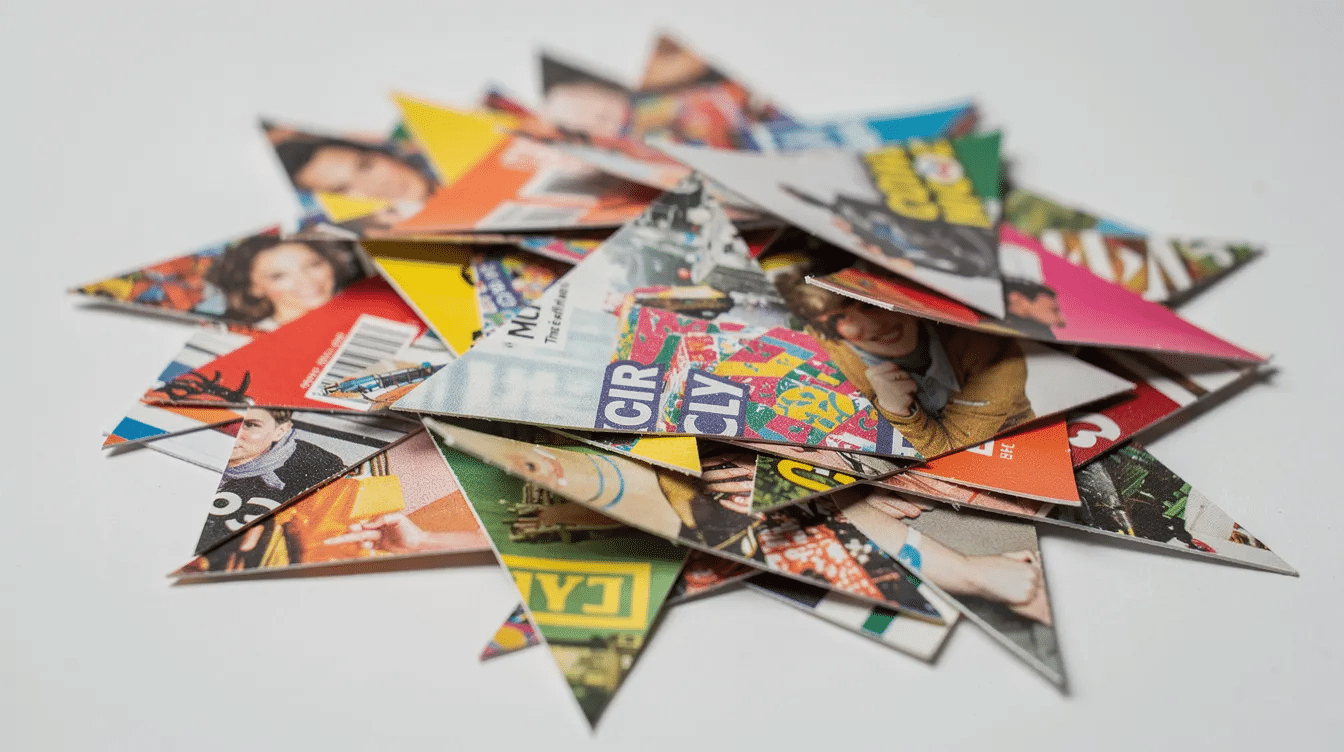
Step-by-Step: Making Paper Beads
- Lay one strip patterned-side down.
- Place the wide end against a toothpick, bamboo skewer, or pencil horizontally.
- Start rolling and tightly roll the paper around the tool, keeping the layers centered.
- Stop when 2–3 inches remain. After cutting the paper strip, roll it around a pencil, applying glue to the unrolled part to secure the bead as you roll it tightly.
- Add a thin layer of white glue, finish the roll, and press the point smooth.
- Slide the bead off the roller, or leave it on the stick until completely dry.
Make sure glue does not fill the hole, or stringing will be difficult.
Using Paper Bead Rollers and Other Tools
Hand rolling is fine, but paper bead rollers make paper bead production faster and more uniform. A metal roller grips the paper between slotted rods, helping you keep tension and create even holes.
Toothpicks and skewers are best for classrooms, casual art projects, or testing shapes. Larger rollers create wider beads for thick cord; smaller rollers suit delicate jewelry. Some makers also use rotary cutters, quilting rulers, and die-cut tools to prepare stacks of magazine pages, especially if they enjoy exploring broader paper crafting tutorials and inspiration.
Sealing and Shaping Your Paper Beads
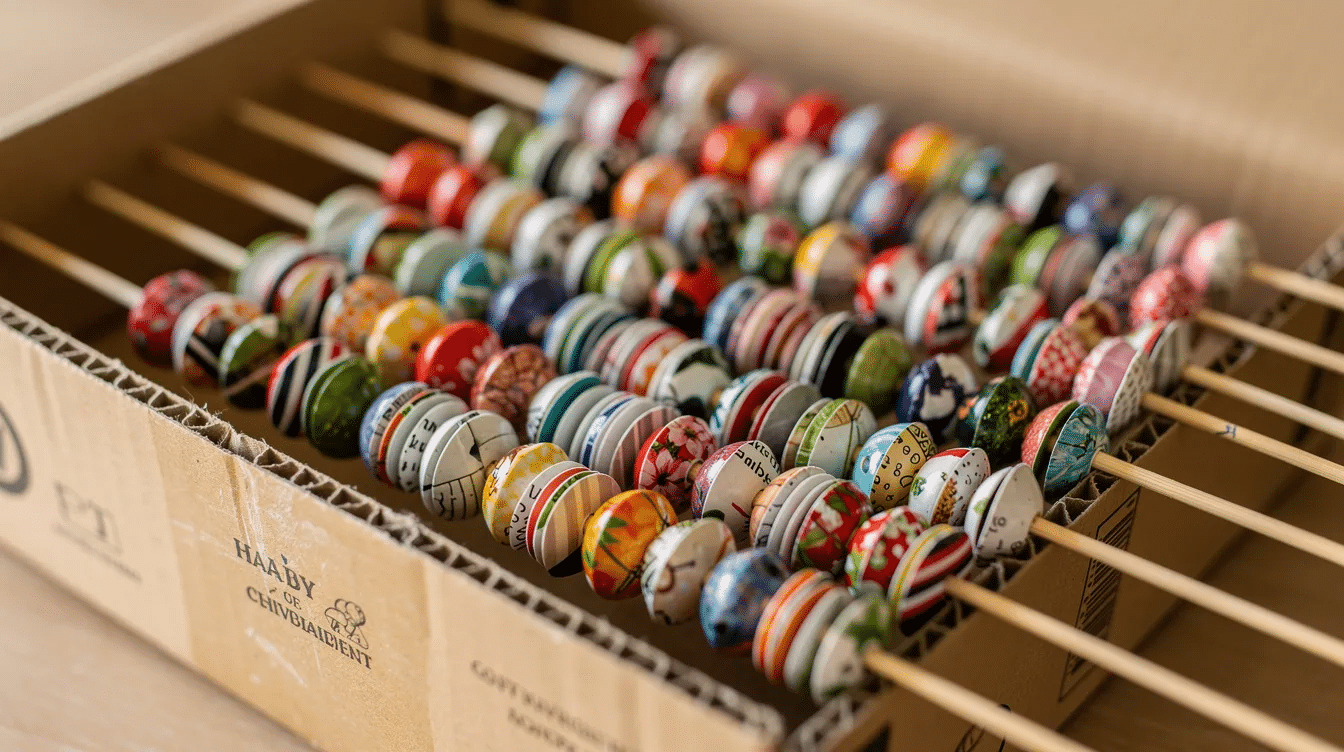
Sealing protects each paper product from dirt, moisture, and wear. Thread several beads onto a bamboo skewer with gaps between them. Brush on a thin coat of mod podge, varnish, or clear nail polish, rotating the skewer to cover the paper completely.
Once the beads are rolled and the glue is dry, you can apply a thin layer of clear nail polish or varnish to give them a shiny finish and protect them. To enhance the durability and appearance of paper beads, a thin layer of clear nail polish can be applied once the glue is dry.
For extra shine, use a high gloss spray sealer or Super Gloss Mod Podge. Mod Podge notes that sealers are water-resistant, not fully waterproof. Varnishing paper beads can be done by dunking them into varnish and allowing them to dry in a cardboard box, which helps to protect the beads from wear and tear, and there are many creative paper bead ideas for stunning DIY jewelry you can try once your beads are sealed. Let coats dry 30–60 minutes; cure overnight.
Creative Ideas for Using Magazine Paper Beads
Once you know how to make paper beads, mix them with other beads, wood, metal spacers, plastic beads, or glass beads. Try:
- Stretch bracelet designs
- Dangle earrings
- A pendant necklace
- Bookmark tails with ribbon
- Planner clips and zipper pulls
- Garlands, ornaments, and handmade gift tags
Use paint on the other side of plain paper, or combine bead shapes for a custom look. You can create elegant jewelry from almost any other paper product, and mix your beads into cute paper crafts for fun DIY projects.
FAQ
Are paper beads waterproof once they’re sealed?
No. Sealed paper beads are water-resistant, not waterproof. Keep them away from showers, pools, and soaking. For maximum moisture protection, use outdoor or marine-grade varnish and allow several days of curing.
Can I make paper beads without Mod Podge?
Yes. Clear nail polish, acrylic varnish, shellac, or water-based polyurethane can seal beads. Nail polish dries fast but has strong fumes, so it is better for small batches.
What glue works best for rolling paper beads?
Thick white PVA glue or a strong glue stick works best. Apply a thin layer so glue does not ooze out. Avoid hot glue because it sets too quickly and leaves bulky lumps.
How long do paper beads last?
Properly rolled and sealed beads made from sturdy magazine paper can last for years. Store finished bead jewelry away from direct sun and humidity to preserve color.
Can children make paper beads safely?
Yes, with supervision. Children can use safe scissors and non-toxic glue. Adults should handle craft knives, rotary cutters, and spray sealers.



