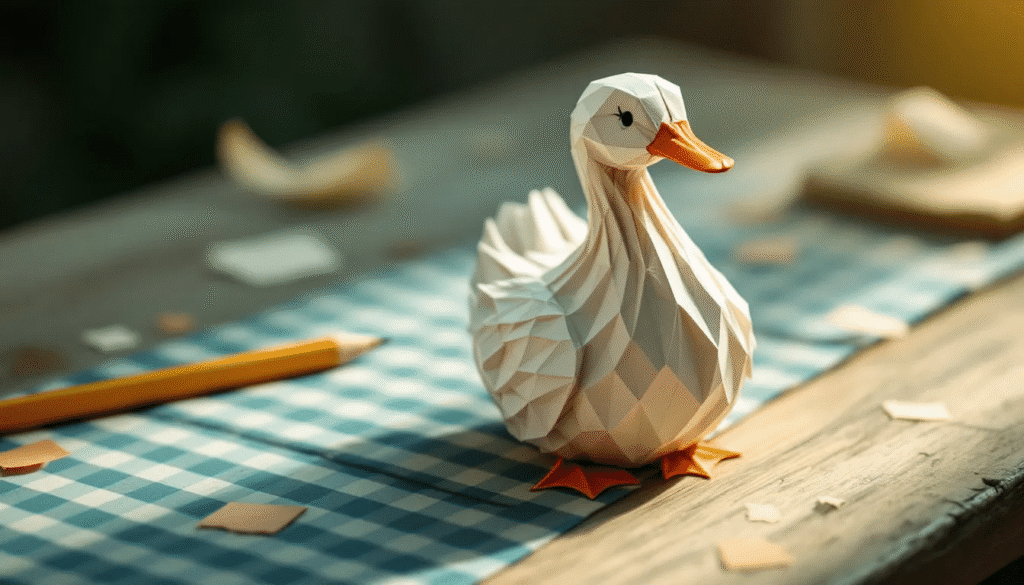
Paper duck ideas can be super fun and surprisingly simple once you get the hang of folding paper the right way. I started folding little animals just for fun, and the duck became my favorite one to make. It’s cute, easy to fold, and you don’t need anything fancy to start. All you really need is a square piece of paper and a little bit of time.
These paper duck ideas are perfect for diy craft lovers or anyone looking for a fun diy project to try at home. Kids can engage in paper crafts as part of nursery craft ideas, making it a delightful activity for all ages.
This post has a bunch of paper duck ideas, from beginner folds to cooler versions that look like little works of art. So if you’ve been looking for something chill to make with your hands, you’re in the right spot. Once you finish your origami duck, take a moment to admire your handiwork and enjoy the satisfaction of creating something by hand.
Key Points:
- Introduction to Paper Folding: Origami is a traditional Japanese art transforming square paper into intricate designs, starting simply with basic folds like valley and mountain folds.
- Getting Started with Paper Duck Ideas: Begin with a square piece of paper—there are many options for paper types and folding styles to suit your preferences—fold it diagonally, and practice clean folds, as these are essential for creating a neat origami duck.
- Understanding and Shaping the Duck: Shape the duck by folding the sides for a round body, creating the neck and head, and refining the shape with small adjustments for a more realistic look.
- Advanced Folding Techniques: Explore techniques like wet folding and tessellations, which add dimension and complexity to your origami, allowing for more artistic and detailed paper ducks.
- Next Steps and Continued Practice: Keep practicing new duck designs, experiment with different animals, and engage with online communities and tutorials to enhance your origami skills.
- Introduction to Paper Folding
- Intro to Folding: DIY Paper Duck Ideas for Starters
- Understanding the Folding Process
- Shaping the Duck's Body
- Refining the Duck's Shape
- Advanced Folding Techniques
- Advanced Paper Duck Ideas
- Creating Your Origami Duck Masterpiece
- Beginner Tips + Fun Variations
- Keep Folding: More Paper Duck Ideas to Try
- Conclusion and Next Steps
- FAQ's
- How can I continue learning and improve my paper folding skills?
- What advanced techniques can I explore to improve my origami ducks?
- What are some tips for shaping and refining my origami duck?
- How do I get started with folding my first paper duck?
- What basic techniques should I learn first when starting with origami paper ducks?
Introduction to Paper Folding
Paper folding, also known as origami, is a traditional Japanese art form that transforms a simple square piece of paper into intricate designs through a series of folds. One of the most iconic and beloved designs is the origami duck. To start your folding journey, all you need is a square piece of paper—6 inches is a great size to begin with—and a bit of patience.
Understanding the basic folding techniques, such as valley and mountain folds, is crucial. These foundational folds will set you up for success as you create your first origami duck. The beauty of origami lies in its simplicity and the joy of creating something beautiful from a plain piece of paper.
Folding paper is not just a fun and creative activity; it also enhances spatial reasoning and fine motor skills. It’s an excellent hobby for people of all ages. Simple crafts are ideal for entertaining children, making origami a great choice for family activities. With practice and a passion for learning, anyone can master the art of origami and share their creations with friends and family. So, choose your paper, start folding, and enjoy the process of making your very own origami duck.
Intro to Folding: DIY Paper Duck Ideas for Starters
Start simple. Grab a square piece of paper. Any kind will work—colored, white, notebook paper, whatever you have. Fold it in half diagonally. Carefully align the bottom corner to ensure a precise fold. That’s your first crease. The cleaner the fold, the better the final duck will look. Folds are everything in origami. It’s wild how a few sharp lines can turn flat paper into something cool. There are loads of paper duck ideas that start this way.
Try these tips for clean folds:
- Use your fingernail or a ruler to press the crease.
- Line up corners perfectly before folding.
- Work on a flat table or surface.
You’ll mess up a few, and that’s fine. I’ve scrapped more ducks than I can count. Keep folding anyway.
Understanding the Folding Process
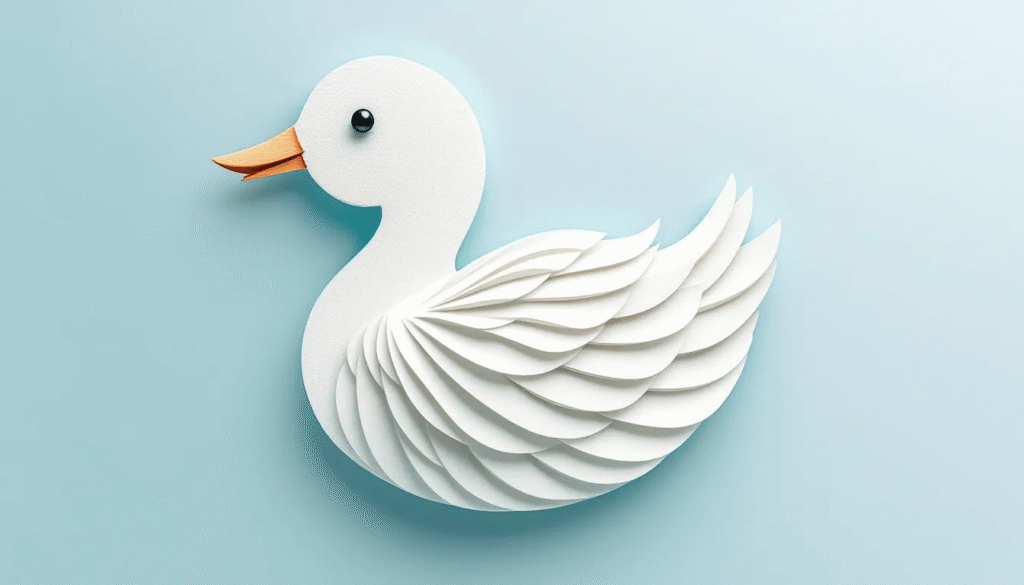
Let’s keep building. Turn that triangle into a duck. Fold the triangle in half, making sure the edges meet precisely, to get a center line. Now open it up again. This line will help you shape the duck. To form symmetrical flaps, fold the top right and bottom left corners diagonally to meet at the central crease.
Practice these basics to get smoother folds:
- Fold triangles, diamonds, and rectangles from the same square paper.
- Try folding toward you and away from you to get used to how the paper moves.
- Get into the habit of flattening each fold as you go.
Want to learn faster? Watch short origami videos online. Search for “easy origami duck.” Follow along with someone who folds slowly. It helps.
Shaping the Duck’s Body
Now it’s time to shape the duck. You’ll be working with that folded triangle. Fold the sides in a bit to curve the duck’s body. Then fold the top down—this makes the neck. Fold again to shape the head.
Steps for shaping the duck:
- Fold the bottom up to make a belly.
- Fold the sides in slightly for a rounder body.
- Fold the top tip forward for the head.
- Pinch the beak by folding a tiny triangle.
Each duck will look a little different. That’s part of the fun. Some might be stubby, others tall. You can shape them more after the main folds are done.
Refining the Duck’s Shape
Let’s clean it up. Make the duck look smoother. Refold any loose edges. Pinch the head into a better shape. Add a tail by folding the back edge. It doesn’t have to be perfect.
Want to level up your duck? Try this:
- Draw or glue on tiny eyes.
- Use a marker to color the beak.
- Add feather lines with a pencil. Refer to a picture for better understanding of the feather lines.
These small tweaks bring the duck to life. And if you’re stuck, go back to those online tutorials. Sometimes just seeing a fold again makes it click.
Advanced Folding Techniques
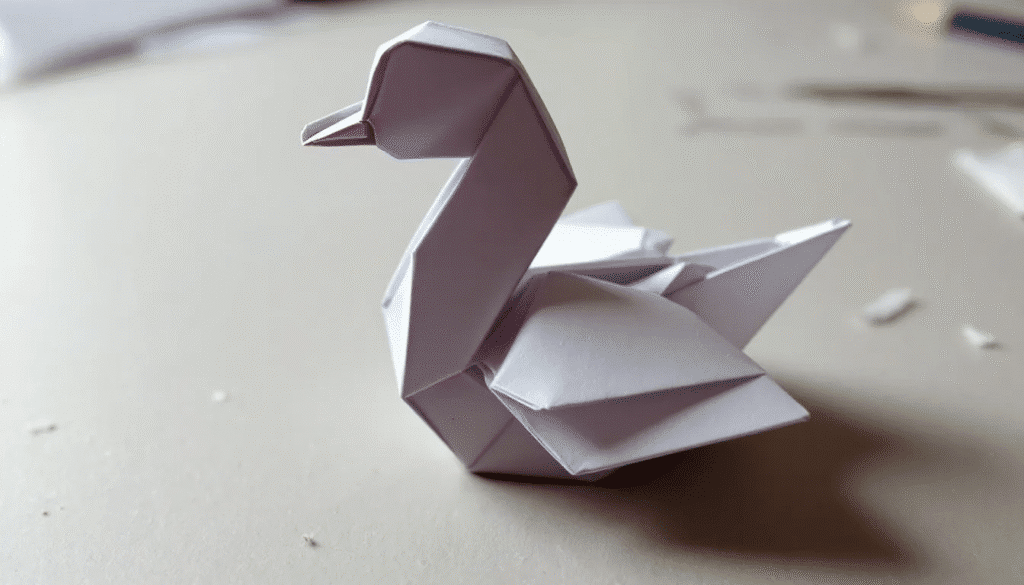
Ready to take your origami skills to the next level? Advanced folding techniques, such as wet folding and tessellations, can add a whole new dimension to your paper creations, including the origami duck. Wet folding involves dampening the paper slightly to allow for smoother, more sculpted folds, while tessellations create intricate, repeating patterns. Origami can be used to create all sorts of things, from simple shapes to elaborate 3D sculptures.
To master these techniques, it’s essential to watch video tutorials and practice regularly. Start with simple designs and gradually move on to more complex ones. Specialized tools, like a bone folder or a folding mat, can enhance your folding experience and improve the quality of your finished designs.
Creating custom folds and adapting existing designs can also help you push the boundaries of what’s possible with paper folding. By exploring different techniques and styles, you can discover new ways to express your creativity. So, grab your paper, watch some tutorials, and start experimenting with advanced folds to create stunning origami ducks and beyond.
Advanced Paper Duck Ideas
Once you’ve nailed the basic duck, try harder versions. There are so many creative paper duck ideas out there. Some look 3D. Some even flap their wings.
Advanced folding tricks:
- Try reverse folds to make feet.
- Use multiple layers for depth.
- Add color-changing paper for a cool effect.
- Try folding with smaller paper for a challenge.
Check out advanced origami channels on YouTube. Some creators make ducks that look like art pieces. No joke. It just takes patience and practice. Lots of both.
Creating Your Origami Duck Masterpiece
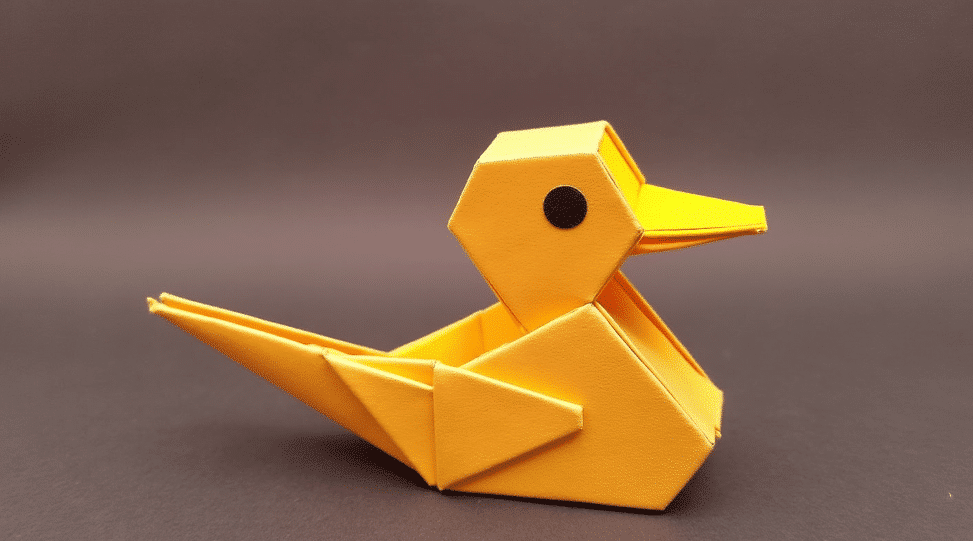
Ready to make something awesome? Pick a detailed design. Some designs are based on traditional models or previous creations. Search for “intermediate origami duck” or “3D paper duck.” Choose paper that holds its shape. Something thicker than regular printer paper works best.
To build your masterpiece:
- Take your time—don’t rush the folds.
- Use tweezers or toothpicks for small folds.
- Pause videos to catch every step.
- Keep a few sheets nearby in case you need to start over.
When it’s done, show it off. Put it on your desk. Gift it to a friend. You made something from nothing. That’s cool.
Beginner Tips + Fun Variations
If you’re just starting, don’t stress it. Not every fold will be perfect. Just enjoy the process. It is best to practice each origami model a few times to perfect the folds.
Easy starter tips:
- Use plain square paper at first.
- Work slowly and double-check each step.
- Try different duck styles and see what you like.
- Find more origami resources online to expand your skills.
- Stick to larger paper to learn the folds.
Try these variations too:
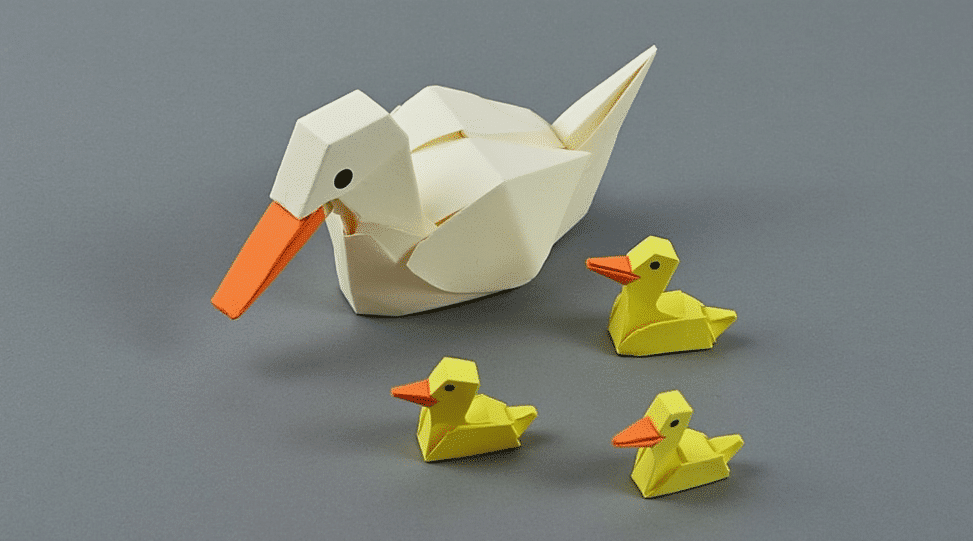
- Make a mini duck family—big duck, small ducklings
- Use old magazines for colorful ducks
- Try folding with lined paper and see how the lines move
- Make a floating paper duck using waterproof paper
Each new duck teaches you something. You’ll get better with each one.
Keep Folding: More Paper Duck Ideas to Try
You made it this far, so you’re already winning. Now it’s just about keeping it going.
Here’s what’s next:
- Keep folding new duck designs
- Try other animals—frogs, dogs, birds
- Look up paper folding groups or forums
- Watch folding challenges online for new ideas
- Trade ducks with friends or family
Fold whenever you’re bored. Or just want something calm to do. Paper folding’s weirdly relaxing. It’s just you, your hands, and the paper. Origami is a wonderful way to relax and connect with others.
Some days, that’s all you need.
Paper duck ideas are simple to start and fun to keep learning. Fold something cool today.
Thanks for your participation and support! Leave a comment below with your favorite paper duck ideas or let us know what you’d like to see next.
Conclusion and Next Steps
Congratulations on completing your origami duck! You’ve taken the first step into the fascinating world of paper folding. To continue improving your skills, practice regularly and experiment with new designs. Try more complex models and different types of paper to see what works best for you.
Watching videos and tutorials on platforms like YouTube can provide valuable tips and inspiration. Joining online communities and forums, including those offered by various services and social media platforms like Facebook, can connect you with other enthusiasts, offering opportunities to share knowledge and learn from others. Printables are a common format for sharing paper doll designs, which can also inspire new origami ideas. Don’t forget to support your favorite creators by subscribing, liking, and commenting on their content.
Remember, it’s okay to make mistakes and unfold your designs to start again. Each attempt is a learning experience. With patience and dedication, you can become a skilled paper folder and create amazing designs, including the origami duck. So, keep folding, keep learning, and most importantly, have fun!
Please note: Some websites use cookies to improve user experience and personalize content for origami fans.
FAQ’s
How can I continue learning and improve my paper folding skills?
Keep practicing different duck designs, try creating other animals, watch tutorials online, participate in origami communities, and experiment with new techniques and styles to develop your skills. Creative craft ideas often accompany paper doll templates, which can serve as inspiration for your next project.
What advanced techniques can I explore to improve my origami ducks?
Explore wet folding and tessellations to add dimension and complexity, and use tools like a bone folder or practice with different types of paper for more detailed designs.
What are some tips for shaping and refining my origami duck?
Fold the sides to round the body, create the neck and head by folding the top down, and make small adjustments to improve the overall shape and realism of the duck.
How do I get started with folding my first paper duck?
Start with a square piece of paper, fold it diagonally to form a triangle, and practice making clean, precise folds to create the basic shape for your duck.
What basic techniques should I learn first when starting with origami paper ducks?
Begin with mastering foundational folds such as valley and mountain folds, as these are essential for creating a neat and effective origami duck.
