

Key Takeways
This 3d paper snowflake easy tutorial is simple enough for kids, beginners, classrooms, and family craft time. You will make paper snowflakes with basic materials and clear step by step instructions.
- The main snowflake uses regular printer paper, scissors, glue, glue sticks, and a stapler.
- You can follow the written tutorial or watch a video tutorial for visual support.
- Smaller snowflakes take about 10–15 minutes; giant 3d paper snowflakes take about 20–30 minutes.
- The FAQ covers durability, kid-friendly shortcuts, and reusing your finished making decorations.
3D Paper Snowflake Easy – Introduction
A 3D paper snowflake is a snowflake with shape, depth, and raised layers instead of a flat cutout. Flat paper snowflakes are pretty on windows, but 3d paper adds dimension and looks better when you hang it from a ceiling, doorway, or christmas tree.
This post focuses on super easy methods: an accordion-fold version from half a sheet and a classic six-square version. Paper snowflakes combine folding and cutting, much like origami and papercutting, a tradition often linked with kirigami-style crafts and other creative origami designs for every skill level.
No art background is needed. The steps are simple enough for a 7–8 year old with light adult help, though kids should be careful with scissors and the stapler.
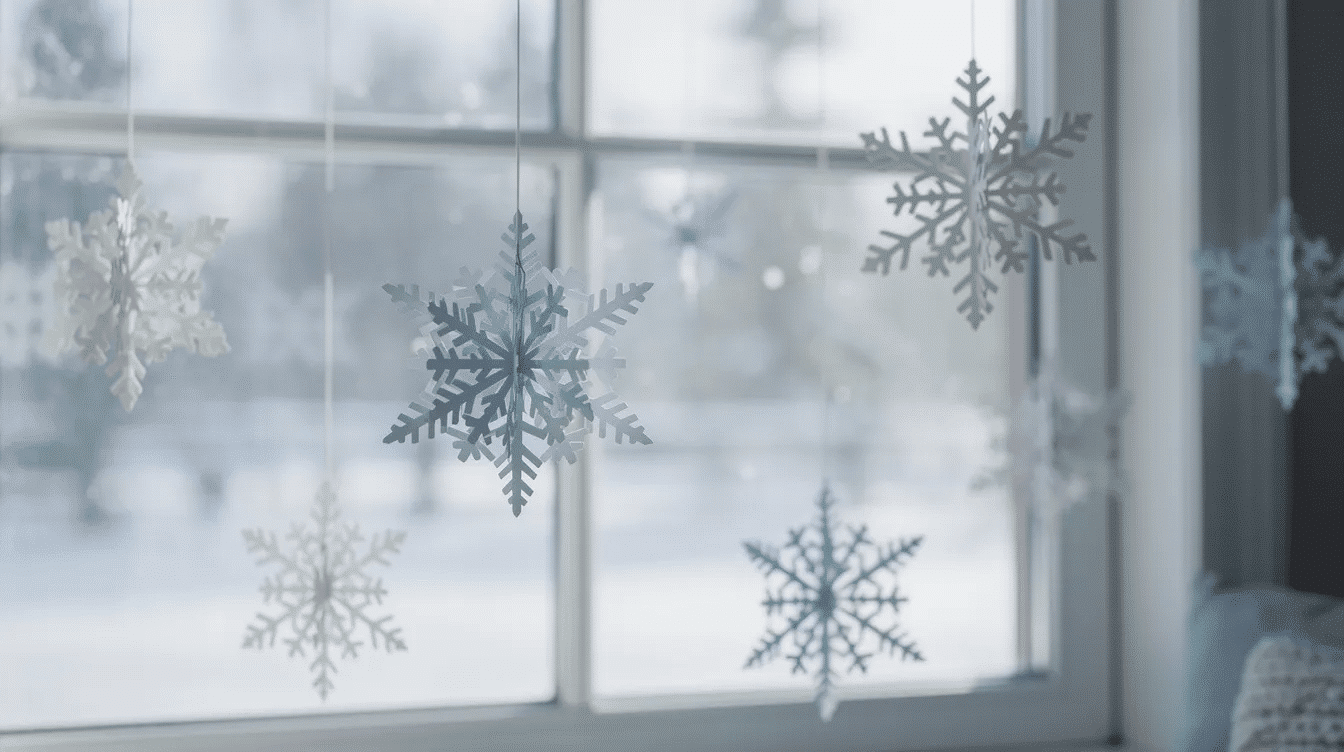
Materials for Easy 3D Paper Snowflakes
Gathering materials first keeps the craft fun and prevents glue-covered pauses, especially when you draw ideas from a dedicated paper crafting resource.
You need:
- A4 or 8.5” x 11” sheets of paper, white or blue
- scissors, stapler, pencil, ruler, glue, glue sticks, or tape
- string, yarn, ribbon, or fishing line to hang
- Optional: glitter glue, metallic markers, hole punch, rhinestones
Creating 3D paper snowflakes requires standard square paper, scissors, tape, and a stapler. For the accordion method, each basic snowflake uses only half a sheet of printer paper, making it low-cost. Thicker 120–160 gsm card stock or patterned paper creates sturdier decorations for multiple seasons.
Quick & Easy 3D Paper Snowflake from Half a Sheet of Paper
This is the main 3d paper snowflake easy method. One sheet creates two smaller snowflakes using an accordion fold technique, where paper is folded back and forth, cut into a design, then glued together to form a three-dimensional shape. It is suitable for kids and usually takes 10–15 minutes, and pairs well with other cute paper craft ideas for families.
Step 1 – Cut One Sheet of Paper into Two Pieces
Lay one sheet horizontally on the table. Fold it neatly in half along the long edge, crease, then cut on the line to make two rectangles. Each half becomes one first snowflake, or a second piece for another child.
Step 2 – Fold an Accordion (Paper Fan) Along the Short Edge
Place one rectangle with the short edge facing you. Fold about 1 inch, flip, fold again in the same way, and repeat until it forms a fan. Trim narrow leftover edges so the open ends line up.
Step 3 – Staple the Center to Create the Snowflake Base
Fold the accordion strip in half to find the center and middle point. Open slightly and staple through all layers at the middle. If needed, secure it with string or thin wire instead.
Step 4 – Cut the Paper Snowflake Design on One Half
Choose one side and cut different patterns into the edges: small triangles, diamonds, curves, or slits. Keep every cut at least 0.25 inch from the staple so the paper does not tear.
Step 5 – Fold and Trace the Design onto the Other Half
Fold the cut side over the uncut other side. Use a pencil for drawing the shapes, then unfold enough to cut the traced pattern. This helps both halves match without a template.
Step 6 – Glue the Two Sides Together
Lay the stapled fan flat and add a thin line of glue along one inner edge. Press the matching edge onto it for a few seconds to form a semicircle. Clips help hold it while drying.
Step 7 – Fan Open and Finish the 3D Paper Snowflake
Gently fan open the pleats from the center. Bring the two loose open ends together, attach with glue, and fluff the points until the rounded, pleated star form looks full.
Punch a tiny hole or tie thread around a fold to hang it from a window, ceiling, or christmas tree branch.
Easy Giant 3D Paper Snowflake from Six Squares
This is the classic giant 3D snowflake made from six square pieces, similar to traditional easy paper snowflake tutorials. It looks dramatic over a dining table, classroom doorway, or winter photo wall.
To make a 3D snowflake, you typically need six identical squares of paper, which can be folded and cut to create intricate designs. Using different sizes of square paper will change the final size of the created snowflake ornament: 6” squares make medium decor, while 8” or 10” squares create a bold display.
Step 1 – Cut and Fold Six Square Pieces of Paper
To create a 3D snowflake, start by cutting six identical squares of paper, folding each square diagonally in half, and then folding it again to create a smaller triangle before making slits on one side. Press each fold sharply with a ruler for clean structure.
Step 2 – Draw and Cut Parallel Slits
Place the folded triangle with the folded edge at the bottom and points facing up. When cutting the folded triangle, parallel slits should be made from the folded edge towards the open edges, stopping before cutting all the way through.
You can draw straight lines first. More concentric slits create delicate patterns; fewer wider slits create a bold look.
Step 3 – Unfold and Glue the Inner Strips
Carefully unfold the triangle back into a square. Bring the smallest inner pair together and glue or tape it into a tube. Flip the paper and glue the next pair on the other side. Repeat, alternating sides until the loops form one arm.
After unfolding, the outer corners are rolled to form tubes, creating a 3D effect for the snowflake arms. If you cut four lines, you may form three pairs of loops inside each petal.
Step 4 – Make Six Petals and Assemble the Snowflake
Repeat until you have six identical petals. Start assembling by gathering the snowflake arms and connecting them at the center to form a central structure, often resembling a flower-like pattern.
Staple or glue the tips together, then add a dot of glue where neighboring petals touch. Attach yarn, string, or fishing line to one tip to hang the giant snowflake.
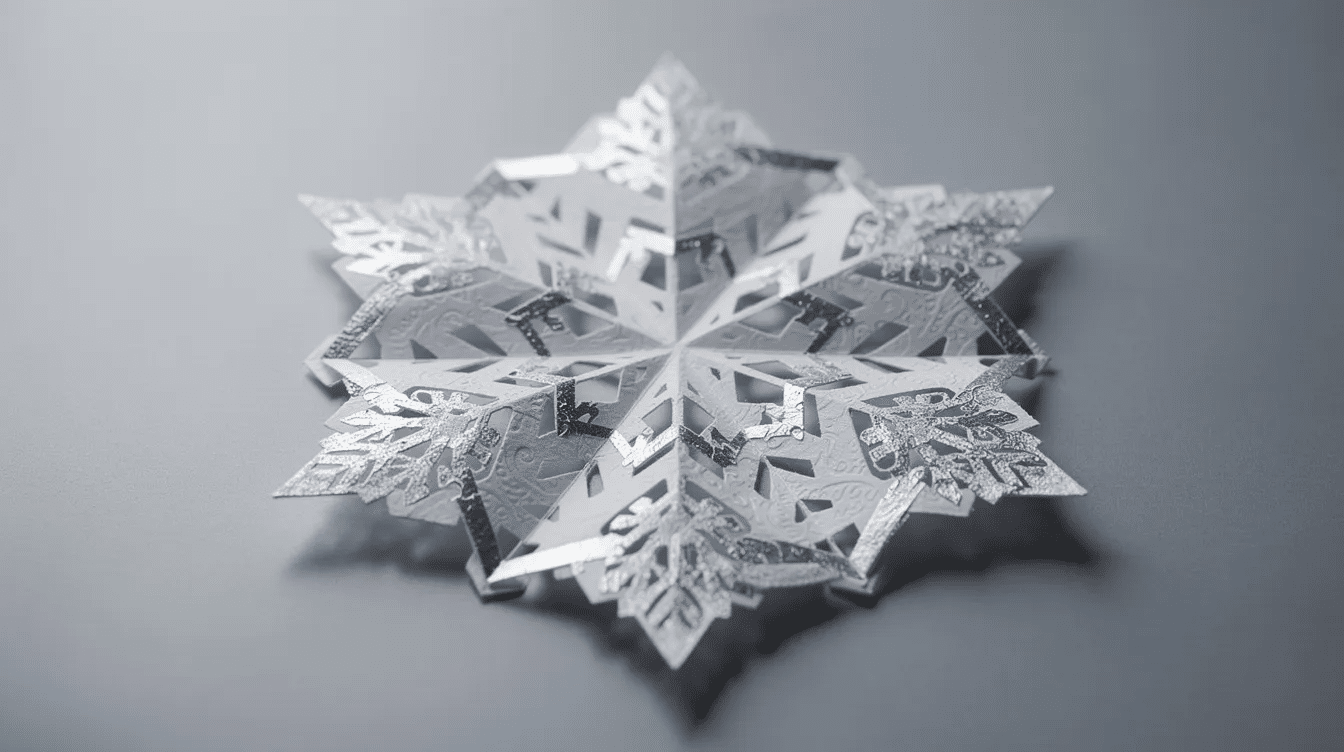
Optional: Marbleized or Colored Paper Snowflakes
3D snowflakes can be made from various types of paper, including plain white paper, patterned paper, and even marbleized paper created using shaving cream and liquid watercolors, or combined with simple paper star projects for a full winter sky effect. Cover a tray with shaving cream, drip color, swirl, lay paper down, then scrape clean and dry.
Different colors and patterns of paper can significantly enhance the visual appeal of 3D snowflakes, with options like blue, white, silver, and patterned designs being commonly used. You can also use wrapping paper scraps, watercolor paintings, or metallic pen accents on the edges to coordinate with DIY paper birthday decorations.
Using lunch bags is a popular method for creating 3D snowflakes, allowing for a unique texture and appearance compared to traditional paper. When making 3D snowflakes from paper bags, stack and glue multiple bags together, then cut a snowflake pattern into the top layers before fanning them out to create a three-dimensional effect, much like other fun DIY paper squishy projects.
Video Tutorial & Step-by-Step Support
A video tutorial helps visual learners watch the fold, cut, flip, roll, and glue process in real time. The best tutorial shows both methods, with close-ups of slits, tubes, and the center assembly.
Pause after each major step so kids and beginners can keep up. Captions like “Step 3 – Cut your paper snowflake design” also make the site experience easier to follow.
Ideas for Displaying and Using 3D Paper Snowflakes
3d paper snowflakes can turn a room into a winter scene for Christmas, New Year’s Eve, or January birthdays.
Try these ideas:
- Hang individual snowflakes at different heights with clear thread.
- Create a garland of smaller snowflakes for a mantel or bulletin board.
- Mix white, silver, and blue pieces for a layered photo backdrop.
- Pair snowflakes with fairy lights, pine branches, or paper stars.

Tips, Safety, and Troubleshooting
Even an easy craft works better with a few tips.
Supervise younger children with scissors and staplers. Pre-cut squares for preschoolers and use blunt-tip scissors in classrooms. If a snowflake tears, leave more uncut space near the middle or use thicker paper. If it looks uneven, check fold sizes and alignment before gluing.
For crisp paper snowflakes, lightly iron wrinkled paper on low heat under a cloth. To store them, lay finished pieces flat in a box with tissue between layers; acid-free paper lasts longer and resists yellowing, as preservation guides often recommend for paper crafts and printable projects like useful things to print for every occasion.
FAQ – Easy 3D Paper Snowflakes
How long does it take to make one 3D paper snowflake?
A small accordion snowflake usually takes 10–15 minutes. A giant six-square snowflake takes about 20–30 minutes, plus extra drying time if kids use more glue.
What paper is best for 3D paper snowflakes?
Standard 80 gsm printer paper works well for small projects. Use light card stock, patterned scrapbook paper, or stronger 3d paper for larger decorations that need to last all winter.
Can young children make these 3D paper snowflakes?
Yes. Children around 7–8 can usually follow the accordion method with help. For younger kids, simplify the cut patterns, use wider folds, and let an adult handle the stapler.
How can I keep my 3D paper snowflakes from going flat?
Reinforce the center with extra glue or small staples. Let glue dry fully, store snowflakes flat, and gently fluff each fold before hanging.
Can I reuse 3D paper snowflakes from year to year?
Yes. If you use slightly thicker paper and store snowflakes in a dry, flat box, they can be reused for several seasons. Label the box so your winter decor is easy to find next year.



