

Key Takeaways
- This paper lantern craft step by step guide shows you how to make classic cylinder-style paper lanterns from construction paper, plus a layered “double lantern” version.
- The craft is kid-friendly, fun for many ages, and uses simple supplies: scissors, ruler, pencil, paper, glue, tape, or staples.
- Red and yellow paper lanterns are especially popular for chinese new year, lunar new year, and the Lantern Festival.
- These lanterns are decorative only; use battery-operated tea lights, not real candles, if you want a soft light effect.
- Try different colors, pattern paper, ribbon, string, and tassels to create garlands, table décor, or hanging party accents.
Introduction: Why Make Paper Lanterns?
Paper lanterns are iconic decorations for Chinese and lunar new year celebrations. During the Lunar New Year, red lanterns symbolize prosperity and are commonly used to decorate homes and streets, enhancing the festive atmosphere from the first new moon through the Lantern Festival.
The tradition of making Chinese lanterns dates back to the Eastern Han dynasty, around 25-220 AD, marking their long-standing cultural significance in Chinese history. The Lantern Festival, which marks the end of the Lunar New Year celebrations, features beautifully decorated lanterns and includes traditions such as writing riddles on them for others to solve.
This post focuses on safe, easy DIY paper lanterns: no open flames, open at the bottom, and decorative only. You’ll learn the classic school-style craft, a layered version, and simple ways to hang, decorate, and display a whole bunch of lanterns for any occasion.
Materials & Tools for a Basic Paper Lantern
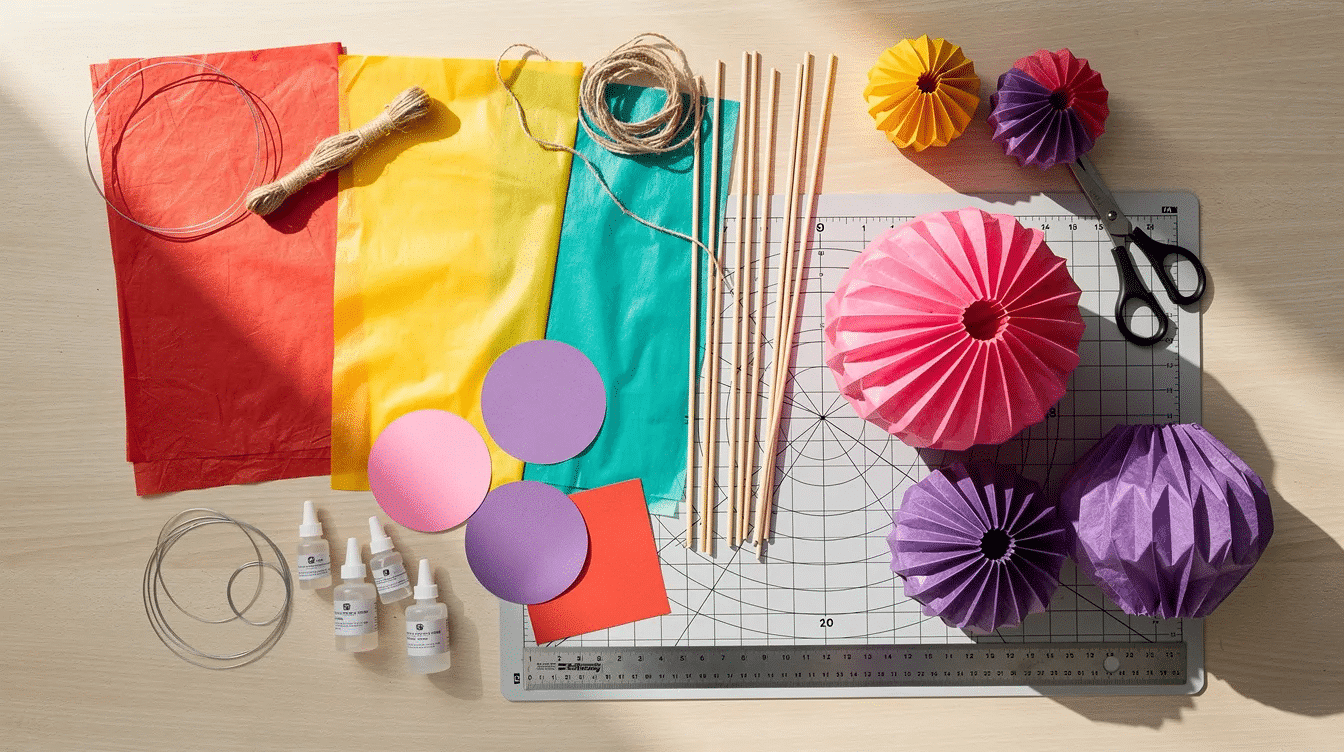
Paper lanterns can be made from various types of paper including construction paper, copy paper, and cardstock, with cardstock providing more structure to the lanterns. For kids, construction paper is usually the best balance: sturdy enough to hold shape, but not too delicate to cut; choosing from the best types of paper for craft helps you match materials to the project and age group.
For one lantern, gather (and consider stocking a few top craft paper supplies for creative projects so you’re ready for more DIY ideas later):
- One 8.5” x 11” sheet of red construction paper
- One narrow strip of yellow paper or yellow construction paper for trim
- One 2–3 cm, about 1 inch, strip for a handle
- Common tools needed for making paper lanterns include scissors, a ruler, a pencil, and adhesive options like glue, tape, or a stapler
- Optional: markers, gold pens, stickers, ribbon, thread, decorative strips, tissue paper, or battery tea lights
For added decoration, you can use patterned paper, which should be heavier than regular paper but lighter than cardstock, along with optional embellishments like markers or decorative strips.
Step-by-Step: How to Make a Simple Construction Paper Lantern
This is the classic school-style lantern and takes about 10 minutes with preparation. It is ideal for kids, though younger children may need help with scissors, and you can pair it with other cute crafts paper ideas for fun projects to fill a whole afternoon of crafting.
- Place your 8.5” x 11” sheet in landscape position. To create a basic paper lantern, fold an 8.5” x 11” sheet of construction paper in half lengthwise, then cut strips from the folded edge to about an inch from the other end, leaving the top intact.
- On the non-folded long side, use a ruler and pencil to draw one horizontal line about 2–2.5 cm, around 1 inch, from the other edge. This is your stop line.
- Start drawing lines from the folded edge up to that guideline. Space each line about 1–2 cm, or ½”–¾”, apart across the full width.
- Cut along each vertical line from the fold to the guideline. Do not cut through the edge, corners, or top border; the cut strips should stay connected.
- Unfold the sheet carefully. After cutting the strips, unfold the paper and roll it into a cylindrical shape, securing the ends together with glue, tape, or staples.
- Cut a yellow strip for the handle and attach one end to each side at the top. Add long strips of yellow paper around the top and bottom as borders if you want a polished pop of color.
For added decoration, you can create a liner for the lantern by cutting fringe along the bottom edge of a second piece of paper, rolling it into a tube, and inserting it into the lantern. Voila: you have a finished lantern ready to tie, tag with a wish, or hang from string.
Layered “Double” Paper Lantern (Patterned + Solid)
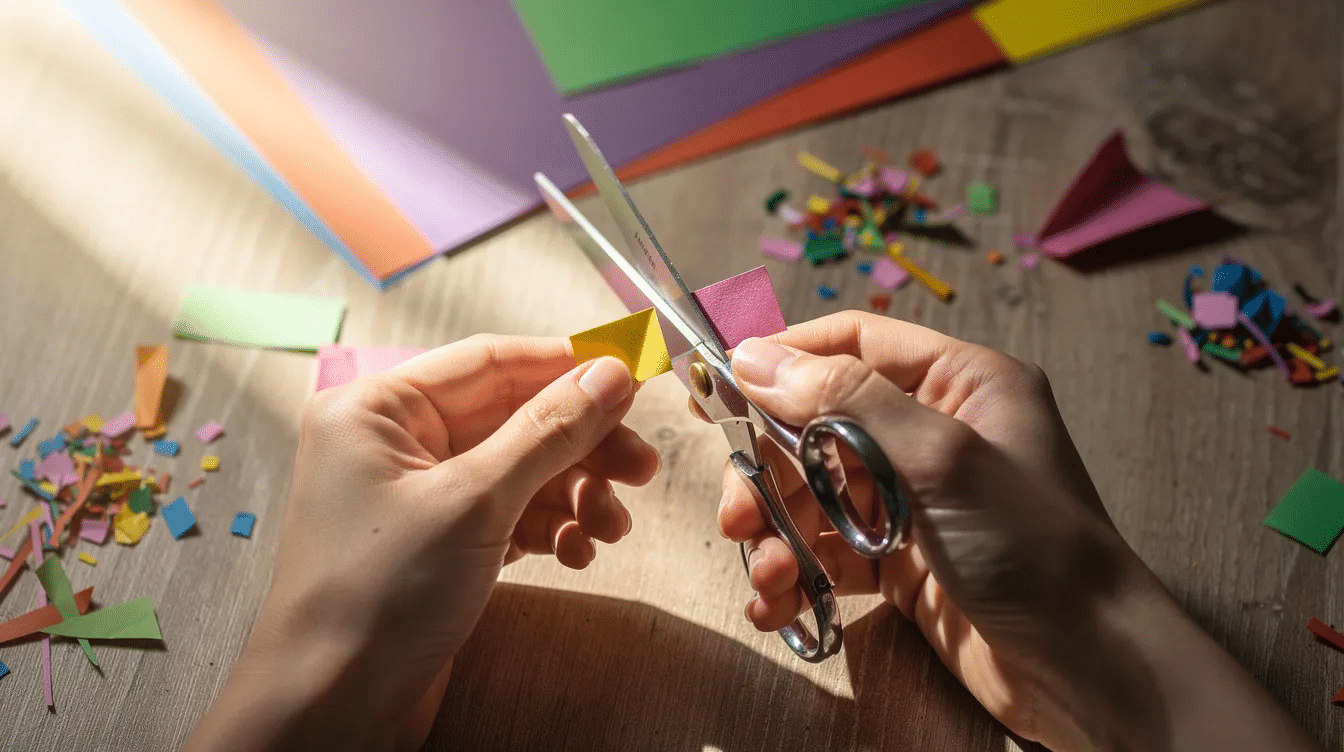
This version uses a patterned first layer outside and a solid color inside. Using patterned paper for the outer layer of a lantern and a solid color for the inner layer can create a beautiful contrast and add depth to the design, similar to how decorative hanging lanterns are used in the best paper lanterns for every occasion to change the mood of a space.
- Cut a 2–3 cm, about 1 inch, strip from the short end of your patterned paper and set it aside as the handle.
- Fold the patterned sheet in half lengthwise, draw evenly spaced lines from the fold to about 1 inch from the opposite edge, then cut.
- Unfold and curl the patterned paper into a tube, then assemble it with glue or tape so the strips bulge outward.
- Repeat with construction paper, but make this inner layer a bit narrower so it fits inside the first layer.
- Slide the solid tube inside the patterned lantern, adjust the space between layers, and glue key contact points.
- Attach the handle across the top. A hot glue gun can help adults secure the layers, but a glue stick or tape is safer for kids.
Decorating Ideas & Different Colors for Different Occasions
Color and decoration can reflect many celebrations, from chinese new year to birthdays and weddings.
- Traditional: red paper lanterns with yellow or gold accents symbolize luck, happiness, money, and prosperity.
- Modern: try pastels for spring, white and gold for weddings, school colors for classroom parties, or different colors for a kids’ room, especially if you’re planning birthday decorations with paper for celebrations.
- Simple: draw clouds, flowers, lantern shapes, or the Chinese characters 福, fortune, and 春, spring.
- Festive: decorating lanterns with embellishments such as tassels made from strips of paper can add a fun and festive touch to your creations.
- Creative: using various colors of tissue paper cut into geometric shapes can create unique and colorful designs on your lanterns, allowing for creative expression and tying in with other fun paper activities for creative minds.
Different colors and shapes can carry cultural meanings, but this craft also leaves room for playful designs. Take a photo of your finished group, then add a comment on the back with the year or occasion.
Safety Tips & Using (Battery) Lights
These homemade paper lanterns are not designed for real candles or open flames because they are made of flammable paper and are open at the bottom. Use battery-operated tea lights or small LED light strings placed under or near the lantern for a gentle glow.
If a lantern is hung above a table, place the battery tea light directly beneath it on the tabletop so it does not touch the paper. Adults should handle sharp scissors, a hot glue gun, and LED kits. Outdoors, use extra string or fishing wire so lanterns do not blow away, tangle, get wet, or tear, and consider complementing your display with glowing paper stars made step by step.
How to Display Your Paper Lanterns for Chinese & Lunar New Year
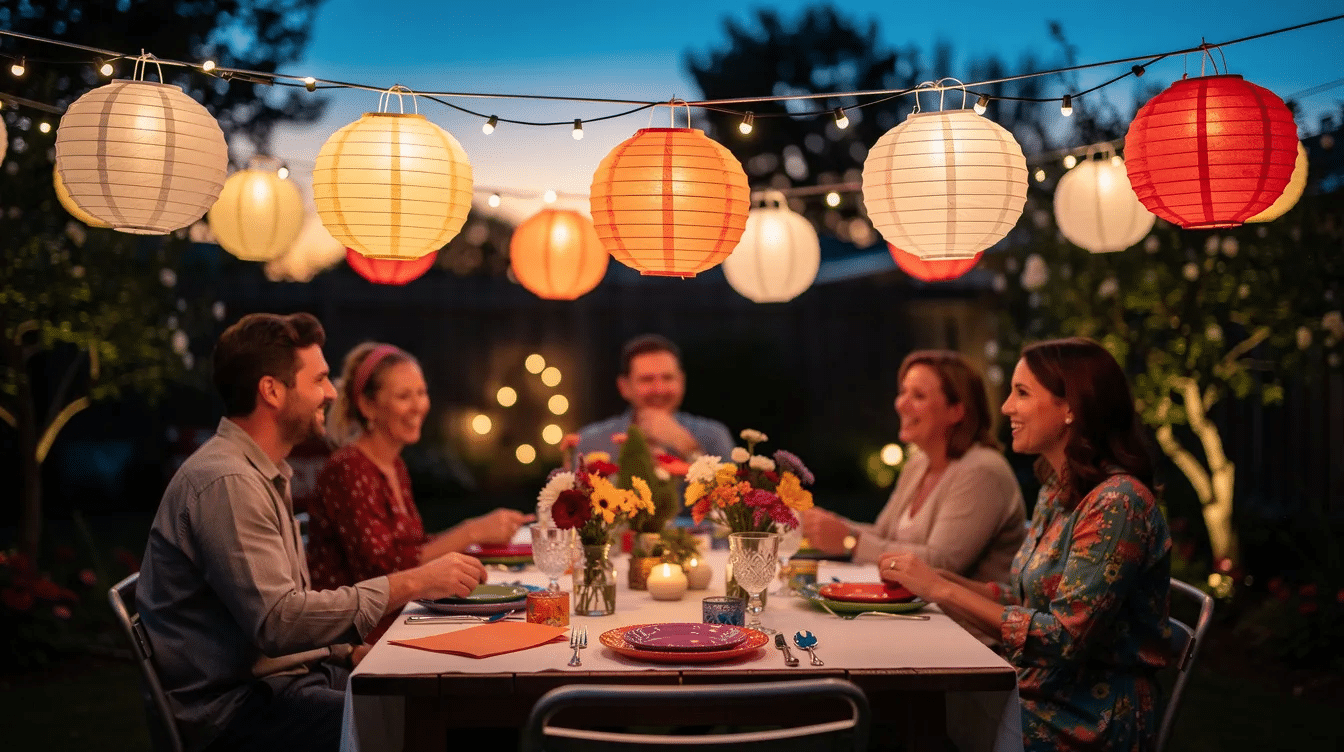
Multiple lanterns create a festive atmosphere for the whole lunar season, from the first new moon to the Lantern Festival about 14 days later. For a garland, punch small holes in the handles, thread a long piece of ribbon or string through them, and alternate color, width, and length.
You can also hang single lanterns in windows, from curtain rods, or on indoor plants at different heights. For a table centerpiece, group lanterns on a runner with battery lights, confetti, and red envelopes. Add paper fans or cut-out dragons for a cool full Chinese New Year display, or explore more inspiration on Simply Paper Crafts’ home paper crafting ideas.
FAQ
Can I put a real candle inside a paper lantern?
No. Real candles or any open flame should never be used inside these homemade paper lanterns because paper burns easily. Use battery-operated tea lights or LED string lights placed under or near the lantern instead.
What’s the best paper to use for kids making lanterns?
Standard school construction paper is best for kids because it holds its shape but is still easy to cut. Light card stock works for sturdier lanterns, while copy paper or tissue paper is more delicate and better for supervised projects.
How long do these paper lanterns last?
They can last through the entire Chinese New Year season, about two weeks, or longer if kept indoors, dry, and away from direct sunlight. To reuse them, gently undo the seam and store them flat, or place finished lanterns in a large box.
Can I adapt this craft for a classroom or large group?
Yes. Pre-cut handles and some paper strips for younger ages, then set up stations with markers, glue, tape, and scissors. Assign each child a different color or pattern so the finished garland shows everyone’s work together.
How can I add simple cultural elements without making the craft complicated?
Use red and gold colors, add a small tassel, write 福 or 春 with a black marker, or attach a short wish such as “health,” “peace,” or “success.” It connects the craft to the spirit of lunar new year while keeping the directions simple.



