

Key Takeways
- Creating custom coloring pages at home is highly achievable using everyday household supplies or free digital tools.
- You can create personalized coloring pages by converting personal photos into outlines or drawing custom designs digitally.
- Save every digital file as high-resolution PNG or PDF for crisp printing and easy sharing.
- Simple themes, closed shapes, and clear lines work best for kids, adults, and mixed ages.
Why Make Your Own Coloring Pages at Home?
Since 2020, DIY crafts, home printing, and free printable coloring pages have become a bigger part of family life. If you want ready-made designs alongside your DIY projects, a collection of the best free printable coloring pages can keep everyone supplied with fresh options. If you are learning how to make coloring pages at home, start with something personal: a pet, 2023 beach trip, garden, city skyline, or favorite photograph.
Unlike a store-bought coloring book, homemade pages are flexible, cheap to reprint, and easy to personalize for children, teachers, friends, or adults who color to relieve stress.
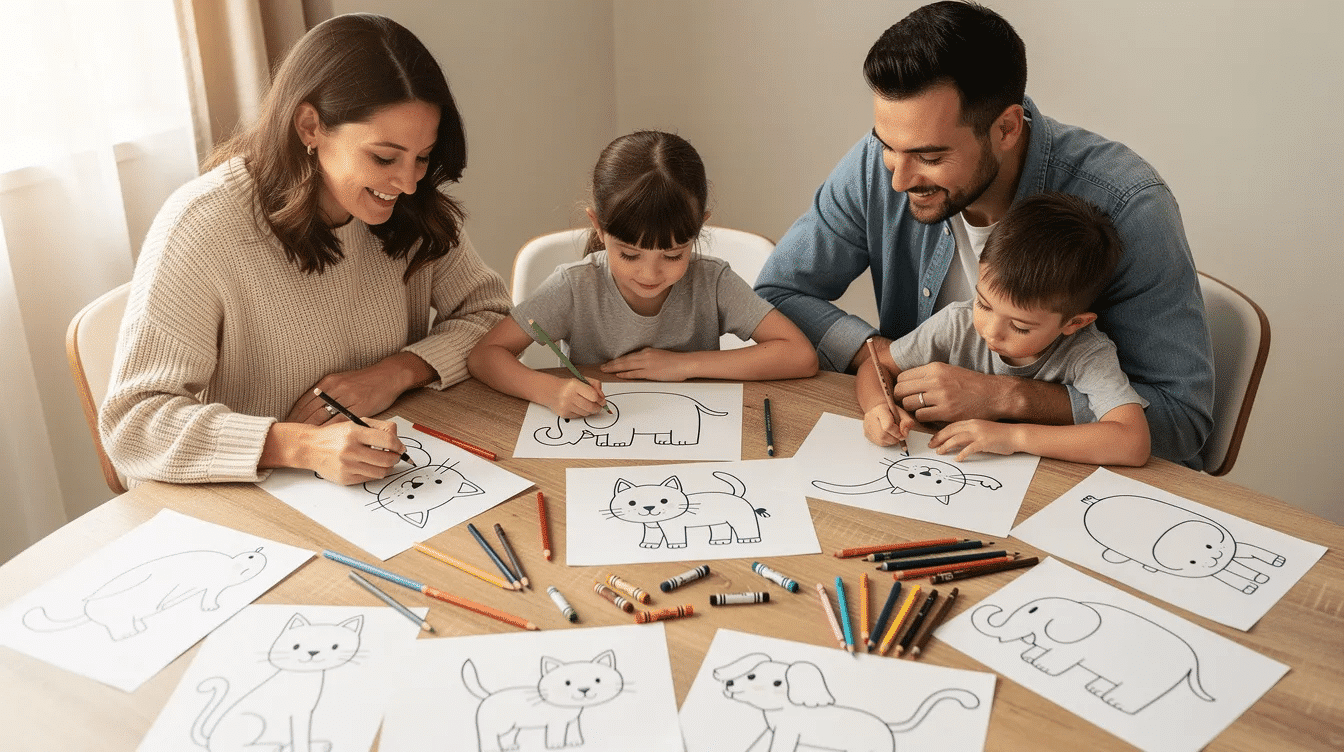
Plan Your Coloring Page: Theme, Audience, and Style
Before drawing, choose a theme and audience so your future own coloring book feels like a collection, not random artwork. Coloring books can feature a variety of themes such as animals, flowers, landscapes, food, and abstract designs, allowing for a cohesive feel throughout the book.
Choosing Themes That Work Well as Coloring Pages
Good beginner ideas include animals, dinosaurs, butterflies, flowers, foods, seasons, or simple world landmarks. You can also pull inspiration from drawing ideas for every skill level. Repeating elements such as stars, leaves, waves, clouds, and objects fill a background without advanced illustration skills.
Use real life references: phone images, fabric texture, nature walks, or copyright-free templates.
Matching Complexity to Age and Skill Level
When creating coloring pages for children, designs should have thicker outlines and larger blank spaces, while adult coloring books may feature more complex designs with intricate details.
For preschoolers, use big shapes and thick borders. For older kids, add a medium amount of detail. For teens and adults, use mandalas, detailed illustrations, puzzle-style patterns, and colored pencils. Using thick strokes for primary external borders and thinner strokes for minor internal details creates visual depth in designs.
Materials and Tools: What You Need at Home
You need paper, an HB pencil, eraser, ruler, black ink pen, markers, phone, and computer. Choosing the best sketchbook for your drawings can also make it easier to develop ideas before you turn them into printable pages. Standard printer paper works well for crayons and colored pencils, while cardstock prevents bleed-through from markers.
For printed coloring pages, using thicker paper can prevent bleeding and allow for coloring on both sides without ink showing through. You can also explore other creative and useful things to print on paper to make the most of your printer at home. For printed coloring pages, using thicker paper can prevent bleeding and tearing, allowing for a better coloring experience with various mediums like inks and watercolors.
Optional but Helpful Extras
A scanner helps if you plan to publish custom coloring books. When creating a coloring book, it’s important to scan illustrations at a high resolution to ensure crisp lines and consistent image quality across pages.
The Window Trick involves taping a simple line drawing on a sunny window and tracing it with a dark marker. A lightbox, 3-hole punch, and simple cover also help.
Method 1: Hand-Drawn Coloring Pages
Hand drawing adds charm, and you absolutely do not need to be an illustrator. Sketch, ink, erase, digitize, then print.
Step-by-Step Hand-Drawing Process
- Lightly sketch main shapes inside safe margins.
- Add texture, clothing patterns, or simple background elements.
- Trace with a black marker using strong lines.
- Let ink dry, erase pencil, and check for gaps.
When designing coloring pages, consider using closed, simple shapes to make it easier for users to understand the forms in your composition. Good coloring page design should incorporate closed, simple shapes to make it easier for users, especially children, to understand the forms in the composition. Including shapes of different sizes in a coloring page can keep the design interesting and accessible, ensuring that users can comfortably use their coloring tools without frustration.
Digitizing and Cleaning Up Your Hand-Drawn Page
Scan at 300 dpi or photograph from directly above in natural light. Convert to black-and-white, crop, increase contrast, and test print. Digital coloring pages are best exported as .PNG or .PDF files for quality and accessibility, while JPEGs may degrade over time.
Method 2: Turning Photos into Coloring Pages
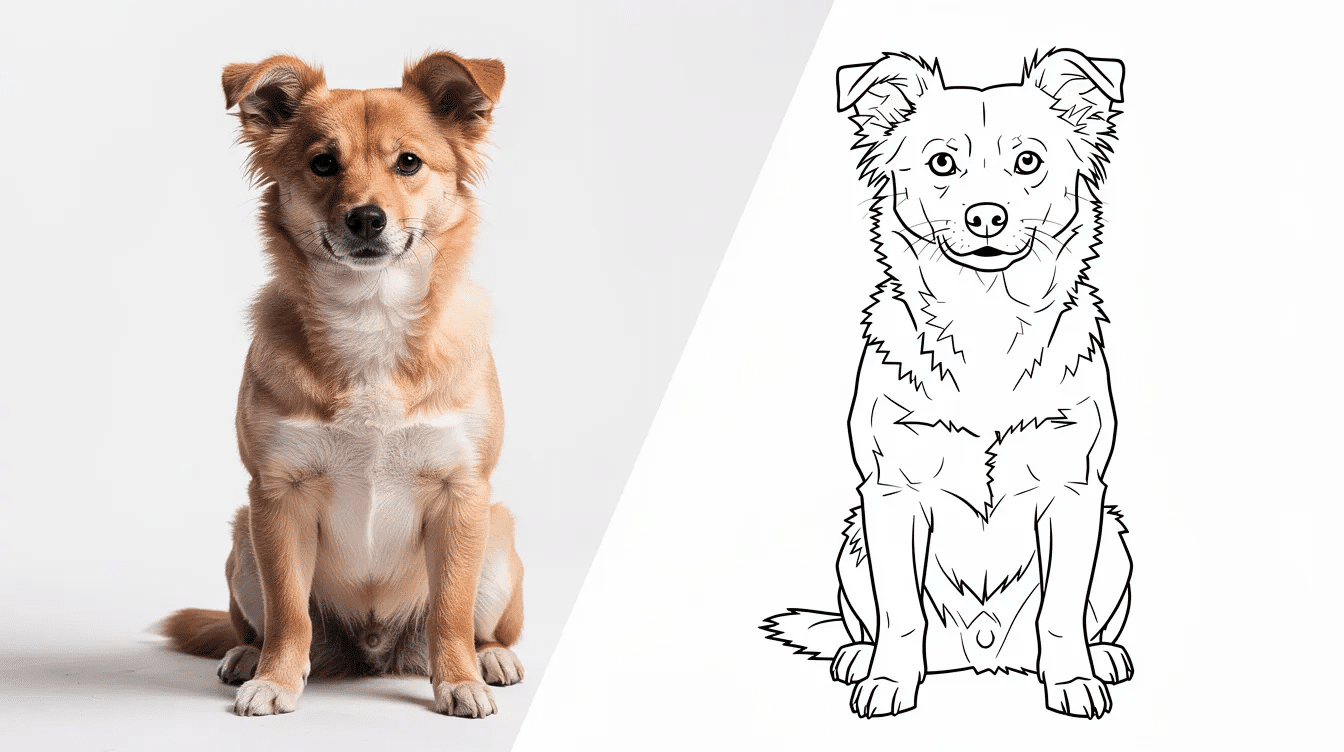
You can quickly convert your favorite family or vacation photos into line art. It takes just minutes to make personalized coloring pages using digital tracing apps or online AI generators.
Selecting the Right Photo
Choose sharp images with one subject, clean lighting, and a simple background. Crop distractions so the focus stays on the pet, child, flower, building, or vacation scene.
Converting Photos into Line Art
You can upload personal photos or copyright-free images to converter websites that automatically transform them into black-and-white line art. Free online editors allow the application of filters like “Line Art” or “Sketch” to remove color and isolate primary shapes in images.
Photo editing software can desaturate an image to black and white and apply filters for line art or edge detection. Drag, drop, or browse to upload, then adjust contrast. Adobe Express allows users to create custom coloring pages using an AI generator, which supports coloring mode to help users stay within the lines.
Method 3: Creating Digital Coloring Pages from Scratch
Digital drawing is ideal if you like tablets, styluses, adobe illustrator, Affinity, Krita, or browser tools.
Setting Up Your Digital Canvas
To create a coloring page, start with a digital canvas set at a resolution of 300dpi to ensure high-quality prints. Use US Letter or A4 layout, white background, and a light gray sketch layer.
Drawing Clean, Printable Line Art
Trace final art on a new layer with a hard black brush. Hide the sketch layer, inspect gaps, avoid the wrong export settings, and download a PNG or pdf. If you write quotes, keep text large.
Printing and Assembling Your Own Coloring Book
Print in grayscale. Test 3–5 pages before binding. Use staples, ribbon, or a binder, and do not forget a title page and back cover.
Organizing Pages into a Cohesive Book
Group by theme, mix easy and hard pages, and leave blank pages for swatches or imagination. Add new coloring pages over time to inspire creativity.
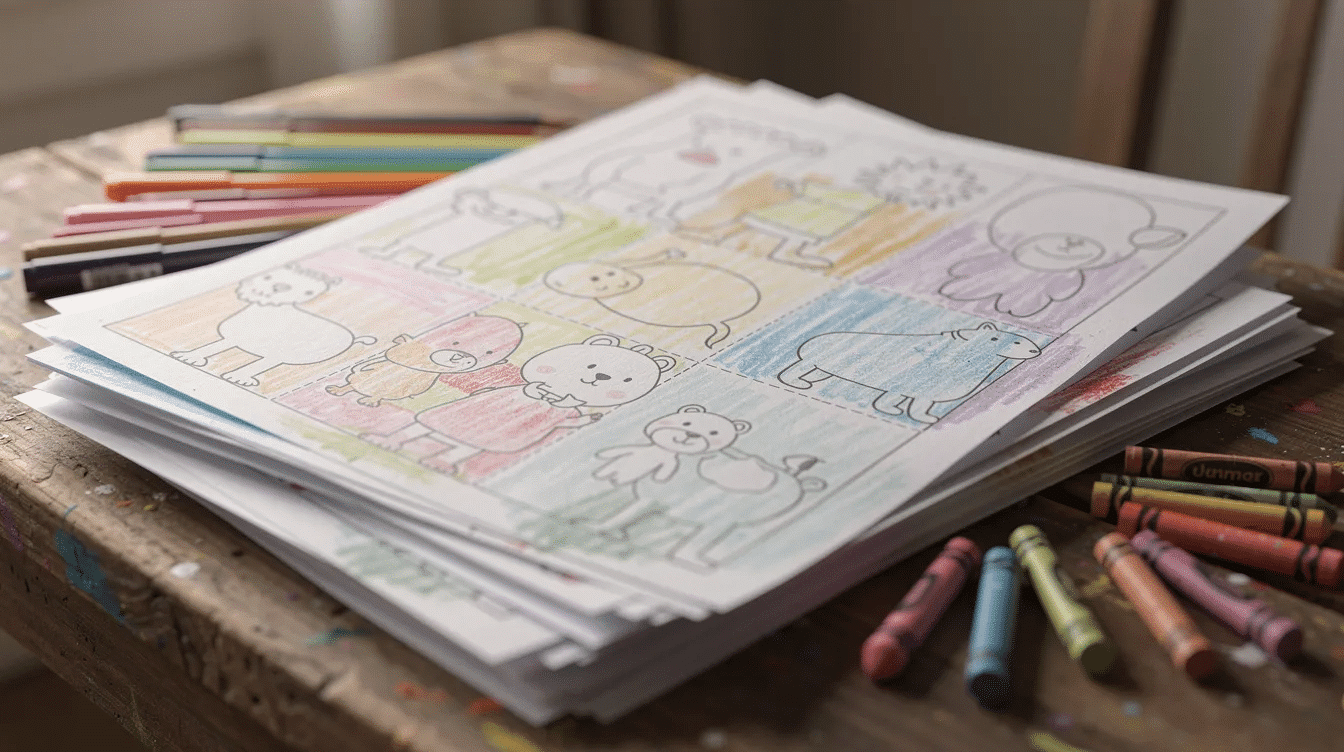
Ideas for New Coloring Pages to Inspire Creativity
Try “animals around the world,” foods, sports day, underwater scenes, space, flowers, dinosaurs, hidden objects, mazes, or color-by-number. Adults may prefer mandalas, affirmation art, puzzle-style patterns, and detailed illustrations for focus.
FAQ
How many pages do I need to make my own coloring book at home?
Start with 10–15 pages. A fuller project may use 20–30 pages plus a cover.
What file format is best for sharing with friends or a classroom?
Use pdf files for printing and PNG for messaging or online sharing. Avoid low-resolution images.
Can I sell my homemade coloring pages?
Yes, if the artwork, photograph, or images are yours or copyright-free. Do not use protected characters, logos, or copied videos.
What if the printed lines look too light or too dark?
Adjust printer density, contrast, or brush thickness. Reprint one test page before printing the full coloring book.
How do I store my growing collection?
Use folders on your computer by theme and year, such as “Animals 2026,” and bind printed pages by ages or skill level. That way, nothing gets lost when more ideas happen.
When designing coloring pages, consider using closed, simple shapes to make it easier for users to understand the forms in your composition. Good coloring page design should incorporate closed, simple shapes to make it easier for users, especially children, to understand the forms in the composition. Including shapes of different sizes in a coloring page can keep the design interesting and accessible, ensuring that users can comfortably use their coloring tools without frustration.
Digitizing and Cleaning Up Your Hand-Drawn Page
Scan at 300 dpi or photograph from directly above in natural light. Convert to black-and-white, crop, increase contrast, and test print. Digital coloring pages are best exported as .PNG or .PDF files for quality and accessibility, while JPEGs may degrade over time.
Method 2: Turning Photos into Coloring Pages
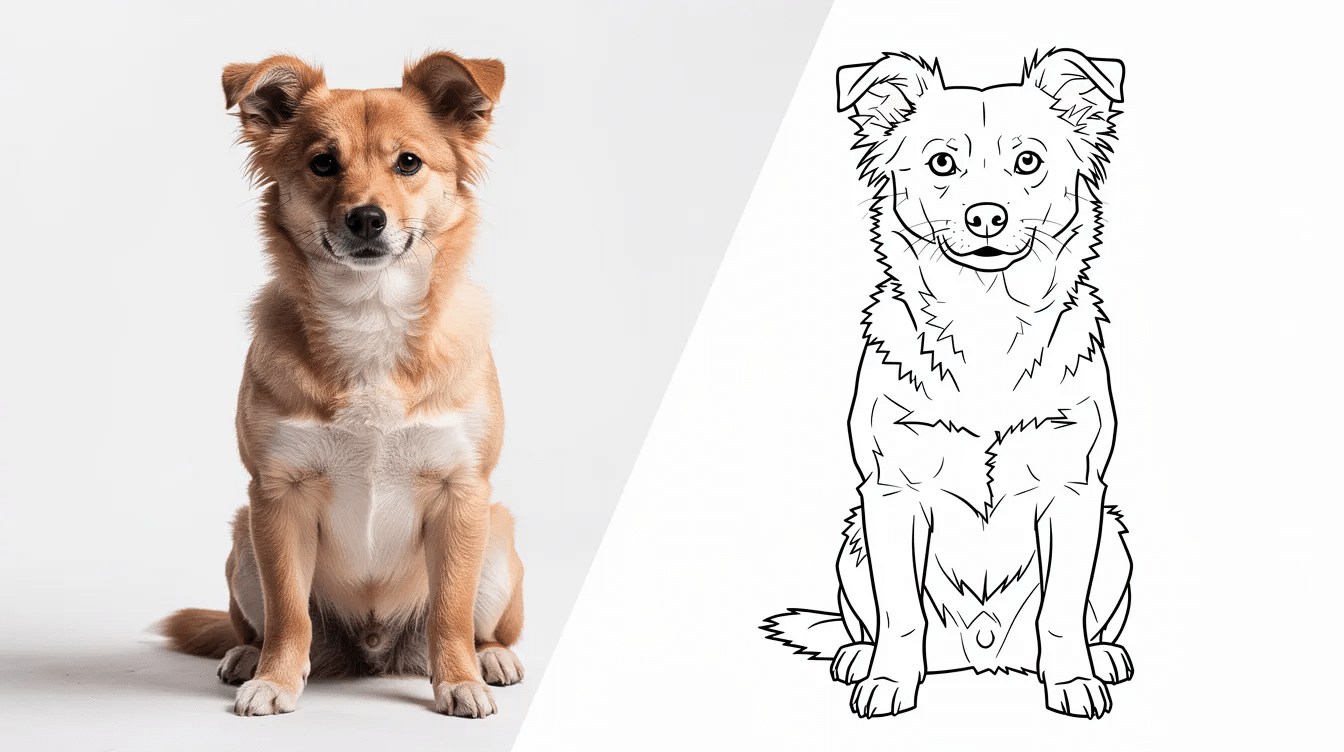
You can quickly convert your favorite family or vacation photos into line art. It takes just minutes to make personalized coloring pages using digital tracing apps or online AI generators.
Selecting the Right Photo
Choose sharp images with one subject, clean lighting, and a simple background. Crop distractions so the focus stays on the pet, child, flower, building, or vacation scene.
Converting Photos into Line Art
You can upload personal photos or copyright-free images to converter websites that automatically transform them into black-and-white line art. Free online editors allow the application of filters like “Line Art” or “Sketch” to remove color and isolate primary shapes in images.
Photo editing software can desaturate an image to black and white and apply filters for line art or edge detection. Drag, drop, or browse to upload, then adjust contrast. Adobe Express allows users to create custom coloring pages using an AI generator, which supports coloring mode to help users stay within the lines.
Method 3: Creating Digital Coloring Pages from Scratch
Digital drawing is ideal if you like tablets, styluses, adobe illustrator, Affinity, Krita, or browser tools.
Setting Up Your Digital Canvas
To create a coloring page, start with a digital canvas set at a resolution of 300dpi to ensure high-quality prints. Use US Letter or A4 layout, white background, and a light gray sketch layer.
Drawing Clean, Printable Line Art
Trace final art on a new layer with a hard black brush. Hide the sketch layer, inspect gaps, avoid the wrong export settings, and download a PNG or pdf. If you write quotes, keep text large.
Printing and Assembling Your Own Coloring Book
Print in grayscale. Test 3–5 pages before binding. Use staples, ribbon, or a binder, and do not forget a title page and back cover.
Organizing Pages into a Cohesive Book
Group by theme, mix easy and hard pages, and leave blank pages for swatches or imagination. Add new coloring pages over time to inspire creativity.
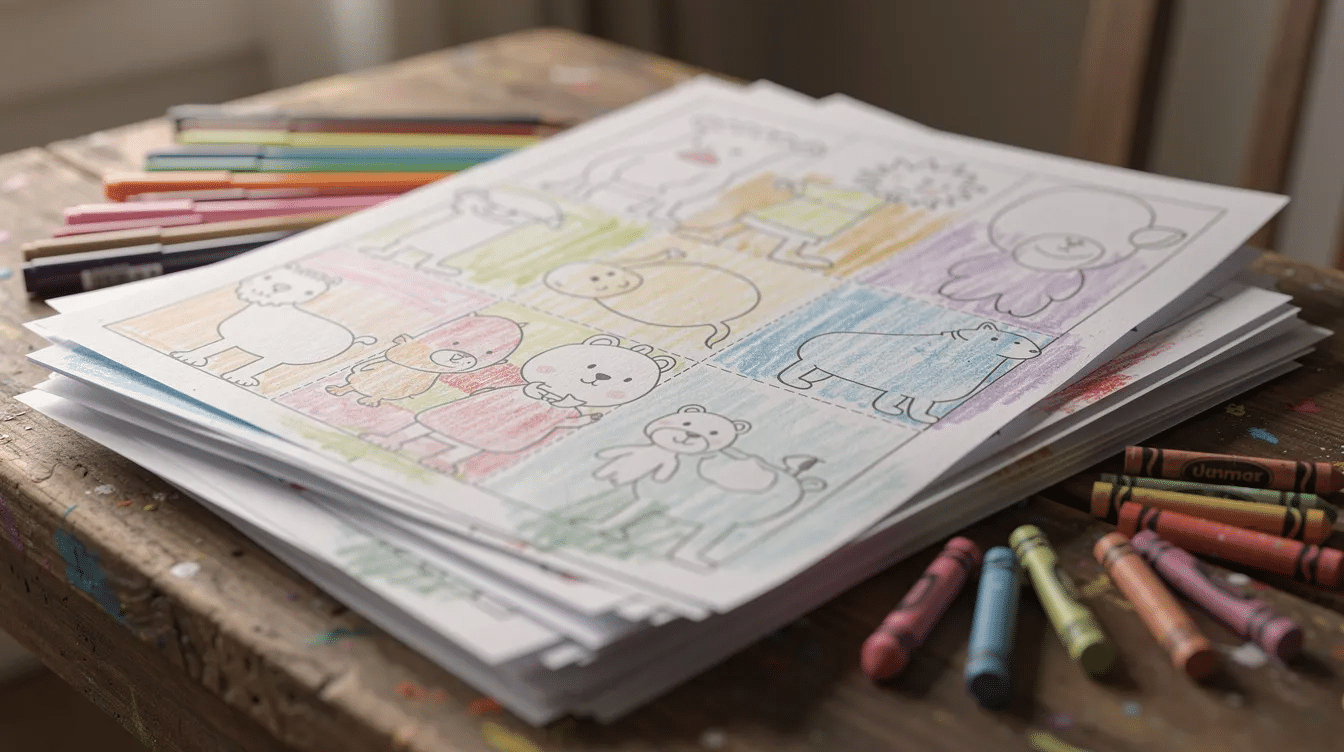
Ideas for New Coloring Pages to Inspire Creativity
Try “animals around the world,” foods, sports day, underwater scenes, space, flowers, dinosaurs, hidden objects, mazes, or color-by-number. Adults may prefer mandalas, affirmation art, puzzle-style patterns, and detailed illustrations for focus.
FAQ
How many pages do I need to make my own coloring book at home?
Start with 10–15 pages. A fuller project may use 20–30 pages plus a cover.
What file format is best for sharing with friends or a classroom?
Use pdf files for printing and PNG for messaging or online sharing. Avoid low-resolution images.
Can I sell my homemade coloring pages?
Yes, if the artwork, photograph, or images are yours or copyright-free. Do not use protected characters, logos, or copied videos.
What if the printed lines look too light or too dark?
Adjust printer density, contrast, or brush thickness. Reprint one test page before printing the full coloring book.
How do I store my growing collection?
Use folders on your computer by theme and year, such as “Animals 2026,” and bind printed pages by ages or skill level. That way, nothing gets lost when more ideas happen.



