

Key Takeaways
- This paper cup flower craft turns one simple paper cup into a bright flower, perfect for kids aged 4–10.
- The main supplies are paper cups, scissors, paint or markers, glue, and green paper or pipe cleaners for flower stems.
- Most kids can finish one detailed paper cup flower in about 20–30 minutes.
- Cup flowers are easy to customize for spring, summer, mother’s day, classroom displays, or a handmade gift.
- Adults should help younger kids with cutting, hot glue, and any step that needs a steady hand.
Introduction To Paper Cup Flower Crafts
A paper cup flower is a simple way to turn an ordinary cup into something colorful, cute, and display-ready. With a few cuts, some paint, and a stem, kids can create flowers that look great in a vase, on a card, or on a classroom wall.
Paper cup flower craft projects work well because the materials are cheap, easy to find, and quick to set up. Paper cup flower crafts can be created using simple materials like paper cups, scissors, and paint, making them accessible for children at home or in school, and they fit nicely alongside many other fun paper activities for all ages.
There are two popular versions. A paper cup flower usually means the whole flower is made from a paper cup by cutting and coloring the sides. Paper cup flowers can also be created by doodling faces on the cups and using real flowers to create a fun and whimsical look, making them perfect for kids’ crafts.
This guide focuses on a painted cup flower, plus a simple variation with real flower “hair.” It works well for home, preschool, kindergarten, and lower elementary classrooms.
Learning Goals And Benefits
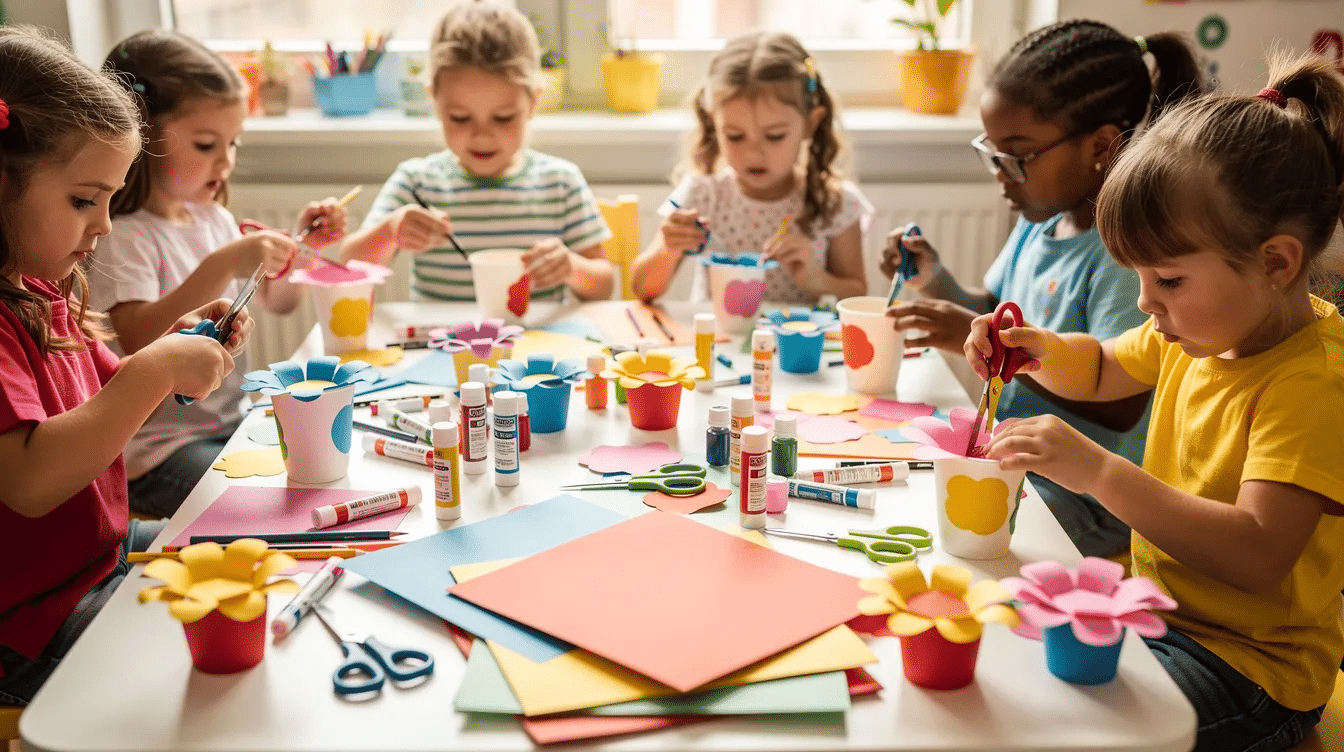
Paper cups can be transformed into crafts such as flowers for educational activities, and the process supports more than just art time when you have a few top craft paper supplies for creative projects on hand.
- Fine motor skills: kids practice cutting strips, holding the cup steady, painting narrow petals, and using glue.
- Hand-eye coordination: each child has to watch where the scissors go and control the cut from the rim toward the center.
- Color recognition: children choose a center color, petal color combinations, and leaf shades.
- Creative decision-making: every flower craft can have different petals, patterns, leaves, and decorations.
- Sequencing: kids follow each step in order, from marking and cutting to painting and attaching the stem.
- Light math practice: count petals, compare stem lengths, and sort flowers from shortest to tallest.
- Confidence: a finished paper cup flower gives kids something they can hold, display, or give as a gift.
One small preschool study on paper cup activities found improvement in fine motor achievement from 31.25% before the intervention to 82.5% after the second cycle, showing how repeated hands-on work can support early skills (source).
Materials Needed For A Paper Cup Flower
This craft uses basic items most families and teachers already have.
Supplies:
- 1 paper cup per flower, preferably white or plain
- Child-safe scissors
- Washable paints or permanent markers
- Yellow or orange paint for the flower center
- Bright paint colors for the petals
- Green craft paper for leaves
- Green craft paper strips, green pipe cleaners, or wooden craft sticks painted green for stems
- Glue stick, white glue, or tape
- Pencil for marking sections
- Optional: googly eyes, glitter glue, stickers, or a small paper or plastic cup “pot”
For a more natural look, you can also use brown craft paper for the stem and green craft paper for the leaf. This is especially useful if kids want their paper flower to look like a sunflower or garden bloom.
Use blunt scissors for younger children. If hot glue is used to make the cup flower stronger, an adult should handle the glue gun.
When choosing paint, washable tempera is a good choice for younger kids and easy cleanup. Acrylic paint can look brighter on waxy or coated paper cups, but it can stain clothes and should be used with more supervision. Look for non-toxic art materials with safety labels such as the ACMI “AP” seal when possible (ACMI), and consider browsing Simply Paper Crafts for inspiration before you start.
Step-By-Step Paper Cup Flower Craft Instructions
This is the main how-to section. Set out all materials first so kids are ready to start and can enjoy the fun part without long pauses.
1. Mark the paper cup
Turn the paper cup upside down so the bottom is facing up. Use a pencil to mark the bottom edge into 10–12 equal sections.
To create paper cup flowers, start by cutting the sides of a paper cup into 12 even strips from the bottom to the top. If children are younger, an adult can make the pencil lines first so the cuts stay even.
2. Cut the petals
Cut straight lines from the rim down to the bottom edge of the cup. Stop when you reach the round bottom surface in the middle.
To create a paper cup flower, you can cut the sides of the cup into strips and paint them to resemble flower petals. This turns the cup sides into long petal shapes while the bottom of the cup becomes the center.
3. Open and flatten the flower
Gently press the strips outward. Flatten them with your hand until the paper cup opens into a flower shape.
If the petals curl upward, hold them down for a few seconds. You can also fold each strip slightly at the base so the flower stays open.
4. Paint the center and petals
After cutting the strips, flatten them and paint the bottom surface of the cup with yellow paint, allowing it to dry before painting the strips in your chosen colors.
Once the yellow center is dry, add color to each petal. Kids can paint every petal the same color or make a rainbow flower. For a sunflower, use yellow petals and a brown or orange middle.
Using paper cups, children can create colorful flowers by cutting strips from the cup and painting them, which allows for a creative and artistic expression, similar to how they might experiment with tissue paper flower decorations for any occasion.
5. Make the stem and leaves
Cut a long strip from green craft paper, use a green pipe cleaner, or paint a wooden craft stick green.
Prepare the stem and leaves by cutting a strip from brown craft paper for the stem and a leaf shape from green craft paper, then glue them together with the flower on top.
For a simple leaf, fold green paper in half, cut a half-leaf shape along the fold, then open it. This creates a neat matching leaf shape and introduces techniques kids can later use when making more detailed crepe paper flower projects.
6. Glue the flower together
Place the flower face down. Add glue to the back of the center and attach the stem.
Press firmly and give it time to dry. If the stem feels loose at the end, add a small piece of tape across the back for extra support.
7. Display the finished flower craft
Place the finished flowers in a jar, fill a small vase with paper grass, stick the stems into modeling clay, or tape the flowers to a wall, card, or classroom post.
Kids can also sign the back and write the date, such as april 2026, to make it a keepsake.
Quick Variation: Simple Marker-Only Cup Flower
This version is perfect when there is less time or no paint available.
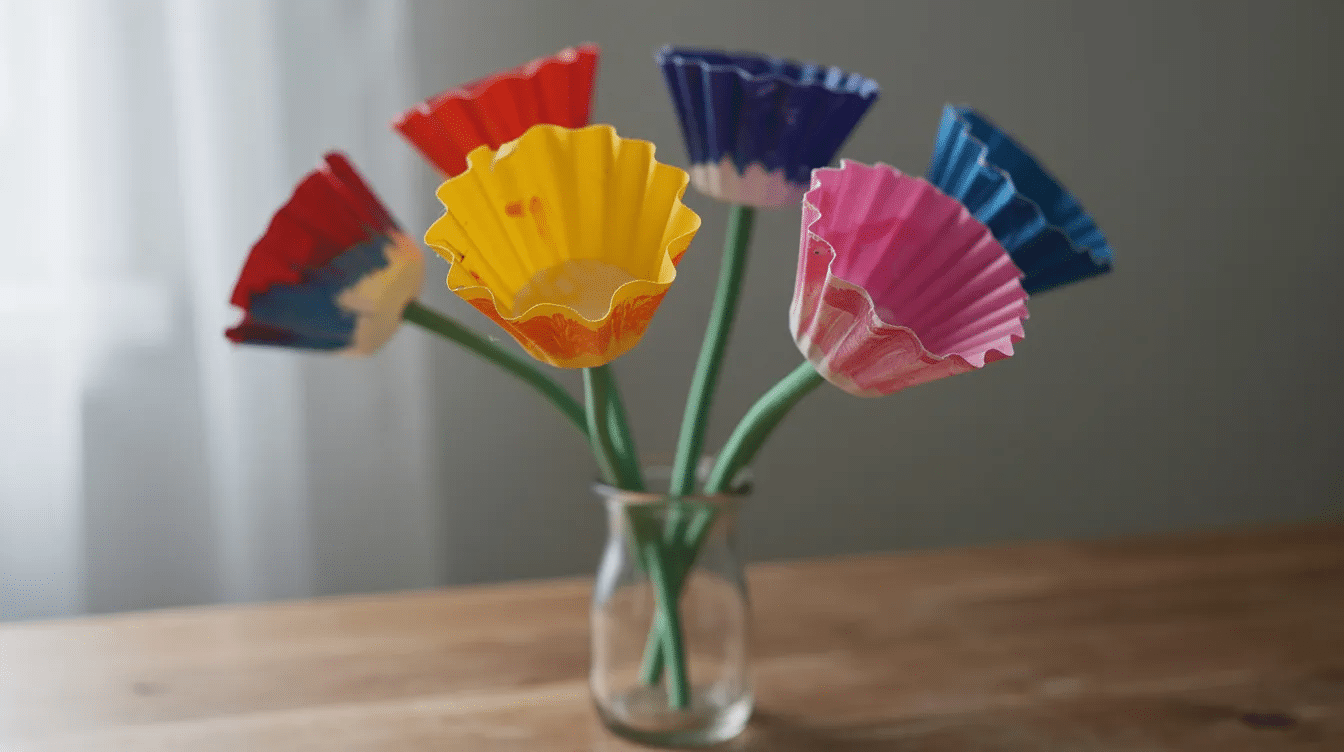
Instead of painting, kids can use permanent markers to color each petal strip directly on the paper cup. They can add dots, stripes, hearts, zigzags, or tiny flowers on the petals.
You can also draw a face in the yellow center area, then attach the same style green stem and leaves. Because there is no wet paint, this cup flower dries immediately and is great for a quick classroom flower craft session.
Paper Cup Flower Heads With Real Flower “Hair”
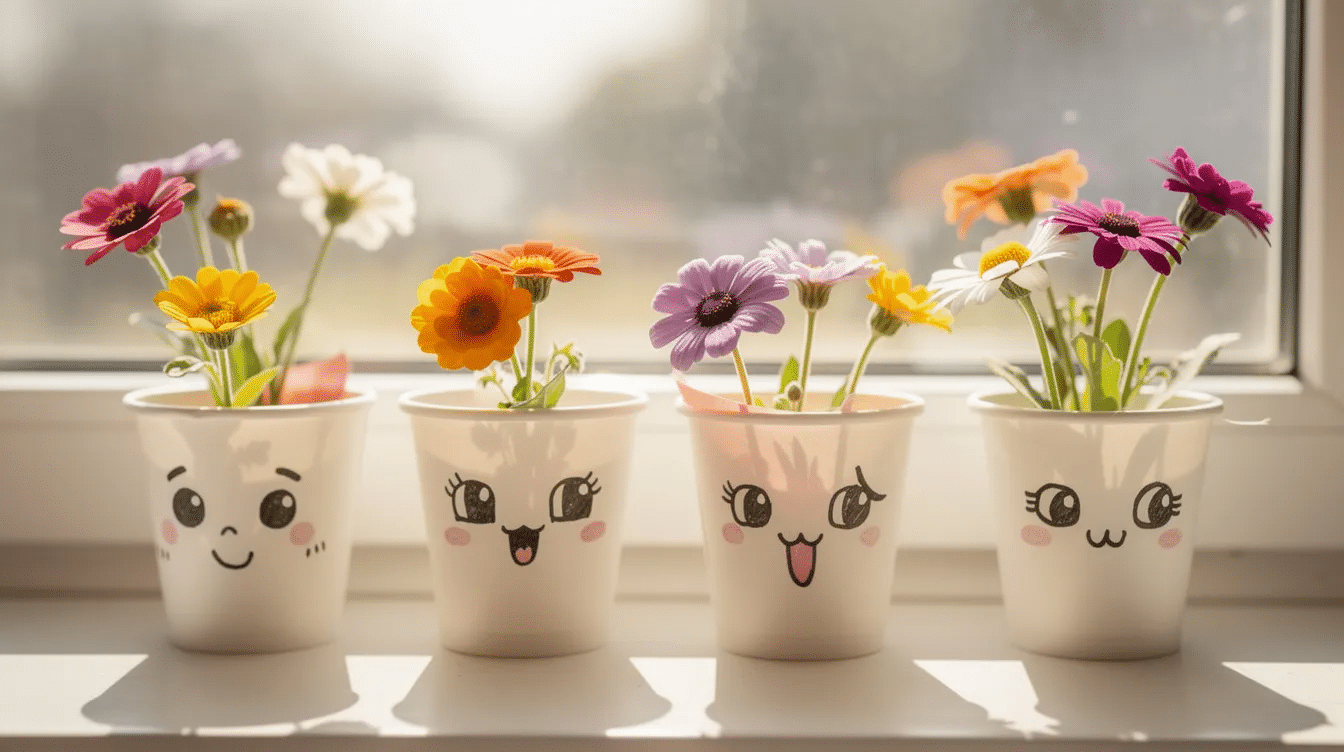
Another fun idea is to turn a paper cup into a character with fresh flower hair. Using a paper cup, children can doodle faces on the cups and use real flowers to create a fun flower head craft, just one of many possibilities in creative paper cup crafts ideas.
Draw a simple face on the side of a paper cup using permanent markers. Add eyes, a nose, rosy cheeks, and a big smile.
Next, add a little water into the cup. Place short-stemmed real flowers or garden clippings inside so they look like hair. This creates a playful flower head that feels different from the flat painted flower.
Use garden flowers in spring and summer, or store-bought blooms for special days like Mother’s Day, mother’s day brunches, or Teacher Appreciation Week. Kids can create several “friends” with different faces and hairstyles, then line them up on a windowsill or classroom shelf.
Change the water regularly, check for wilting flowers, and remind each child to handle real flowers gently.
Seasonal And Holiday Cup Flower Craft Ideas
The same basic paper cup flower craft can be adapted for many seasons and celebrations. Paper cup flower crafts are versatile and can be adapted for various occasions, including spring and summer celebrations, making them a great choice for seasonal decorations and a fun addition to other cute paper craft ideas for kids.
Here are a few easy ideas:
- Spring flower: use pastel petals, light green stems, and a butterfly sticker near the center.
- Mother’s Day gift: write “Happy Mother’s Day” and the year, such as 2026, on the stem or petals.
- Summer bouquet: use bright orange, pink, red, and yellow petals, then place several flowers in a vase.
- Classroom garden: have each student make one paper cup flower and group them together on a bulletin board.
- Sunflower craft: paint the petals yellow, the center brown, and add tall leaves.
- Card topper: glue a small cup flower to the front of a folded card.
- Full-year craft theme: combine cup flowers with other paper cup crafts, such as bats in October or elves in December, and mix in seasonal projects like paper snowflakes for winter decor.
If you plan to post photos of a classroom display, avoid showing children’s names or faces unless you have permission.
Tips For Crafting With Kids
A little preparation makes this flower craft calmer, safer, and more enjoyable for different ages.
- Prepare all paper cups, paints, stems, and leaves in advance.
- Cover the table with newspaper or a washable mat.
- Keep wipes, paper towels, or a damp cloth nearby.
- Set up a drying area before the paint comes out.
- Pair very young children, especially ages 3–4, with an adult for cutting.
- Use thicker cups if thin paper cups collapse too easily.
- Let kids choose their own paper cup flower colors.
- Praise effort, creativity, and problem-solving instead of aiming for perfect matching flowers.
- Keep small decorations away from toddlers who may put items in their mouths.
For younger children, adults can cut the strips ahead of time and let kids focus on painting, decorating, and gluing. Older kids can take on more of the process themselves, including measuring sections and experimenting with petal shapes, or even trying simple vintage paper craft ideas that reuse old pages and ephemera.
FAQ
What age is this paper cup flower craft best for?
Children ages 4–10 can usually handle most steps. Adults should help 4–6 year olds with cutting, gluing, and pressing the stem into place so the flower holds together safely.
Can I reuse old paper cups for this cup flower project?
Yes, clean and dry paper cups work best. Lightly stained cups are fine if kids will fully cover the cup with paint or permanent markers. Avoid cups that are greasy, damp, or torn.
Which paints work best on a paper cup?
Acrylic paint gives bright color on waxy cups, while washable tempera is better for plain paper cups when easy cleanup matters. Always choose non-toxic paint for kids.
How can we make the flower craft last longer?
Use sturdier cups, let paint dry fully, reinforce the stem with tape or glue, and store finished flowers upright in a jar, box, or vase. Keep the craft away from water unless it is the real flower “hair” version.
How many paper cup flowers can kids make in one session?
If kids finish quickly and want more to do, you can also offer simple printable paper projects for different occasions alongside this craft.
Most kids can finish one detailed paper cup flower in about 20–30 minutes. In the same time, kids may be able to make several marker-only cup flowers because there is no drying time.



