

Key Takeaways
- You’ll learn an origami box with lid step by step using one sheet of square paper for the base and one for the box lid.
- Start with 15×15 cm (6×6 in) paper; the finished box will be about 5.5×5.5×3 cm (2.2×2.2×1.2 in).
- No scissors or glue are needed for this classic origami box-just careful fold work.
- The key lid step is leaving about a 2 mm gap at the center so the lid can slide on smoothly.
- You can watch a video tutorial and use the printable guide idea near the end for extra practice.
What You’ll Learn in This Origami Box with Lid Guide
This origami box tutorial walks you through materials, base instructions, the lid adjustment, and simple fixes if your box feels uneven. The design is based on a traditional paper-folding form from japan, related to the masu measuring box, and adapted for small gifts, beads, sweets, and storage.
You’ll learn the materials list, step-by-step origami directions, tips for sharp corners, and where a video helps. The difficulty is beginner-friendly for adults and older kids, but patience makes the model cleaner.
Materials and Sizing for a Classic Origami Box
Good paper makes origami projects easier because creases stay sharp and the form holds. When crafting origami boxes or exploring other paper crafting projects, it is important to use square sheets of paper, as this is essential for the folding techniques used in origami.
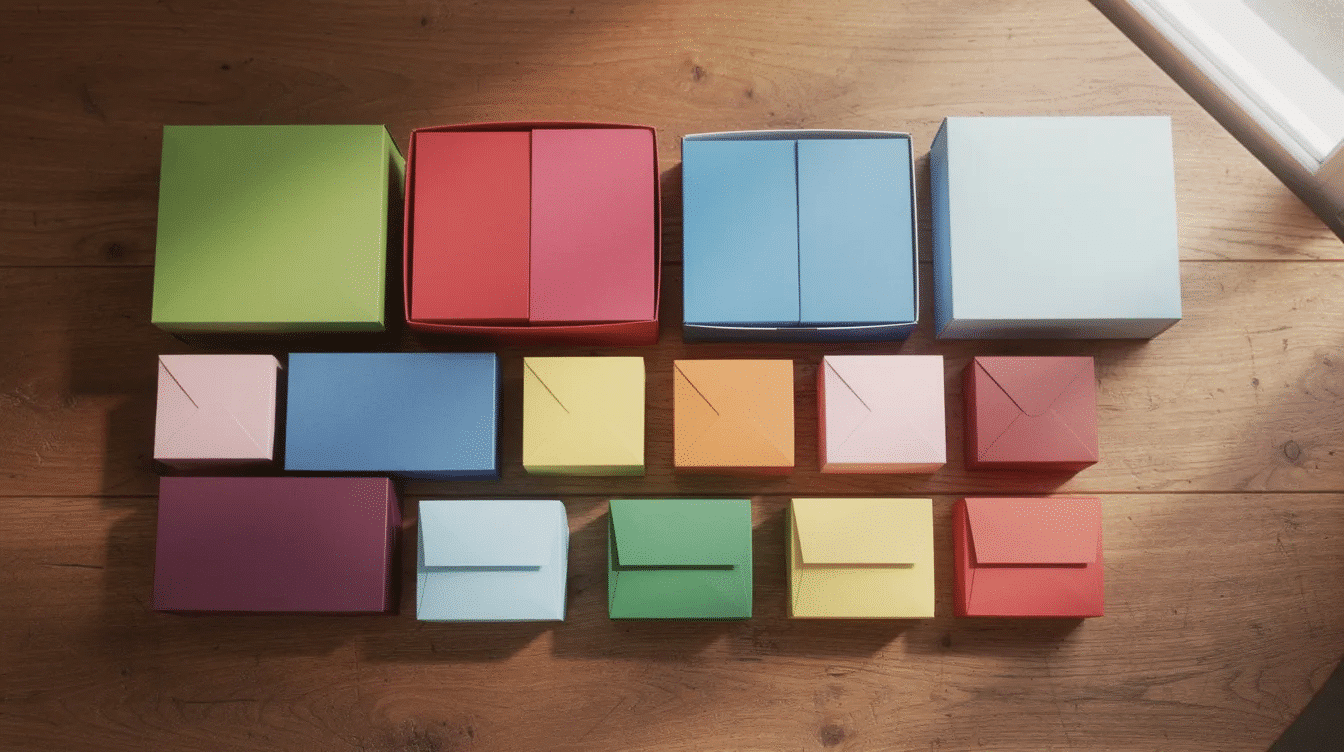
You need two squares of paper, a flat table, and optionally a ruler, pencil, or bone folder. For more project inspiration and a broader look at top craft paper supplies for creative projects and DIY fun, remember that for making origami boxes, a recommended paper size is 15×15 cm (6×6 in) using Kami, Tant, or Chiyogami paper, which will create a box measuring approximately 5.5×5.5×3 cm (2.2×2.2×1.2 in). Use one side patterned for the lid and the other side plain for the base if you want a colorful contrast. Kami around 60–80 gsm is easy; light cardstock can work, but very thick paper is harder to crease. Origami boxes can be made from various types of paper, including cardstock, wrapping paper, and recycled greeting cards, allowing for creativity and sustainability in crafting. You can recycle old calendar pages too, as long as you measure and cut accurate squares. A 10×10 cm sheet makes about a 3.5×3.5×2 cm box; 20×20 cm makes roughly 7×7×3.5 cm.
How to Fold the Origami Box Base (Step by Step)
This section creates the base of the classic origami box using only folds, no cutting. If you’d like to try more creative origami designs for every skill level or branch out into fun paper activities for creative minds of all ages, for more background on origami’s Japanese roots, see Web Japan’s origami overview.
Step 1: Place the square paper color-side down. Fold it in half vertically, unfold, then fold it in half horizontally and unfold. You now have center cross creases. If you want extra marks, create diagonal folds from one corner to the opposite side corner, unfold, and repeat on the other diagonal.
Step 2: Bring all four corners to the center point. Align each tip with the middle. This creates a smaller square.
Step 3: Fold the top and bottom edges to the center line, press firmly, then unfold. Rotate and repeat with the opposite sides. These creases become the walls.
Step 4: Open two opposite flaps. Lift the left and right sides along the existing creases. Collapse the corner triangles inward.
Step 5: Bring the open flap up and over the triangles, then tuck it into the box. Repeat on the opposite side. Your origami box base is ready.
If the sides lean, reinforce every crease and check that the starting square was precise. A tiny error at the first step can affect the whole box.
Folding the Origami Box Lid (Lid Step Adjustments)
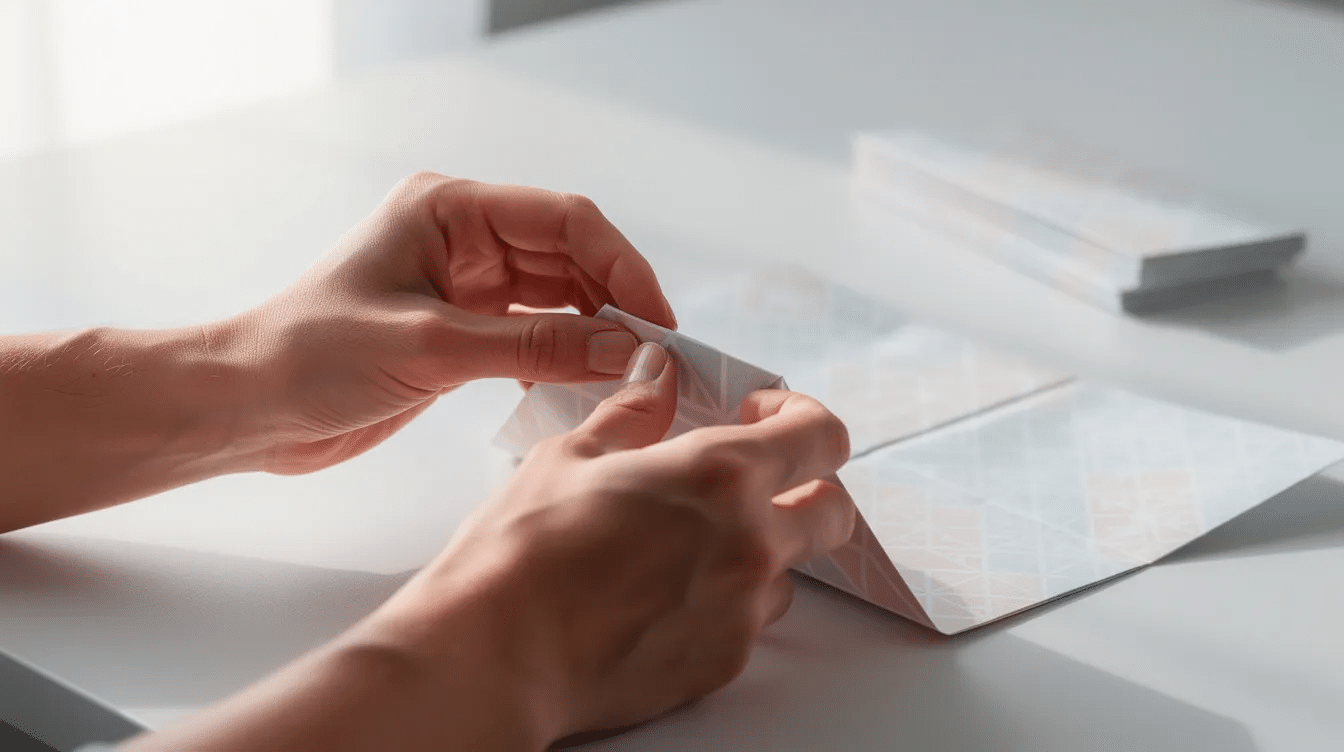
The lid is almost identical, but it needs extra space. When folding the lid for the origami box, leave a small gap between the corners and the center point to ensure the lid fits over the box easily; a gap of about 2 mm is recommended for a 15 cm square paper.
Step 1: Start with the second square. Fold in half both ways, unfold, and find the center.
Step 2: Bring the corners toward the center, but stop each point about 2 mm short. Use a ruler or fingernail width to keep the gap even.
Step 3: Fold opposite sides toward the center area, unfold, rotate, and repeat. The process of folding the origami box involves several steps, including folding corners to the center, creating diagonal folds, and collapsing the box structure, which can be repeated for the lid with slight modifications.
Step 4: Form the walls like the base: lift, collapse corners inward, fold the flap over, and tuck. Test the box lid on the finished base before pressing everything permanently. The traditional origami box can be modified by adjusting the size of the lid; making the lid slightly larger than the box base ensures a better fit and easier access. When folding an origami box, the corners of the lid can be left slightly away from the center point to create a more spacious lid, which is particularly useful for larger boxes. To create a shallow lid for an origami box, leave a gap of about 4 mm between the corners and the center point during the folding process, which allows the lid to slide on and off easily.
Step-by-Step Summary: Classic Origami Box with Lid
Here is the quick tutorial recap. Prepare two square sheets. Fold the base: half folds, corners to center, side creases, lift walls, collapse corners, and tuck flaps. Fold the lid the same way, but keep the 2 mm gap at the lid corners. Assemble the box with lid and check that the lid edges sit just below the top of the box walls. Repeat with different paper sizes and patterns to create nesting origami boxes. This is a super easy checklist to print, screenshot, or keep beside the video tutorial.
Tips, Tricks, and Creative Ideas for Origami Boxes
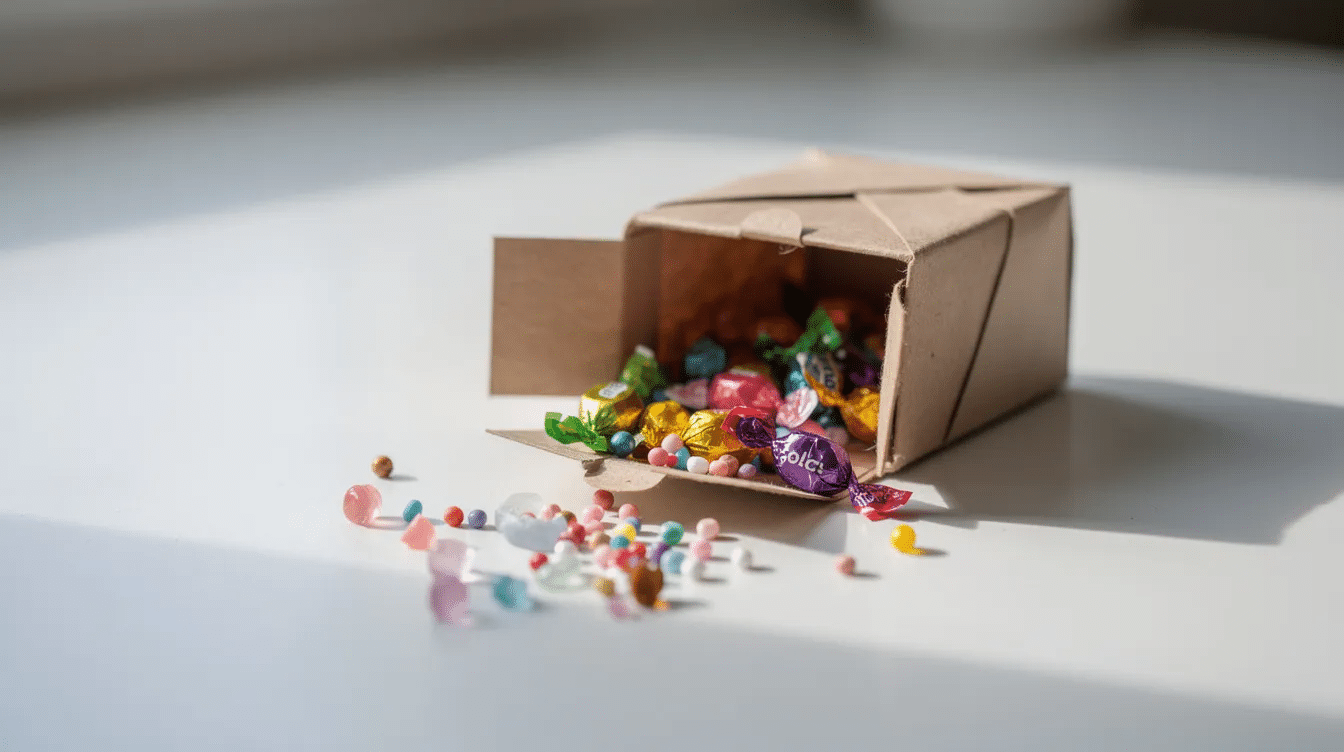
Use a cutting mat to make perfect squares, press each fold with a ruler edge, and check that corners meet exactly. For styling, pair a patterned lid with a solid base, use metallic paper for 2026 holiday gifts, or add a paper band instead of tape. These boxes are cool for a birthday in 2026, jewellery, buttons, office clips, tea bags, or a sweet note. Label the box lid neatly if organizing supplies. If you loved making the first one, repeat the model until you feel confident, or explore cute crafts paper ideas for fun and easy DIY projects or experiment with other fun projects like creative origami paper ducks.
Origami Box Video Tutorial and Printable Guide
Some readers learn best visually, so watch a step-by-step video tutorial alongside these written instructions, or try related hands-on projects like creative paper squishies ideas: fun DIY projects for everyone. A good video should use an overhead angle, slow folding, clear hands, and close-ups of the lid step gap. It should show both the origami box base and box lid, with captions for each fold. A printable one-page guide with arrows, updated for 2026, is also helpful, and you can explore creative and useful things to print on paper for every occasion to make matching tags or instruction cards for your boxes. Pause, replay, and practice; of course, the first try is rarely perfect.
FAQ
This section answers common beginner questions not fully covered above.
What kind of paper is best for an origami box with lid?
Kami around 60–80 gsm works very well, while 90–120 gsm can make a sturdier base and lid if the box is not tiny; understanding the best types of paper for craft and their uses will help you choose the right weight and texture for different box sizes. Avoid tissue-like paper because walls sag, and avoid heavy cardstock for small boxes because creases become bulky. For paper guidance, see this overview of origami paper types.
Why doesn’t my lid fit over the box?
The lid usually fails because the corners were folded all the way to the center instead of leaving the gap. Open it gently, widen the wall creases, or refold with a 3–4 mm gap. Also make sure base and lid use the same size square.
Can children make this origami box with lid on their own?
Children around 8–10 can usually do it with help on one corner alignment and the lid step. Larger 20×20 cm paper is easier for small hands. Keep it calm and fun rather than rushing.
How can I make a deeper or shallower box?
Depth changes when you adjust how far the sides fold toward the center. For a shallow tray, stop farther from the center. For a deeper box, fold closer to the middle. Try scrap paper first and make pencil marks you like.
How long does it take to fold an origami box with lid?
Beginners may need 15–20 minutes for the base and 15–20 for the lid. With practice, many people finish a complete box in under 10 minutes. If you’re curious, make several and leave a comment on which paper worked best. I hope this brings a little handmade life to your gifts.



