

Want to learn how to do paper quilling without a tool? You can start today with paper, scissors, glue, and a toothpick-no kit, first book, or special supplies required.
Key Takeaways
- You can start quilling with regular paper, scissors, glue, and everyday items like a toothpick or bobby pin instead of a quilling tool.
- This tutorial covers basic shapes: tight roll, loose coils, teardrops, marquis, hearts, triangle, and square.
- Beginners should use 1/4” wide quilling paper or paper strips; quilling strips are typically cut to a length of 8.5” for ease of use in projects.
- You’ll make a simple flower and leaf quilling design without tools.
- The FAQ covers paper type, strip width, and how to stop center coils from unraveling.
What Is Paper Quilling (and Can You Really Do It Without Tools?)
Paper quilling is the art of rolling thin strips of paper into coils, scrolls, and shapes, then arranging them into decorative art, cards, jewelry, labels, or a framed page. Traditional quilling often uses a slotted tool, but this post shows the first steps without tools.
You can use a round toothpick and any paper you have on hand to create basic quilling shapes without traditional tools. Quilling can be done using everyday items like toothpicks and scissors, making it an accessible craft for beginners without the need for specialized tools.
It is also a very inexpensive craft to learn. That makes quilling suitable for girls, boys, teens, and especially adult age beginners who like calm hand crafts. Among all the crafts on my blog, a museum-style paper quilling tutorial is still my favorite referral for kind words and fantastic examples; the MFA guide is a good favorite referral if you want more inspired ideas or to browse Simply Paper Crafts tutorials and inspiration.
- Supplies You Need to Start Quilling Without Tools
- How to Roll Paper Coils Without a Quilling Tool
- Basic Shapes You Can Make Without Tools
- Step‑by‑Step Mini Project: Simple Flower and Leaf Without Tools
- Tips for Neater Results When Quilling Without Tools
- Next Steps to Grow Your Paper Quilling Skills
- FAQ: Paper Quilling Without Tools
- Can I use regular printer paper for quilling strips?
- How do I keep my coils from unraveling when I let them go?
- What can I use instead of a quilling tool if I don’t have any craft supplies?
- How wide should my strips be if I’m completely new to quilling?
- Is it okay to mix hand‑rolled and tool‑rolled shapes in the same project later on?
Supplies You Need to Start Quilling Without Tools
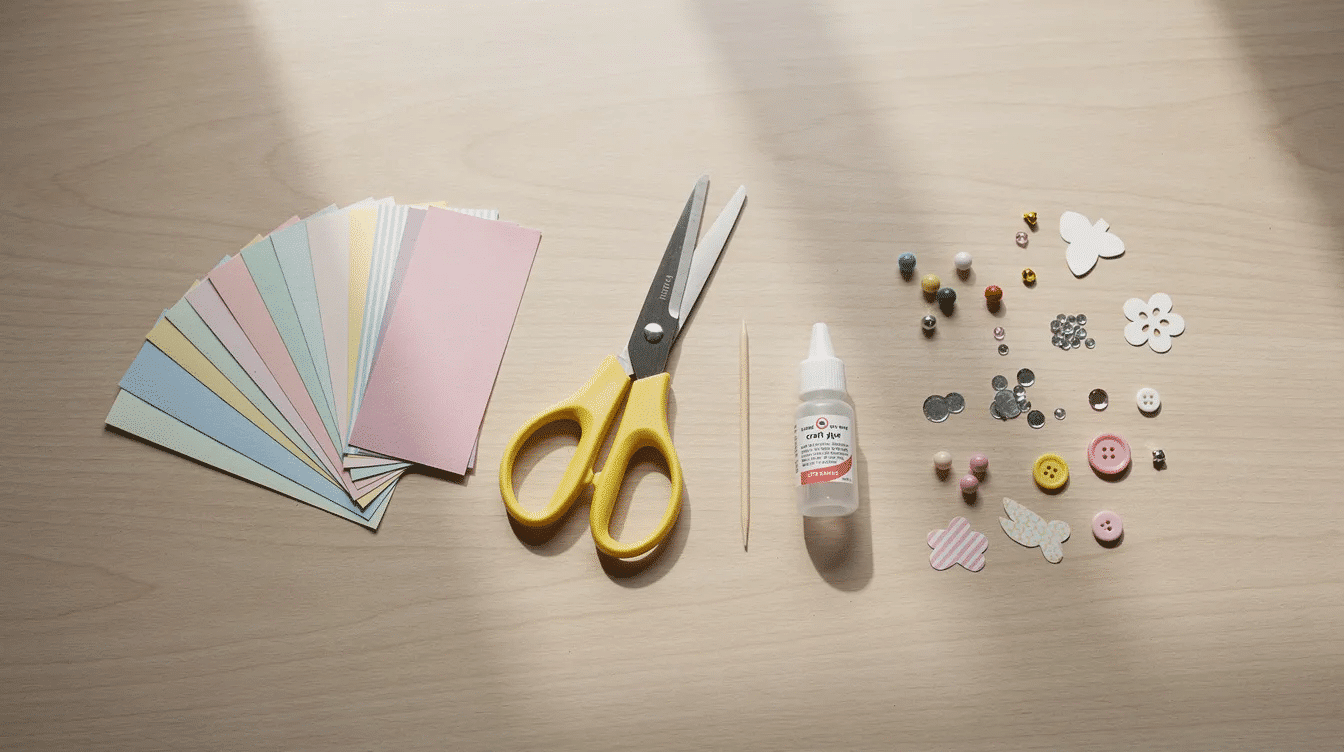
Everything can come from a stationery drawer-no premade quilling supplies needed.
- Paper: printer paper, colored copy paper, or lightweight scrapbook paper, ideally 80–90 gsm. You can also experiment with handmade paper sheets for creative projects. For other projects you may want to explore the best types of paper for craft.
- Strips: cut 1/4 inch / 6 mm width for beginners; this is easier to grip than narrower strips.
- Length: quilling strips are typically cut to a length of 8.5” for ease of use in projects, though 8.5–11 inches works.
- Glue: white PVA or school glue, plus scrap card for tiny dabs.
- DIY tools: toothpick, wooden skewer, bobby pin, thin knitting needle, pencil tip, or tightly rolled card; pair these with top craft paper supplies for creative projects.
- Optional: tweezers, wax paper, bottle cap, painting palette, hollow cookie cutter.
To make a DIY slotted tool, snip the cotton end off a plastic Q-tip or hollow coffee stirrer and cut a small slit into the handle for gripping and rolling paper strips.
How to Roll Paper Coils Without a Quilling Tool
Open and closed coils are the foundation of most paper quilling.
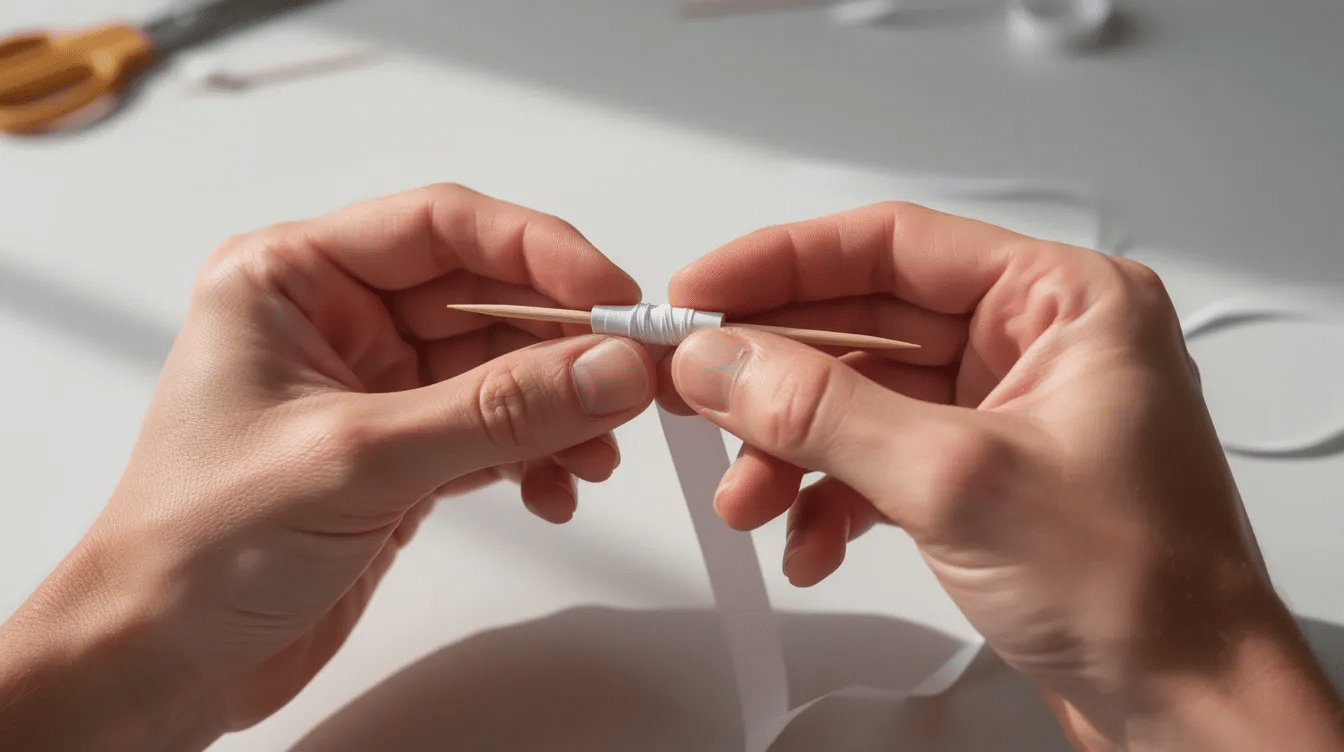
Finger method: fold 3–4 mm at one end of a strip. Hold it between your thumb and index finger, then roll slowly. For softer, looser coils, a paper strip can be held between the thumb and index finger and rolled directly into a circle.
Toothpick method: insert the folded tip against a round toothpick. Begin wrapping the strip snugly, keeping the edges aligned. Moistening fingertips and pressing the edge of a paper strip flat against a wooden toothpick allows for tightly rolling the paper until the end-use barely any moisture.
Slide the coil off carefully. For a tight coil, pinch it and glue the end immediately. For a loose coil, wait as it relaxes slightly on the table, then glue it when it reaches the size you want.
Quick tricks:
- If the center pops out, start tighter.
- If the coil becomes a cone, reduce uneven finger pressure.
- If glue shows, use less and hold for 5–10 seconds.
Basic Shapes You Can Make Without Tools
Once you can roll coils, you can pinch and curl them into many basic shapes, and then move on to a more comprehensive beginner guide to paper quilling art or even explore top origami designs for every skill level.
Teardrop: A teardrop shape in quilling is made by pinching an open coil between fingers to form a point, and variations can be created by adjusting the curvature of the shape.
Marquis: Make a teardrop, then pinch the opposite side so both points align. This works well for a leaf.
Heart: Use two teardrops glued together, or press the top of a loose circle inward with a fingernail or toothpick tip to create the center V.
Triangle and square: Start with a loose coil. Pinch three corners for a triangle or four corners for a square, rotating gently.
Loose coils can be shaped by pressing them into the wells of a painting palette, a bottle cap, or a hollow cookie cutter. Scroll shapes in quilling are created by twirling the paper without gluing the end, allowing for various designs by adjusting the rolling technique.
Step‑by‑Step Mini Project: Simple Flower and Leaf Without Tools
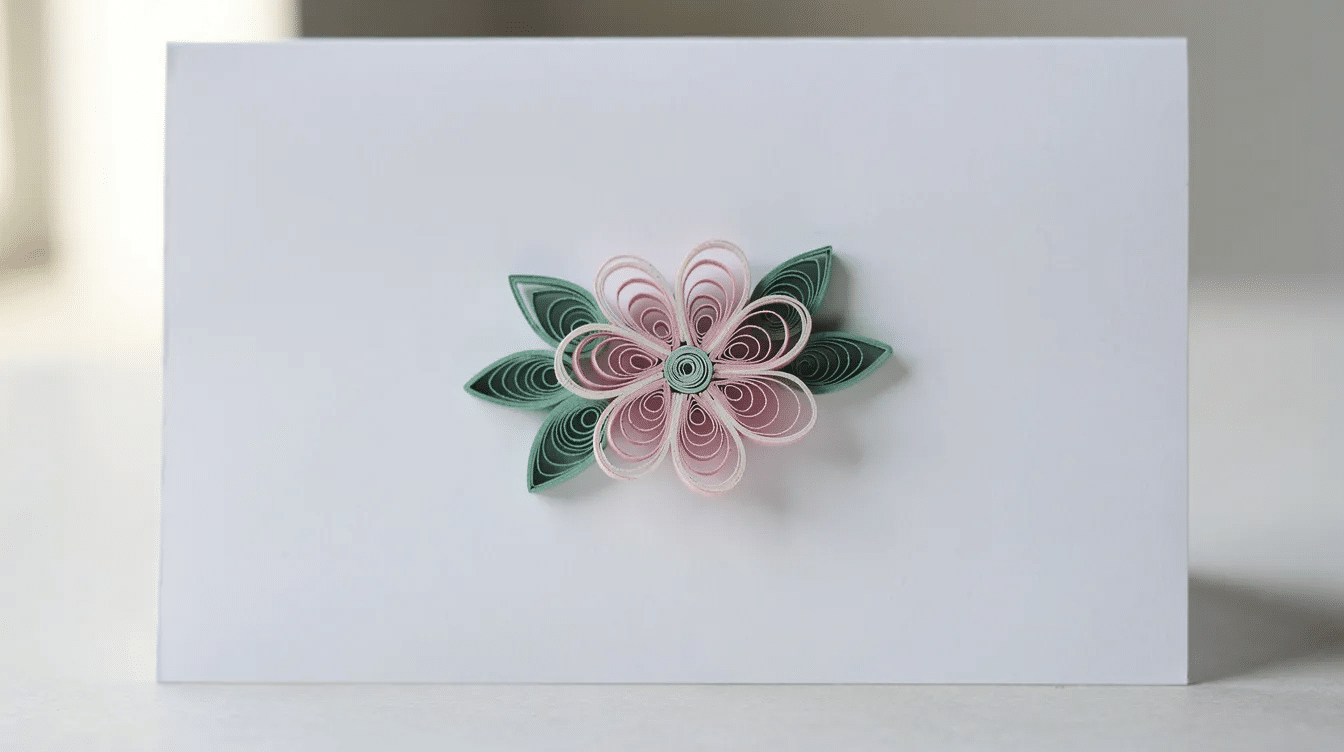
This mini project turns your first time practice into a small quilling design for a card, bookmark, or website craft photos, and the same basic skills translate beautifully to making tissue paper flowers for any occasion or creating crepe paper flowers for stunning DIY projects.
- Flower center: To create a flower center, you can roll a thin strip of paper around a toothpick or directly without any tool, securing it with glue. Use a short 4–5 inch strip for a tight center.
- Petals: Roll 5–6 loose coils from longer strips. Pinch each into a teardrop. Keep the width and size as even as possible.
- Arrange: Place petals around the center on scrap paper before gluing. Adjust the pattern, then glue each petal edge to the center and nearby petals.
- Leaf: Roll a loose coil, pinch both ends into a marquis, then bend one side slightly to mimic a vein.
- Stem: Cut a straight green strip and glue it as a stem.
To create a quilled flower, start by making a tight roll for the center and then add petals by rolling a wider strip around the center and folding the petals outward. Once you’re comfortable with this, you can explore fun paper activities for creative minds of all ages, like making paper snowflakes for beautiful winter decor, to try other flower and decor ideas.
Tips for Neater Results When Quilling Without Tools
Quilling without a dedicated quilling tool takes practice, but small habits help.
- Keep tension steady: not so tight that paper tears, not so loose that coils unravel.
- Start with 1/4 inch strips, then try 3 mm strips later.
- Work with clean, dry fingers and avoid drafts.
- Dab glue with a toothpick instead of squeezing from the bottle.
- Let shapes dry flat on wax paper before assembly.
- Store unused shapes in small containers so they’re ready when you want to try cute paper craft ideas for easy DIY projects or experiment with useful things to print on paper for every occasion.
- If following a video, pause often and do not rush the instructions; the same patience helps when trying new trends like DIY creative paper squishies projects, easy paper star crafts, or fun origami paper duck ideas.
Next Steps to Grow Your Paper Quilling Skills
Once you learn quilling basics, create framed initials, borders for journal pages, gift labels, bouquets, or small jewelry pieces, experiment with paper bead jewelry projects, or even explore paper crafts that sell well for crafters if you’d like to turn your hobby into a side income.
Try mixed colors, gradient paper, a comb for loops, paper mache designs for creative projects, or homemade methods before buying tools. If you love an old‑fashioned aesthetic, you can also experiment with vintage paper craft ideas and larger paper mache projects for home decor. I hope you make one new flower or leaf each weekend and have fun building confidence.
FAQ: Paper Quilling Without Tools
Can I use regular printer paper for quilling strips?
Yes. Standard 80–90 gsm printer paper works well for beginners, especially when cut into 6 mm / 1/4 inch strips. It rolls more easily than heavy cardstock.
How do I keep my coils from unraveling when I let them go?
Roll more tightly, let the coil expand on the table, then glue as soon as it reaches the desired size. Hold the glued end for 5–10 seconds.
What can I use instead of a quilling tool if I don’t have any craft supplies?
Use a round toothpick, bobby pin with a slightly opened tip, pencil tip, or your fingers.
How wide should my strips be if I’m completely new to quilling?
Start with 6 mm / 1/4 inch strips. They are easier to grip, cut, and control by hand.
Is it okay to mix hand‑rolled and tool‑rolled shapes in the same project later on?
Yes. Mixing shapes made without tools and shapes made with a quilling tool is fine. Focus on consistent size, color, and spacing.



