

Key Takeaways
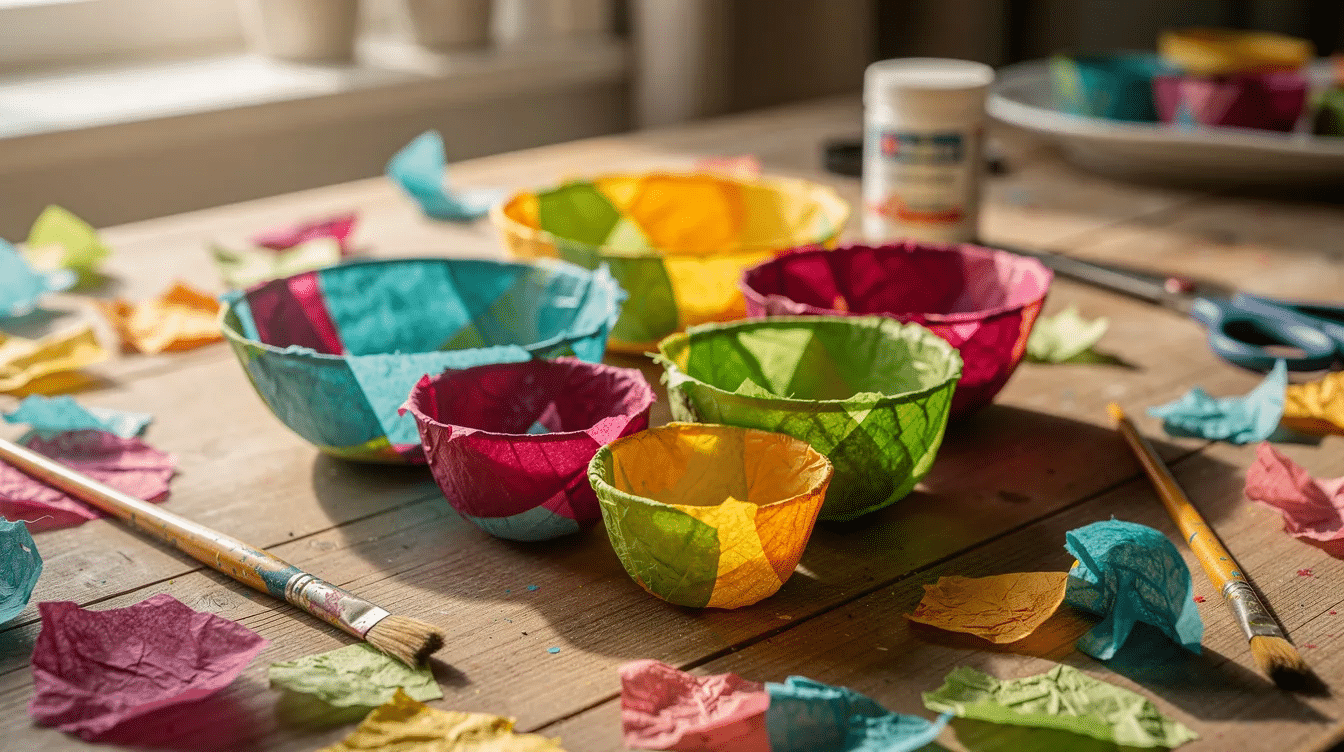
- This tutorial shows how to make a paper mache bowl with tissue paper, simple paper mache paste, and a household bowl as a mold.
- Tissue paper creates a lightweight, bright, slightly translucent mache bowl that works well for keys, jewelry, wrapped sweets, and loose change.
- You’ll learn how to paper mache step by step: prepare the mold, mix paste, add layers, dry, trim, paint, and seal.
- This is a beginner-friendly, kid-appropriate fun craft with supervision, and it can be made with flour paste, white glue, pva glue, school glue, or Mod Podge.
- Finished bowls are decorative only: do not use them for liquids or unwrapped food.
Introduction: Why Make a Paper Mache Bowl with Tissue Paper?
Paper mache is a classic low-cost craft that uses paper and paste to build sturdy decorative objects. A paper mache bowl is simply a bowl-shaped form made from layered paper strips or pulp, then dried until firm.
Tissue paper gives paper mache bowls a smoother, brighter finish than newspaper strips, which makes it ideal for modern home decor, kids’ rooms, and handmade gifts. This post focuses on coloured tissue paper instead of traditional newspaper, so you can create interesting designs with different colors in one weekend.
- Supplies You’ll Need for a Tissue Paper Mache Bowl
- How to Make Paper Mache Paste (or Use Mod Podge)
- Preparing the Bowl Mold
- Layering Tissue Paper: Building the Paper Mache Bowl
- Drying, Removing, and Trimming Your Paper Mache Bowl
- Decorating and Sealing the Tissue Paper Mache Bowl
- Ideas for Using Your Tissue Paper Mache Bowls
- FAQ
Supplies You’ll Need for a Tissue Paper Mache Bowl
As of 2026, the materials for this easy project are inexpensive and easy to find in supermarkets, craft stores, or a weird little book shop with an art corner.
You’ll need:
- A rigid plastic bowl, glass bowl, metal bowl, or small bowl as the mold
- Plastic wrap or petroleum jelly as a release layer
- Scissors, a butter knife for gentle loosening, and a shallow paste dish
- Gift-wrap tissue paper, which is the best type of tissue paper for making projects and can be selected in various colors or patterns for a vibrant appearance
- Optional white tissue paper or white acrylic paint for pale base layers
- Flour, water, and salt for homemade paper mache paste
- Mod Podge, mod podge, or equal parts white school glue and water for a clearer store-bought option
- Foam brush or soft bristle paintbrush for applying glue in tissue paper projects
- Acrylic paint, tempera paint, stickers, pom poms, glitter glue, metallic pens, craft varnish, or clear acrylic sealer
- Old newspapers, newspaper, or plastic to cover the table
Alternative papers for making paper mache bowls include tissue paper, crepe paper, toilet paper, paper towels, brown craft paper, paper napkins, and watercolor paper. Exploring top craft paper supplies for creative projects can help you choose the best paper for different textures and finishes. Using construction paper or paper bags cut into strips is also a viable alternative to traditional newspaper for paper mache projects.
How to Make Paper Mache Paste (or Use Mod Podge)
You can choose a classic flour-and-water paper mache paste or use Mod Podge directly from the jar as a paper mache paste, which is convenient for crafting.
For homemade paste, mix 1 cup of flour with enough water to achieve a smooth consistency, similar to thin pancake batter. Add 1–2 teaspoons of salt to help reduce mold risk while drying. Whisk until there are no lumps; some crafters simmer or microwave the paste briefly, but that step is optional.
Other options:
- Mix equal parts white glue or school glue and water; Mod Podge or a mixture of equal parts white school glue and water works best as a paste for tissue paper projects.
- Combine 1 part PVA glue with 2 parts water, which is effective for various projects.
- Thin Mod Podge with a little water if you want to dip strips instead of brushing.
The paste should be smooth, not thick, so the tissue lies flat without bubbles.
Preparing the Bowl Mold
Good mold prep makes it easier to remove the finished paper mache bowl. Choose a smooth cereal or salad bowl, ideally 15–20 cm wide, with no sharp corners. A mold can also be made from a small balloon or a standard plastic/glass bowl for creating a tissue paper mache bowl.
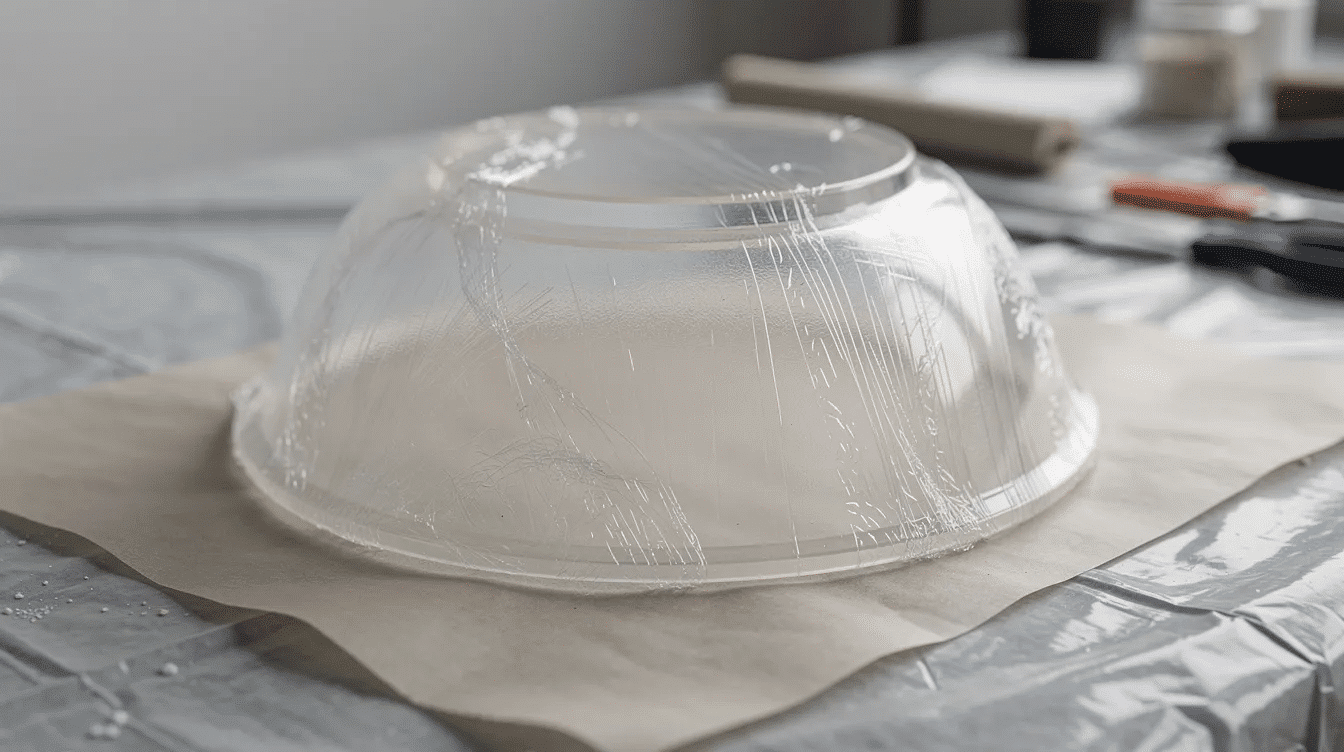
Cover the outside of the upside-down bowl tightly with plastic wrap, smoothing wrinkles and taping the edges on the inner part. If you do not have plastic wrap, spread a thin layer of petroleum jelly over the outside of the bowl.
Place the mold upside down on old newspapers or a plastic tablecloth. This lets you cover the base and sides evenly.
Layering Tissue Paper: Building the Paper Mache Bowl
This is the main how to paper mache step. To make a tissue paper mache bowl, layers of torn tissue paper are applied over a mold using a glue-water or paste mixture.
Tear tissue paper into small pieces, squares, or strips about 2 to 4 inches wide. Tearing tissue paper into small squares or strips of about 2 to 4 inches creates soft, feathered edges that blend better than sharp cut lines. If you enjoy delicate, layered designs, you might also like making tissue paper flowers for any occasion. Keep colors in piles so the project stays fun and organized for kids and supports fine motor skills.
Dip each piece into the paste, swipe off excess paste with your fingers, and smooth it onto the mold. The first layer should cover the whole form and overlap the rim by about half an inch. Do not over-saturate tissue paper because it can tear and become fragile.
For sturdiness, at least 4 to 6 layers of tissue paper are needed for making a paper mache bowl. It is recommended to apply at least four to seven layers of paper strips to ensure the bowl is sturdy enough and does not tear when removed from the mold. Let the paper dry between adding layers to prevent sogginess.
For extra strength, you can add layers of newspaper strips inside the tissue design. To make a paper mache bowl, you can use strips of newspaper, construction paper, or paper bags dipped in paste made from flour and water or glue and water. For more inspiration on shapes and structures, explore creative paper mache designs and project ideas. Shredded paper can also be used to create a paper pulp for making paper mache bowls, providing a unique texture and strength; papier mache pulp is especially useful for building up weak edges.
Use pale tissue or white acrylic paint on the inner layers, then finish with bold colors, mixed patterns, or different colors on the outside.
Drying, Removing, and Trimming Your Paper Mache Bowl
Patient drying is what turns soft paper into a firm bowl. Leave the mold to dry overnight, or for about 24 hours, in a warm, well-ventilated place. To ensure proper drying, paper mache bowls should be set upside down over jars or a similar surface to allow air circulation, and they can be placed in a warm area to speed up the drying process.
The drying time for paper mache bowls can vary, but it typically takes 24 hours for the first layer to dry, and additional layers may require up to a week to fully dry, depending on the thickness and humidity. Wait until the bowl is completely dry, firm, and not cool or damp to the touch.
Loosen the rim first, then slide the form off carefully. A butter knife can help, but do not force it. If you used plastic wrap, peel it away. If thin spots appear, add more small pieces with paste. After the initial drying period, it is recommended to add additional layers of paper mache if the bowl feels fragile, allowing for another day or two of drying to achieve sturdiness.
Use scissors to trim the rim and smooth the edges. After the paper mache bowl has dried, it can be sanded to smooth out any rough spots before painting, which helps achieve a more polished finish.
Decorating and Sealing the Tissue Paper Mache Bowl
Now personalize the bowl to match a room, season, or event. You can decorate your paper mache bowl using tempera paint or lightweight craft materials like stickers and pom poms, but be careful not to over-saturate the bowl with paint as it may become flimsy again.
Try acrylic paint for solid colors, ombré effects, stripes, fruit designs, or a second coat for richer color. Paint markers and metallic pens make a lovely final touch for stars, dots, or geometric art.
Once paint is dry, seal the inside and outside. Applying a layer of clear-drying liquid school glue or craft varnish, such as Mod Podge, can help harden the paper mache and seal the paint, making it more durable. Understanding the best types of paper for craft and their uses can also help you plan how paint and sealer will look on different textures. After painting your paper mache bowl, it’s recommended to apply a coat of craft sealer to protect the paint and enhance the finish of the bowl. A final coat of Mod Podge or a clear acrylic sealer can be applied for a glossy finish and added durability.
Gloss gives a ceramic-like shine; matte craft varnish keeps the natural paper look. Let the seal dry fully before use.
Ideas for Using Your Tissue Paper Mache Bowls
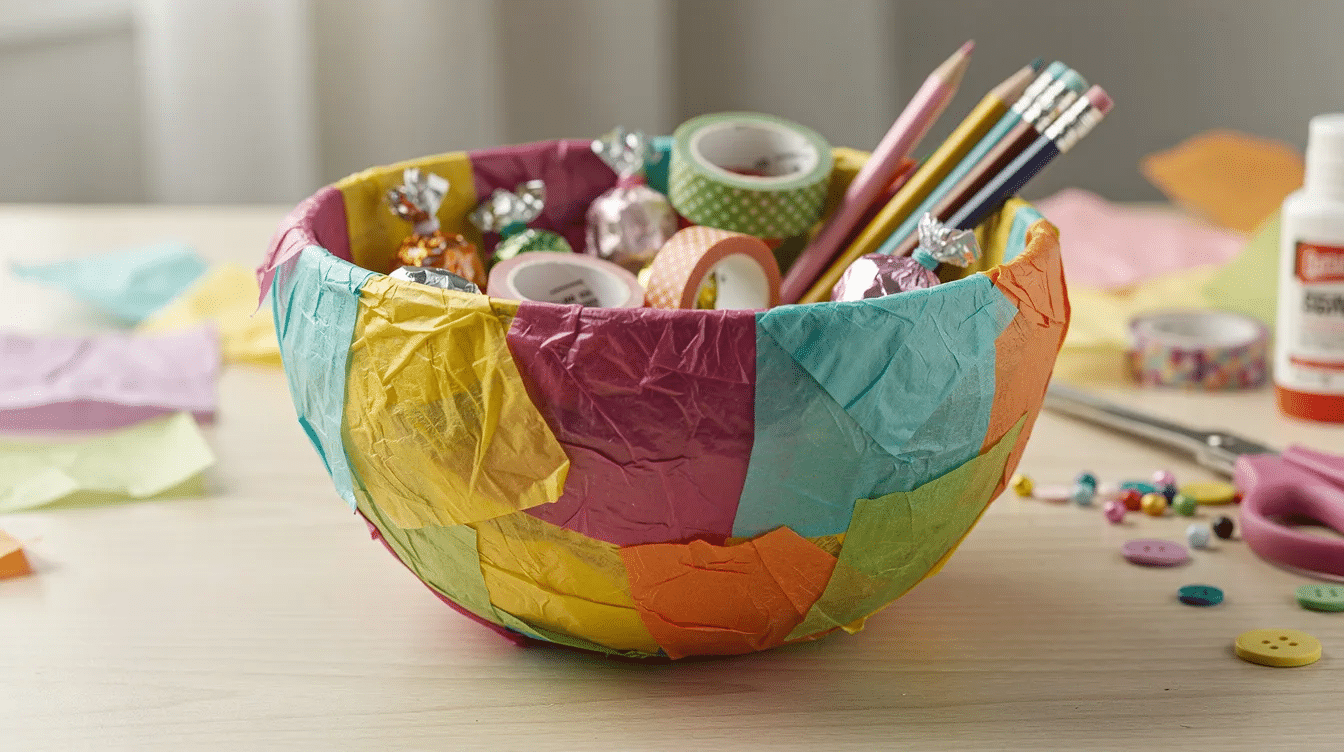
Tissue paper bowls are lightweight and decorative, suitable for holding lightweight dry items. They are not for soup, fruit salad, water, or direct food contact. If you enjoy this kind of low-cost, relaxing project, you might like exploring more fun paper activities for creative minds that use similar materials.
Use your finished bowl for:
- Keys and loose change by the door
- Jewelry, hair clips, erasers, or paper clips
- Wrapped sweets, ornaments, or Easter eggs
- A handmade teacher gift or great mother’s day gift
- A coordinated set in different sizes for shelves
For inspiration, make one bowl in book shop colors, one with layered translucent tissue, and one with a bold pop of color. You can also look at creative uses of paper mache for art and decor to spark ideas for themed sets or matching pieces.
FAQ
If you’re ready to try more projects beyond this bowl, Simply Paper Crafts’ home paper crafting hub offers tutorials and inspiration for all skill levels.
How strong are tissue paper mache bowls compared to newspaper paper mache bowls?
Tissue paper bowls are lighter and more delicate than bowls made from newspaper strips, but they are sturdy enough for small, dry items. For more strength, use 6–7 layers, add a topcoat of Mod Podge or varnish, or use newspaper or kraft paper under the decorative tissue.
Can I make a food-safe paper mache bowl?
Standard paper mache paste made with flour and water, plus typical sealers, is not considered food-safe for serving unwrapped food. Use the bowl for wrapped sweets or decoration, and choose ceramic, glass, or certified food-safe dishes for serving.
What should I do if my paper mache bowl starts to grow mold while drying?
Mold usually means the paste was too thick, the layers were too wet, or the bowl dried in a cool, poorly ventilated space. Scrape away moldy areas, dry the bowl in a warm sunny spot, then add fresh salted paste and tissue. Seasonal projects like easy paper snowflakes for winter decor are a good way to practice drying techniques in cooler months. Next time, use thinner layers and never store wet paper mache in a closed cupboard.
Can I use only Mod Podge without homemade paste?
Yes. Brush Mod Podge onto the mold, apply dry tissue pieces, then brush more Mod Podge over the top instead of dipping. This costs more than flour paste but dries clearer and is less prone to mold. Once you’re comfortable with these basics, you can branch out into cute paper craft ideas for fun DIY projects that use similar gluing and layering skills.
How can I make my paper mache bowl more water-resistant?
Paper mache can be made splash-resistant, not waterproof. Apply two or three thin coats of clear acrylic varnish or outdoor Mod Podge, letting each coat dry fully. Still keep the bowl away from sinks, bathrooms, and standing water. If you like squishy, durable crafts, try making DIY paper squishies projects for everyone using similar sealing techniques.



