

Key Takeaways
- You can learn how to make paper beads without a toothpick by using a pencil, bamboo skewer, plastic drinking straw, coffee stir stick, knitting needle, or bead roller.
- A paper strip cut from magazine pages, wrapping paper, scrapbook paper, junk mail, wallpaper, or old calendars dated 2020–2024 can create beautiful paper beads.
- The paper strip shape matters: straight strips create cylindrical beads, while angled cuts can produce diamond, oval, and teardrop beads.
- Sealing finished beads with mod podge, clear nail polish, gloss varnish, marine varnish, PC-Petrifier Wood Hardener, or acrylic floor polish makes them shinier and more durable.
- Different rolling tools change the bead hole size, so choose a pencil, bamboo skewer, or straw based on the jewelry, bracelet, necklace, or earrings you want to make.
Introduction: Making Paper Beads Without a Toothpick
Paper beads are rolled beads made from paper products, glue, and sealer. Many tutorials use a toothpick because it is small and easy to find, but it also makes a tiny hole that may not work for thicker string, ribbon, or cord.
This tutorial shows how to make paper beads without a toothpick using common household tools like a pencil, bamboo skewer, drinking straw, or knitting needle. It is also an eco-friendly craft: you can reuse old magazines, magazines, wrapping paper, paper bags, and colorful flyers instead of buying new materials. You will end up with lightweight, beautiful paper beads ready for bracelets, necklaces, keychains, earrings, or even beaded curtains.
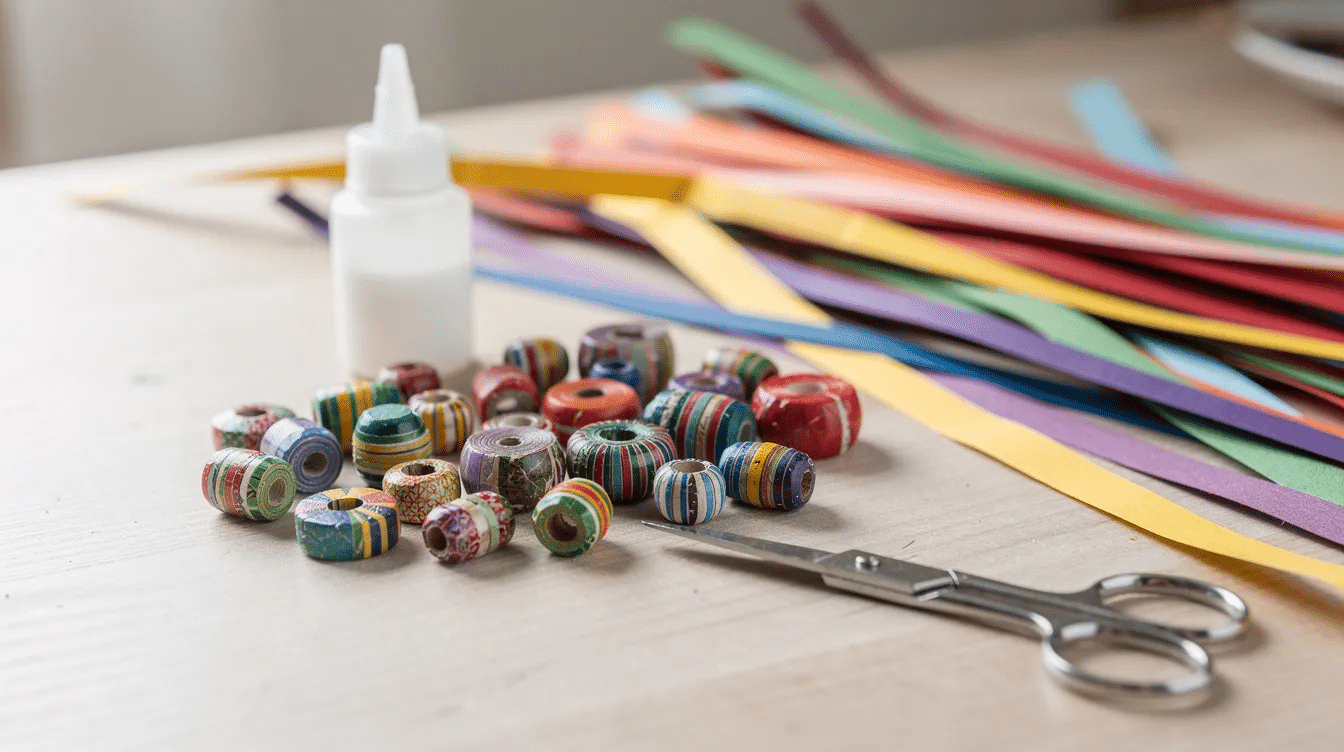
Supplies: Toothpick-Free Tools and Materials
Everything below should be easy to source at home or from a basic craft aisle.
- Paper options: Use glossy magazine pages, decorative wrapping paper, scrapbook paper, wallpaper, old calendars dated 2020–2024, colorful flyers, junk mail, and other different papers. For more ideas on the best types of paper for craft projects, explore how different textures and weights behave in various techniques. Avoid very thin tissue paper because it may not be sturdy enough.
- Cutting tools: Use scissors, a paper cutter, or a craft knife with a cutting mat. A paper cutter is best when making beads in batches because it keeps every paper strip even, especially when paired with top craft paper supplies for creative projects.
- Measuring tools: A ruler, metal ruler, pencil, and paper with grid lines help you mark straight, repeatable cuts.
- Rolling tools instead of a toothpick: Try an HB pencil, bamboo skewer, coffee stir sticks, metal knitting needle, plastic cocktail straw, reusable drink straw, slotted quilling tools, or professional bead rollers. For broader inspiration beyond bead-making, browse Simply Paper Crafts for paper crafting ideas. Slotted quilling tools have a built-in slit to hold the start of the paper strip securely, while professional bead rollers are specifically designed tools for rolling paper beads and allow efficient, even rolling.
- Adhesives: Regular school glue, tacky glue, or a glue stick will work. Quick-dry tacky glue is useful because it helps tight rolls stay put while the glue sets.
- Sealants: Use mod podge, clear nail polish, nail polish, water-based varnish, gloss varnish, marine varnish, acrylic floor polish, or PC-Petrifier Wood Hardener. PC-Petrifier Wood Hardener is a popular choice for sealing paper beads because it hardens the beads and gives them a rock-solid finish.
- Drying supports: Use floral foam, styrofoam, a styrofoam block, corrugated cardboard, or a cardboard box to hold skewers upright while the beads dry completely.
- Optional extras: Fine sandpaper, paint, a small brush, plastic gloves, and a protected work surface can make bead making cleaner and more comfortable, and they also come in handy for fun paper activities for creative minds of all ages.
Cutting Paper Strips for Your Beads
The shape of the paper bead depends on the form of the paper bead template. The shape of the paper strip you cut will determine the shape of the final bead; straight strips create cylindrical beads, while angled cuts can create diamond or oval shapes.
- For making paper beads, strips of paper should be at least 1 foot long and 1/2 inch wide, as the length affects the thickness of the final bead.
- To create paper beads, cut strips of paper at least 1 foot long and 1/2 inch wide, as the length of the strip determines the thickness of the final bead.
- For a classic tube bead, a paper strip should be about 3/4 inch wide by 11 inches long.
- Straight strips of paper create cylindrical beads, while angled cuts can produce diamond and oval shapes, allowing for a variety of designs.
- Tubular beads are made from rectangular pieces of paper, and teardrop beads are constructed from right triangle shapes.
- For tapered beads, mark a 3/4 inch or 2 cm base on one edge of the sheet, then cut diagonally toward the opposite corner to form a long triangle strip.
- Isosceles triangles create balanced center-tapered beads, while a right triangle creates more off-center teardrop beads.
- Use a ruler and pencil to mark equal intervals before cutting with scissors, a craft knife, or a paper cutter.
- The strip determines the bead profile: a wider base makes fatter beads, and a longer length creates thicker layers.
- Experimenting with different cuts and lengths of paper strips can lead to unique bead shapes and sizes, enhancing the creativity of paper bead crafting and opening up more creative paper bead ideas for DIY jewelry projects.
- Align stripes, text, or color blocks along the strip for spiral effects. Explore creative and useful things to print on paper if you want custom designs or color blocks for your strips. The wrong side of the paper usually faces inward, so the printed side shows as you roll.
Rolling Paper Beads Without a Toothpick
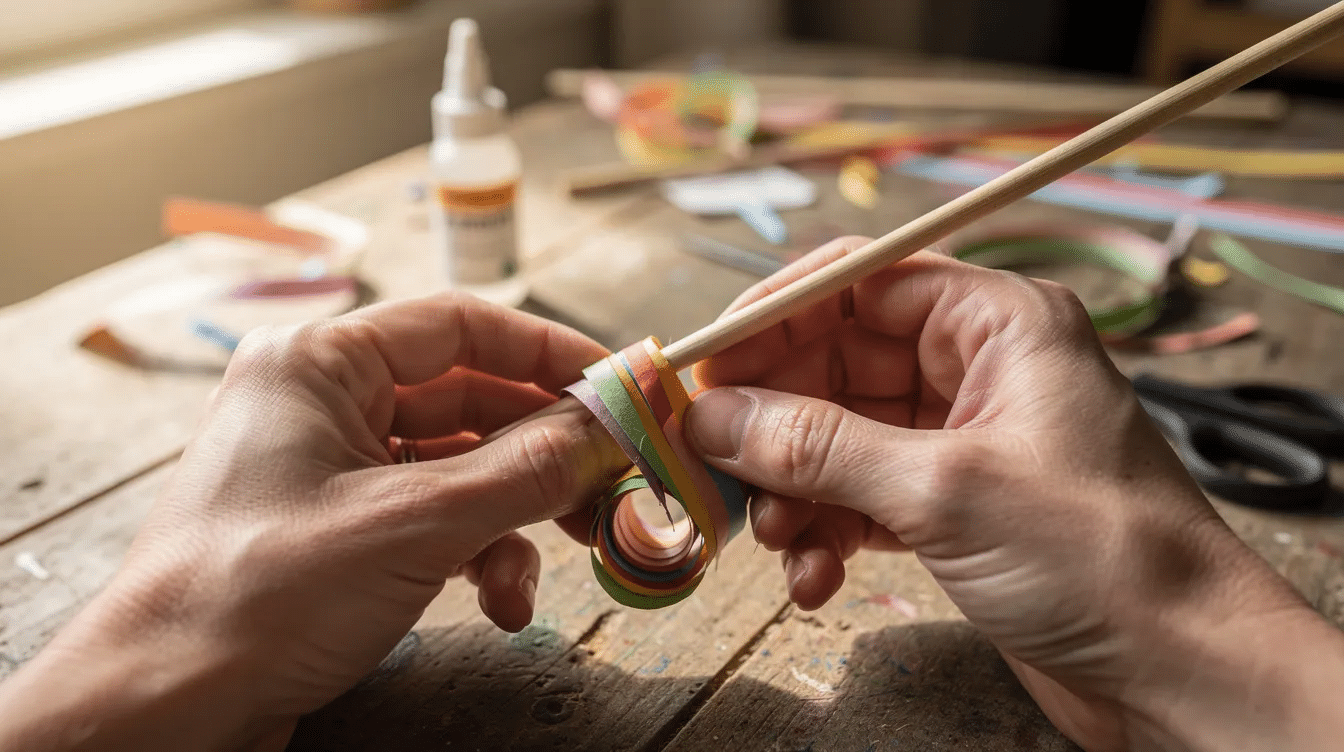
The rolling method stays mostly the same whether you use a pencil, bamboo skewer, straw, or another stick. Start rolling at the wide end, keep the edges aligned, and tightly roll with steady pressure.
- Using a pencil: Lay the wide end of the paper strip against the pencil. Wrap one full turn to anchor it, add a thin line of glue along the paper, and roll toward the other end. Pencils create larger holes, which work well for thicker cords, ribbons, or leather thong necklaces in 2026 fashion trends.
- Using a bamboo skewer: A bamboo skewer creates slightly larger bead holes than very fine tools, while still staying close to typical jewelry wire sizes. Roll snugly, but not so tight that the bead gets stuck.
- Using a plastic drinking straw: Tape the first 5 mm of the strip to the straw, roll, glue as you go, and slide the bead off once dry. Plastic drinking straws are especially useful when you want a consistent large hole.
- Using knitting needles: Knitting needles can serve as effective rolling tools for paper beads, providing comfort and stability while you roll, and they are also safe and easy for kids when you branch out into cute crafts paper ideas for fun DIY projects.
- Using coffee stir sticks: Coffee stir sticks are simple alternatives to toothpicks for making paper beads and work well for kids’ crafts or larger holes.
- Using a slotted quilling tool: Insert the paper into the slot, then turn the tool slowly with your fingers for a neat roll.
- Using bead rollers: Professional bead rollers are ideal if you plan on making beads often because they help create even tension and repeatable shapes.
- Keep the edges centered as you roll. If one side drifts, gently pull the strip back into alignment before adding more glue.
- Pause near the point, smooth on extra glue with a fingertip or small brush, then pinch the tip for a few seconds for a clean finish.
- Let the glue sets before you gently remove the bead from the rolling tool.
If you want more comments from other crafters, ask them what hole size they prefer before choosing a rolling tool.
Drying and Sealing the Beads for Durability
Unsealed paper beads can absorb moisture and wear out quickly. To seal paper beads and make them shiny, various products can be used, including Mod Podge, marine varnish, and clear nail polish.
- Slide beads onto a bamboo skewer, knitting needle, or wire before sealing so the center hole stays open.
- Brush on a thin coat of mod podge, acrylic floor polish, or water-based varnish.
- Stick the skewer into styrofoam, a styrofoam block, floral foam, or a cardboard box so the beads dry upright.
- Apply 3–4 thin coats, waiting at least 20–30 minutes between coats or following the product label.
- Applying multiple coats of a sealing product, such as acrylic floor polish, can enhance the durability and shine of paper beads.
- After rolling the paper strips into beads, they can be stabilized by brushing them with acrylic floor polish and allowing them to dry completely, repeating the process for a durable finish.
- For small batches, brush clear nail polish over each bead while it rests on a bamboo skewer or pencil tip.
- Seal the bead ends carefully so the paper layers are protected from daily wear and light splashes.
- Use water-based sealers indoors with kids. Use marine varnish, strong gloss varnish, spray sealers, or nail polish only in a well-ventilated area.
- According to craft instructions from the University of Oregon Museum of Natural and Cultural History, pencils and straws can be used as rolling tools, which makes this method practical for simple group crafts.
Design Ideas and Using Your Finished Paper Beads
Treat finished beads like other beads in your jewelry making projects. The main difference is that paper is lightweight, so you can create bold designs without heavy materials.
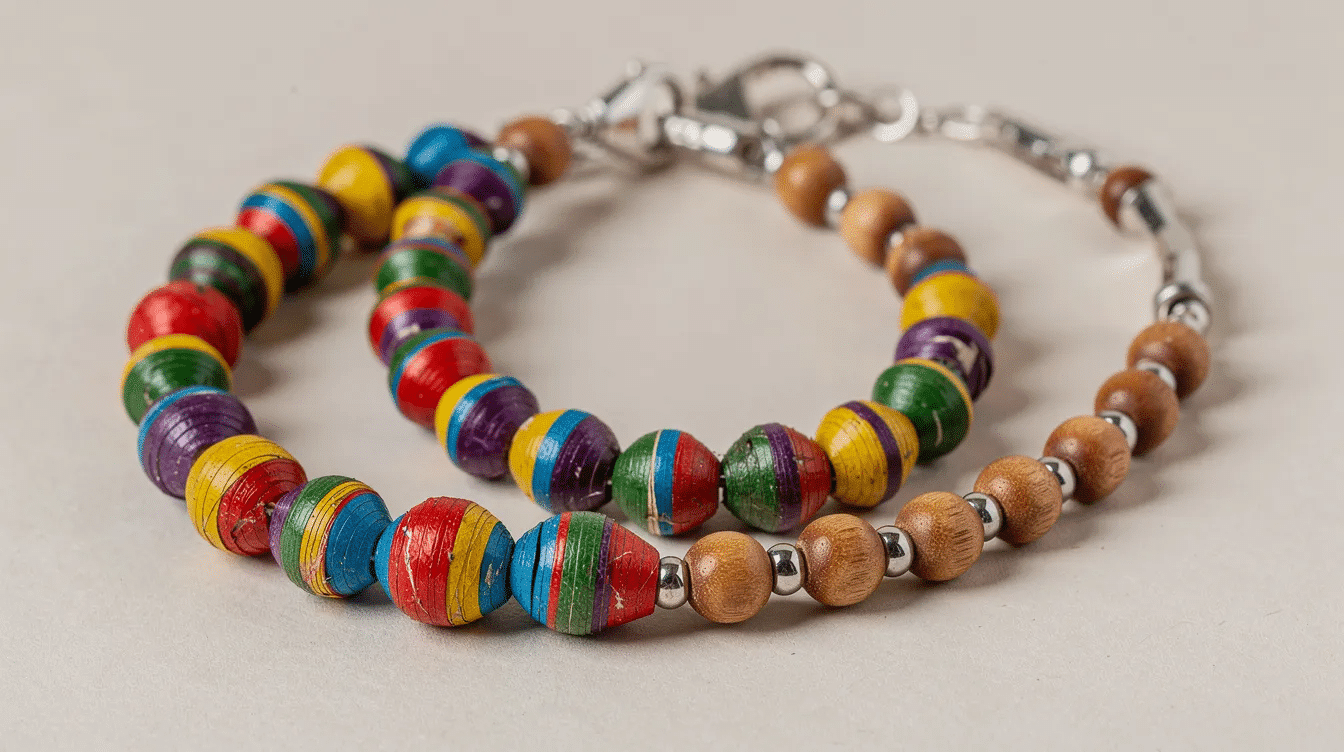
- Make a bracelet with elastic cord and mix paper beads with metal spacers.
- Create a necklace using pencil-rolled beads for ribbon, suede lace, or thicker string.
- Make long boho earrings with tapered triangle beads and small glass accents.
- Use paper beads for zipper pulls, keychains, ornaments, and beaded curtains, or pair them with handmade paper sheets for special creative projects.
- Mix paper beads with wooden, glass, or metal other beads to add weight and contrast.
- Match colors to seasonal palettes: spring pastels, autumn earth tones, or winter metallics for 2026 craft fair sales, especially if you plan to feature paper bead jewelry among paper crafts that sell well for crafters.
- Store paper beads and finished jewelry away from prolonged direct sunlight to reduce fading over several years.
- For a polished look, use the desired amount of repeated shapes in each piece instead of mixing every shape at once.
Tips, Troubleshooting, and Safety
These quick fixes help with loose rolls, lumpy glue, stuck beads, and uneven shapes.
- Loose rolls: Add more glue near the tip and hold the bead between your fingers for 10–15 seconds.
- Uneven shapes: Trim the strip more carefully with a ruler, metal ruler, and paper cutter, or slow down while rolling.
- Stuck beads: Do not roll too tightly on a bamboo skewer. Twist gently before sliding the bead off.
- Lumpy glue: Use less glue and spread it thinly; a glue stick is clean but may need extra tacky glue at the final tip.
- Paper cracking: Beginners should start with thicker scrapbook paper before moving to thin magazine pages or delicate wrapping paper.
- Cutting safety: Cut away from your body when using a craft knife, and keep fingers clear of the blade.
- Sealer safety: Keep strong varnishes away from children, protect the table, and ventilate the room.
- Material safety: Very thick cardboard can crack when rolled tightly, while tissue paper can tear before the bead is formed.
- Craft history note: Paper bead jewelry is a long-running recycled craft tradition; organizations such as WheatonArts highlight how artisans use rolled recycled paper for wearable designs, much like many vintage paper craft ideas that upcycle old ephemera.
Frequently Asked Questions
Can I make paper beads without any rolling tool at all?
Yes. You can roll paper beads with only your fingers by starting at the wide end and rolling toward the tip. The problem is that the center hole may become too small for most cords.
If that happens, slip a pencil or bamboo skewer into the center while the glue is still wet to widen the opening. Using a pencil, straw, or skewer from the start usually gives more consistent, beautiful paper beads.
What is the best paper thickness for making durable paper beads?
Medium-weight paper is best. Paper around 80–120 gsm, including many scrapbook paper sheets and glossy magazine pages, offers a good balance of flexibility and strength.
Very thin tissue paper tends to tear, while very thick cardboard can crack when rolled tightly. If your paper is too thin, layer two thin strips together with glue to mimic the strength of thicker paper.
How long do sealed paper beads last?
Well-sealed beads with several coats of Mod Podge, varnish, clear nail polish, or acrylic floor polish can last for years when kept dry and handled like costume jewelry.
They are water-resistant, not fully waterproof. Brief splashes are usually fine, but soaking, showering, or swimming with paper beads will weaken them over time. Check favorite pieces once a year and add another seal coat if the surface looks dull or rough.
Do I have to use Mod Podge, or are there alternatives?
No. Mod Podge is popular because it is easy to find and made for crafts, but you can also use clear acrylic spray sealer, diluted PVA glue, gloss varnish, marine varnish, acrylic floor polish, PC-Petrifier Wood Hardener, or clear nail polish for small batches.
Test any new sealer on one bead first. Some sealers can smear printed ink, darken paper, or change the finish.
How can I keep the bead holes from filling with glue and sealer?
Slide beads onto a bamboo skewer, knitting needle, straw, or wire before sealing. This keeps the center open while the coating dries.
Wipe away excess glue from the hole with the tip of a dry brush or cotton swab while it is still wet. After the first sealant coat, gently twist the bead on the skewer to break any thin film that may have formed across the hole.



