This guide to paper craft for beginners is your starting point for a new creative hobby. Working with paper is a satisfying activity that lets you turn a simple sheet into something special. You can make cards, decorations, and presents with just a few supplies and methods. This post is set up to show you everything you need to know. We will cover the necessary tools, different types of paper, and easy projects to build your confidence. You will also learn about other paper activities like quilling and kirigami. Let’s begin this creative outlet and see what you can make.
What is Paper Crafting?
Paper crafting is the art of making objects from paper.
It is a wide category that includes many different pursuits.
You could be creating a handmade birthday card.
Or you might be folding an origami figure.
Arranging a scrapbook page is another option.
The central concept is that paper is the main material for your creation.
This pastime has been popular for a very long time.
The reason is that it is so reachable.
You can find paper almost anywhere.
The abilities needed to start are simple to learn.
As you grow more comfortable with the fundamentals, you can try more detailed projects.
It’s a wonderful way to express your creativity without needing a big budget.
Essential Supplies for Your Paper Projects
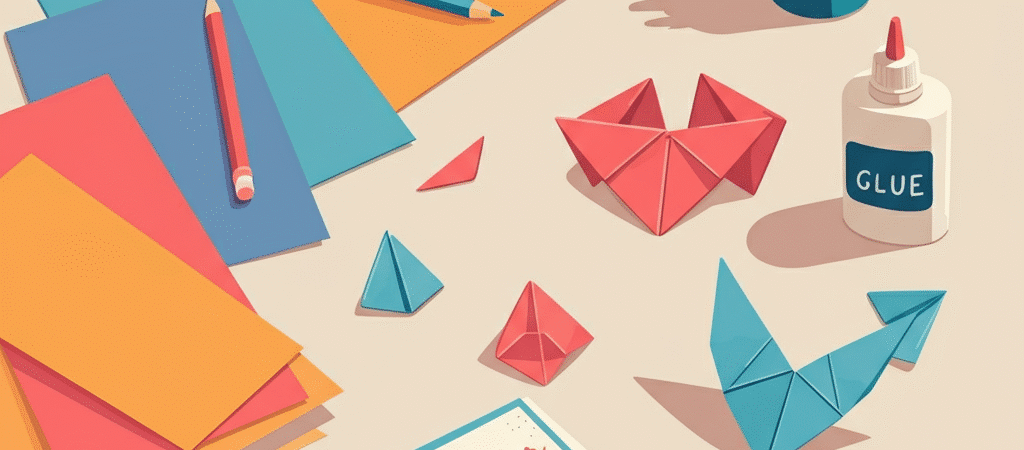
Before you start any project, it is a smart idea to gather your supplies.
You likely have some of these things at home already.
Using the correct tools will make the process easier.
Your finished items will look much tidier.
Choosing the Right Paper
The kind of paper you pick can greatly affect your final piece.
Different papers have various weights, textures, and properties.
Here are some common varieties you will find.
- Construction Paper: This is a thick, somewhat rough paper that comes in many colors. It is inexpensive and great for practicing or for projects with children.
- Cardstock: This is a heavier and more durable paper. It is ideal for making greeting cards, boxes, and anything that needs to hold its form. It comes in various weights, colors, and finishes. A multi-color pack of 65 lb or 80 lb cardstock is a versatile starting point.
- Origami Paper: This paper is thin, crisp, and designed specifically for folding. It holds a sharp crease very well. It is usually square and has a color or pattern on one side.
- Scrapbook Paper: This paper often comes in large 12×12 inch sheets with thousands of patterns. It is typically acid-free, which means it will not turn yellow or damage photos over time.
- Kraft Paper: This is a sturdy paper with a natural brown color. It is great for giving projects a rustic look and is often used for wrapping or creating strong tags.
Cutting and Scoring Tools
Clean cuts and crisp folds will make your projects look much more professional.
A quality cutting tool is a worthwhile investment.
- Scissors: A sharp pair of scissors is necessary. It is helpful to have a larger pair for long cuts and a smaller, more detailed pair for intricate shapes. It is a good practice to dedicate your scissors only to paper to keep them from dulling.
- Craft Knife: A craft knife offers excellent control for cutting straight lines and complex forms. You will need to use it with a self-healing cutting mat to protect your work surface.
- Ruler: A sturdy ruler, preferably metal, is important for measuring and guiding your cutting tool.
- Scoring Tool: This implement creates a crease in the paper to help it fold cleanly. You can purchase a special tool called a bone folder, or you can use an empty ballpoint pen or a dull butter knife.
Adhesives
You will need a way to stick your paper pieces together.
Different adhesives are suited for various tasks.
- Glue Stick: A glue stick is simple to use and not very messy. It is good for applying adhesive over large areas, but it may not be strong enough for heavier cardstock.
- White PVA Glue: This is a standard liquid glue that dries clear and creates a strong bond. A bottle with a fine tip allows for better control and helps prevent using too much, which can wrinkle the paper.
- Double-Sided Tape: This is a clean, mess-free option for sticking paper layers together. It provides a flat finish and is great for card making. Foam tape, which is thicker, can be used to add dimension.
- Hot Glue Gun: A hot glue gun is useful for attaching heavier embellishments like buttons or ribbons to your paper projects. The bond is very strong and sets quickly.
Simple Projects to Get You Started
The best way to learn is by doing.
These projects are direct and will teach you some foundational skills.
You will get to create something you can be proud of right away.
1. A Simple Greeting Card
A handmade card is a wonderful and personal gift.
This makes it a perfect first project for any new paper artist.
Supplies Needed:
- A sheet of cardstock
- Scraps of colored paper
- Scissors
- Glue
Instructions:
- Fold your sheet of cardstock in half to create the card base.
- You can make the fold sharp by running the back of a spoon along the crease.
- Cut a panel of colored or patterned paper that is slightly smaller than the front of your card.
- Center this panel on the front of your card and stick it down.
- This creates a nice layered border.
- Next, cut simple shapes like circles, hearts, or squares from your colored paper scraps.
- Arrange the shapes on the front of the card to create a design.
- This could be a flower or a simple pattern.
- Glue the forms into place.
- It is often best to start with the background layers and work your way forward.
- Let the adhesive dry completely before writing your message inside.
2. An Origami Heart
Origami is the Japanese art of paper folding.
A heart is an easy and rewarding shape for beginners to master.
Supplies Needed:
- A square piece of origami paper
Instructions:
- Place the paper with the colored side facing down.
- Fold it in half diagonally and unfold.
- Repeat on the other diagonal to create an “X” crease.
- Fold the top corner down to meet the center point of the “X.”
- Fold the bottom corner up to meet the top folded edge.
- Fold the right bottom edge up to meet the center line.
- Then do the same with the left side.
- Flip the paper over.
- Fold the top two points down slightly to round the top of the heart.
- Fold the side points inward a little to soften the corners.
- Flip it back over to see your finished heart.
3. A Paper Chain Garland
This is a classic project that is both fun and simple to create.
You can use it to decorate a room for a party.
Or just to add a bit of color.
Supplies Needed:
- Several sheets of colored paper
- Scissors
- A glue stick or stapler
Instructions:
- Cut your colored paper into uniform strips.
- A good size to start with is about 1 inch wide and 8 inches long.
- Take one strip and form it into a loop.
- Secure the ends with glue or a staple.
- Thread a second strip of paper through the first loop you made.
- Form this second strip into a loop and secure its ends.
- Continue adding new loops.
- Alternate colors to create a fun pattern until the chain is your desired length.
Exploring Different Paper Crafting Techniques
Once you feel comfortable with the projects above, you can explore other types of paper creation.
The skills you have learned will apply to these more advanced styles.
This is a great way to expand your knowledge of paper craft for beginners.
An Introduction to Kirigami
Kirigami is a variation of origami that includes cutting paper.
It does not rely only on folding.
The name comes from the Japanese words “kiru” (to cut) and “kami” (paper).
You have likely done kirigami before by making paper snowflakes.
- How it works: You fold a piece of paper several times. Then you cut shapes out of the folded edges. When you unfold the paper, a symmetrical pattern is revealed.
- Projects to try: Beyond snowflakes, you can create intricate pop-up cards. You can also make lanterns and beautiful decorative patterns. Many templates are available online to help you get started.
An Introduction to Paper Quilling
Paper quilling is an art form that involves rolling, shaping, and gluing thin strips of paper.
This process creates decorative designs.
The finished work is surprisingly detailed and sturdy.
- How it works: You use a slotted tool to roll a strip of paper into a tight coil. You then let the coil expand and pinch it into various shapes. These can be teardrops, squares, or crescents.
- Assembling a design: These small shapes are then glued together on a background. They form a larger image or pattern. You can create anything from simple flowers to complex mosaics. This is a relaxing and meditative activity.
An Introduction to Scrapbooking
Scrapbooking is a way to preserve memories.
It uses photos, paper, and embellishments in an album.
It is a creative way to tell a story with your pictures.
- The basics: A standard scrapbook page is 12×12 inches. You arrange photos on the page. Then you add journaling, titles, and decorations.
- Designing a layout: Choose papers that match the colors and mood of your photos. Create a focal point and arrange other elements around it. Scrapbooking is a very personal hobby. There are no firm rules.
Final Tips for Success
Keep these pointers in mind as you start your activities.
They will help your projects turn out great.
- Be patient with glue. Using too much adhesive is a common mistake. It can warp your paper. Apply a small amount and allow each piece to dry completely before moving on.
- Keep your tools sharp. A dull blade can tear paper instead of cutting it cleanly. Change your craft knife blade when you notice it is no longer cutting smoothly.
- Make your folds crisp. Sharp folds are important, especially in origami and card making. Press your folds with a bone folder or the back of a spoon to get a sharp crease.
- Measure twice, cut once. Double-checking your measurements before cutting can save you from wasting paper. It also prevents you from starting over.
- Have fun. The main goal is to enjoy the process. Don’t worry about making everything perfect at first. Your skills will improve with each project you complete.
Starting a new hobby like this should be a fun and relaxing experience.
We hope this guide on paper craft for beginners gives you the confidence to start creating.


