Key Takeaways
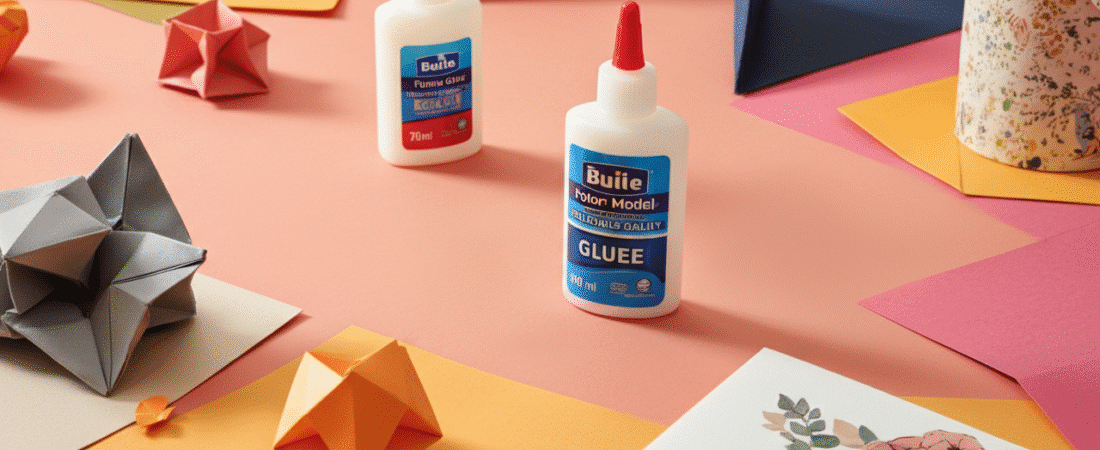
- PVA glue (white craft glue) is the most versatile and recommended adhesive for paper model construction. It is commonly recommended for general assembly in paper crafting due to its versatility.
- Precision glues like Aleene’s Tacky Glue Pen and Art Glitter Glue work best for small detail work and fine assembly
- Avoid thick glues that can warp paper or create visible residue on delicate model surfaces
- Always choose acid-free adhesives to prevent yellowing and deterioration of your paper models over time
- Different model components require different glue types – use liquid glue for precision work and glue sticks for large flat surfaces
Paper modeling has experienced a renaissance in recent years, with enthusiasts creating everything from architectural marvels to intricate vehicle replicas using nothing more than paper, scissors, and the right adhesive. However, choosing the wrong glue can transform hours of meticulous work into a frustrating mess of warped paper and visible residue. Most experienced crafters use a combination of adhesives based on specific project needs to achieve the best results.
The secret to professional-looking paper models lies not just in precise cutting and careful folding, but in selecting the appropriate adhesive for each specific application. Whether you’re working on your first simple paper craft or tackling a complex architectural model with hundreds of tiny components, understanding the properties and applications of different glues will elevate your paper modeling projects from amateur attempts to museum-quality displays.
This comprehensive guide examines the best adhesives available for paper models, covering everything from basic school glue to specialized precision applicators. We’ll explore application techniques that prevent common mistakes, discuss the technical properties that matter most for paper crafting, and provide troubleshooting solutions for when things don’t go according to plan. It is advisable to test a new glue before using it on a final project to avoid unwanted results.
Best Glues for Paper Model Construction
The adhesive market offers dozens of options for paper projects, but only a select few deliver the precision, clarity, and reliability that serious paper modelers demand. After extensive testing and community feedback, several adhesives have emerged as clear winners for different aspects of paper model construction.
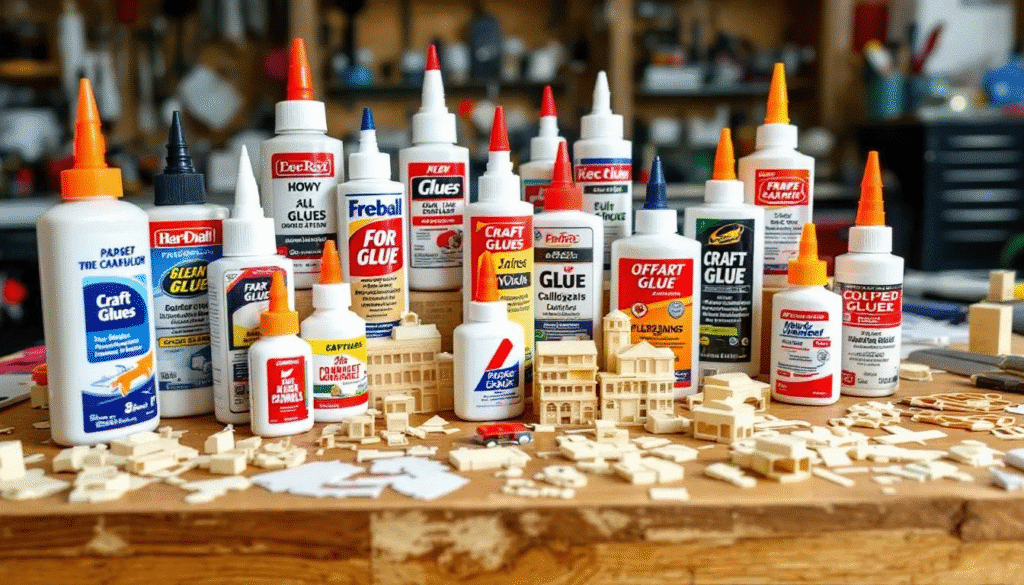
Professional paper modelers consistently recommend starting with a core toolkit of three to four different adhesives rather than trying to find one “perfect” glue. This approach allows you to match the adhesive properties to specific assembly requirements, whether you’re joining large flat surfaces, attaching tiny details, or working with transparent components.
PVA Glue (White Craft Glue) – The Model Builder’s Standard
Polyvinyl acetate, commonly known as white glue or school glue, forms the backbone of most paper modeling adhesive collections. This water based glue offers an ideal balance of working time, bond strength, and forgiveness that makes it perfect for both beginners and experienced modelers.
The chemical composition of PVA glue allows it to penetrate paper fibers as water evaporates, creating a flexible bond that moves with the paper rather than cracking under stress. This flexibility proves crucial for paper models that may experience handling or environmental changes after completion. Unlike rigid adhesives such as super glue, PVA maintains its elasticity even after full cure, preventing the brittleness that can destroy delicate model components.
Standard craft store PVA dries clear within 24 hours, making bond lines virtually invisible on most paper surfaces. The extended working time—typically 10 to 15 minutes before the glue becomes tacky—provides ample opportunity to position components precisely and make adjustments. For paper thickness variations common in model construction, this repositioning capability can mean the difference between a perfect joint and starting over.
Water based glues like PVA also offer the significant advantage of easy cleanup. Excess glue can be removed with a damp cotton swab before curing, and even dried residue can often be softened with warm water for removal. This forgiving nature makes PVA particularly valuable when learning proper glue application techniques.
Precision Glue Pens for Detail Work
When paper model construction moves beyond large surfaces to small details and intricate components, precision application becomes paramount. Standard glue bottles, no matter how carefully squeezed, cannot deliver the controlled placement required for tiny tabs, narrow edge strips, or delicate embellishments.
Aleene’s tacky glue pen represents the gold standard for precision paper model assembly. The pen’s fine tip allows exact placement of adhesive without excess spreading to surrounding areas. The tacky pva glue formula provides immediate grip while maintaining enough working time for final positioning adjustments. Unlike standard liquid glue that can wick along paper fibers, the thicker consistency stays exactly where applied.
Art glitter glue offers another precision option, particularly valuable for transparent components and areas where absolute clarity is essential. This specialized adhesive dries completely clear and maintains transparency even in thick applications, making it ideal for paper model windows, clear plastic details, and areas where bond lines might otherwise be visible.
The applicator tips on precision glue pens require regular maintenance to prevent clogging. Cleaning the tip with a damp cloth after each use and storing the pen tip-down helps maintain consistent flow. When tips do become blocked, gentle cleaning with warm water usually restores function without damaging the applicator mechanism.
Specialized Adhesives for Specific Applications
While PVA and precision craft glues handle the majority of paper modeling applications, certain situations require specialized adhesives with unique properties. Understanding when and how to use these specialized options can solve specific assembly challenges that standard glues cannot address effectively. Zip Dry glue does not ripple paper when used on large sections, making it a good choice for invitations and other projects requiring smooth finishes.
Contact cement provides an instant, permanent bond ideal for large flat surfaces where repositioning is not required. Unlike water based glues that require drying time, contact cement forms an immediate bond when coated surfaces touch. This property makes it valuable for mounting completed models to display bases or joining large architectural components where precise initial placement is critical.
Hot glue guns offer rapid bonding for temporary assemblies and jigs, though the high heat can damage delicate paper surfaces. Low-temperature glue guns reduce this risk while maintaining the quick-setting advantage. Hot glue works particularly well for creating assembly fixtures and holding jigs that speed up repetitive operations in multi-part models.
Rubber cement provides a unique removable bond that proves invaluable during test fitting and temporary assemblies. The adhesive can be applied, allowed to dry, and then activated by pressing surfaces together. If adjustments are needed, components can be carefully separated and repositioned multiple times without damage.
Glue dots and foam tape offer completely dry adhesive solutions for applications where liquid glue moisture might cause warping. These products work particularly well with very thin paper or in high-humidity environments where extended drying times become problematic.
Application Techniques for Paper Models
Successful paper model assembly depends as much on proper glue application technique as on adhesive selection. Even the best glue for paper models can produce poor results when applied incorrectly, while proper technique can often overcome the limitations of less-than-ideal adhesives.
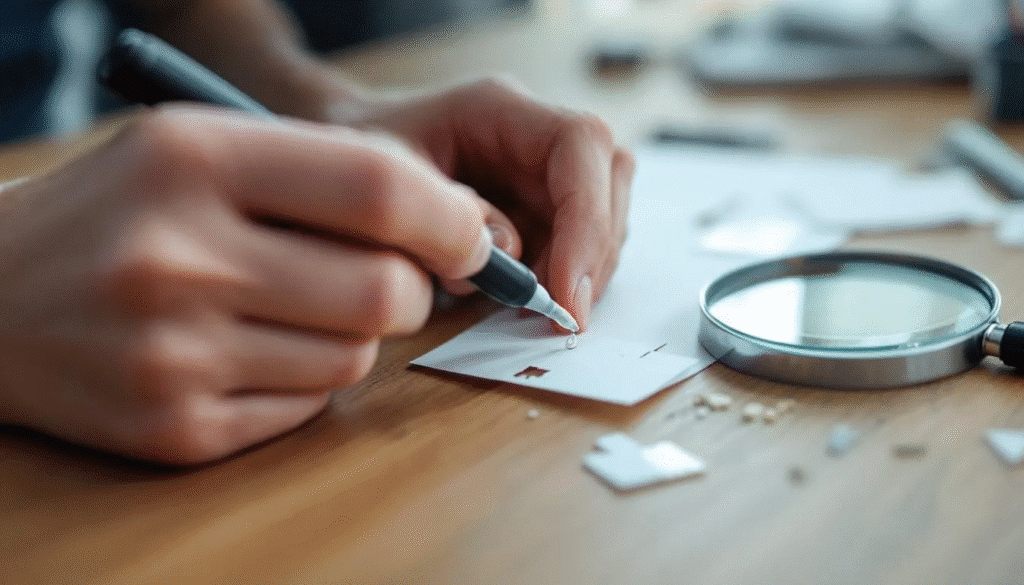
The fundamental principle of paper model gluing centers on using the minimum amount of adhesive necessary to achieve a strong bond. Excess glue not only wastes material but can cause paper distortion, visible residue, and extended drying times that slow project progress. Professional modelers often describe their glue application as “stingy”—using just enough to do the job and no more.
Surface preparation plays a crucial role in bond strength and appearance. Paper surfaces should be clean and free from oils, dust, or residue from previous handling. A light pass with a clean, dry cloth removes most contaminants, while more stubborn residue can be addressed with minimal amounts of isopropyl alcohol on a cotton swab.
Preventing Common Gluing Mistakes
Paper warping represents the most frequent problem encountered by beginning paper modelers, typically resulting from excessive moisture application or inadequate support during drying. When applying liquid glue to thin paper, work quickly to minimize moisture exposure time, and consider using support materials like wax paper or plastic sheets to prevent the paper from curling as the adhesive cures.
The “less is more” principle applies particularly strongly to water based adhesives. A thin, even coat applied with a small brush or precision applicator provides better results than attempting to speed up the process with thick applications. Thick glue layers take longer to dry, increase the risk of paper distortion, and often create visible bond lines that detract from the finished model’s appearance.
Temperature and humidity significantly affect adhesive performance and drying times. Cold temperatures slow curing, while high humidity can prevent water based glues from drying properly. Ideal working conditions fall between 65-75°F with relative humidity below 60%. When working outside these ranges, allow extra time for full cure and consider using alternative adhesive types better suited to environmental conditions.
Timing considerations become critical when assembling complex models with multiple glue joints. Plan the assembly sequence to avoid having to reach around or through previously glued components that haven’t fully cured. Professional modelers often work in sub-assemblies, allowing each section to cure completely before joining to the main structure.
Glue Properties Important for Paper Models
Understanding the technical properties that make certain adhesives superior for paper modeling helps in selecting the right glue for specific applications and avoiding products that may seem suitable but perform poorly in practice. These properties often differ significantly from those prioritized in other crafting applications.
Acid free formulation stands as perhaps the most important long-term consideration for paper models intended for display or preservation. Acidic adhesives gradually break down paper fibers and cause yellowing, brittleness, and eventual failure of the bond. While these effects may not appear for months or years, they inevitably compromise the model’s structural integrity and appearance. Glues that are acid-free typically do not yellow as they age, thus preserving the integrity of paper crafts.
The distinction between drying and curing times affects both working procedures and final performance. Surface drying occurs when the adhesive becomes touch-dry but hasn’t reached full bond strength. Full curing—which can take 24 hours or more for some adhesives—represents the point at which the bond achieves maximum strength and stability. Handling models before full cure risks joint failure and permanent damage.
Clear-drying properties vary significantly among adhesives, even within the same product category. Some craft glues that appear clear in the bottle dry with a slight yellow or white tint that becomes highly visible on dark papers or in thick applications. Testing new adhesives on scrap material before using them on important projects prevents unpleasant surprises.
Understanding Drying vs. Curing Times
The distinction between surface drying and full cure affects every aspect of paper model assembly timing and handling. Surface dry typically occurs within 10-30 minutes for most craft glues, allowing careful handling and positioning of adjacent components. However, the bond remains vulnerable to stress and may fail if subjected to significant force.
Full curing represents the point at which the adhesive reaches its intended bond strength and flexibility characteristics. For PVA-based adhesives, this typically requires 24 hours under normal conditions, though high humidity or thick applications may extend this time considerably. Attempting to stress joints before full cure often results in bond failure that requires complete disassembly and re-gluing.
Environmental factors dramatically affect both drying and curing times. High humidity slows water evaporation from water based glues, while low humidity can cause rapid surface drying that traps moisture within the bond line. Temperature affects chemical reaction rates in adhesives, with cold conditions significantly extending cure times.
Professional paper modelers often plan their assembly sequences around cure times, working on different sub-assemblies while previously glued joints reach full strength. This approach maintains project momentum while ensuring each bond develops maximum strength before being subjected to assembly stresses.
Tools and Accessories for Precise Gluing
Achieving professional results in paper modeling requires more than just selecting the right adhesive—proper application tools and workspace accessories prove equally important for consistent, clean results. Professional modelers typically maintain a dedicated gluing station equipped with specialized tools designed for precision adhesive work.
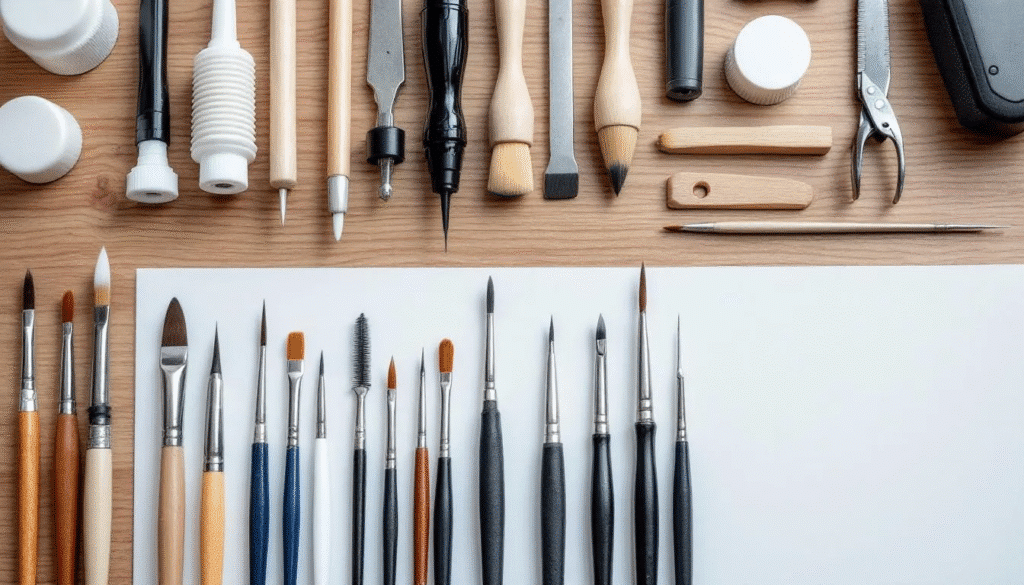
Precision applicators transform standard craft glues into professional-grade adhesives through controlled delivery. Fine-tip bottles with needle applicators allow placement of tiny glue dots exactly where needed, while small brushes enable even coating of larger areas without excess buildup. Toothpicks serve as disposable applicators for spot gluing and can help spread adhesive into tight corners that brushes cannot reach.
Workspace organization significantly impacts both efficiency and quality. A dedicated cutting mat provides a clean, flat surface for assembly work while protecting the underlying table from adhesive spills. Good lighting—preferably a combination of overhead and task lighting—ensures proper visibility of small details and helps identify excess glue before it becomes problematic.
Weight and clamping systems help maintain proper joint alignment during cure times. Small weights distribute pressure evenly across large surfaces, while spring clamps provide consistent pressure for edge joints. Wax paper or plastic sheets prevent accidentally gluing components to the work surface while protecting the workspace from adhesive spills.
Troubleshooting Common Paper Model Gluing Issues
Even experienced paper modelers occasionally encounter gluing problems that require immediate attention to prevent project damage. Understanding common failure modes and their solutions helps minimize project delays and frustration while building skills for handling similar situations in future projects.
Paper warping and curling typically result from uneven moisture application or inadequate support during drying. When warping occurs, immediate action offers the best chance for correction. Lightly dampening the opposite side of the paper can sometimes counteract the warping effect, though this technique requires careful control to avoid making the problem worse.
Weak joints and bond failures usually indicate insufficient surface preparation, incompatible adhesive selection, or premature stress on uncured bonds. Failed joints require complete cleaning of old adhesive before re-gluing. Scraping away dried glue with a plastic tool prevents paper damage while ensuring proper surface preparation for the new bond.
Visible glue residue on finished surfaces presents both immediate and long-term problems. Fresh glue can often be removed with a barely damp cotton swab, working carefully to avoid spreading the contamination to a larger area. Dried residue requires more aggressive treatment, potentially including careful scraping or solvent application, though these methods carry significant risk of paper damage.
Clogged applicator tips represent a common maintenance issue that can often be prevented through proper cleaning and storage procedures. When tips become blocked, gentle cleaning with warm water usually restores function. Soaking stubborn blockages in warm water for several minutes before cleaning helps dissolve dried adhesive without damaging the applicator mechanism.
Model-Specific Gluing Considerations
Different types of paper models present unique challenges that require specific adhesive approaches and techniques. Understanding these requirements helps prevent common mistakes and ensures optimal results for each project type.
Architectural models typically involve large flat surfaces that require strong, even bonds without visible glue lines. These projects benefit from tacky glue applied in thin, even coats using small brushes or spreaders. The extended working time of standard PVA allows careful positioning of large components, while its clear-drying properties maintain clean sight lines through windows and openings.
Vehicle models often incorporate moving parts and detailed components that require flexible bonds and precision placement. Precision glue pens excel in these applications, allowing exact placement of small amounts of adhesive without affecting adjacent details. The immediate tack of specialized craft glues helps hold tiny components in position while the bond develops full strength.
Character models and figures require adhesives that maintain flexibility for poseable joints while providing sufficient strength for handling. Modified PVA formulations designed for paper crafts offer the best balance of these properties, though care must be taken to avoid excess application that could interfere with joint movement.
Dioramas and landscape models often combine paper elements with other materials, requiring adhesives compatible with mixed-media construction. The broad tip applicators on some craft glues work well for larger landscape elements, while precision tips handle small details like individual trees or building components.
FAQ
Can I use regular school glue for paper models?
Yes, school glue (which is typically PVA) works excellently for most paper model applications. It provides good bond strength, dries clear, and offers sufficient working time for positioning components. However, specialized craft glues may offer better precision applicators and faster drying times that can improve results for detailed work.
Why does my paper warp when I apply glue?
Paper warping occurs when moisture from water based adhesives causes uneven expansion of paper fibers. This happens most often when too much glue is applied or when working with very thin paper. Use minimal amounts of adhesive, work quickly, and consider switching to dry adhesive options like glue sticks for large surfaces prone to warping.
How long should I wait before handling glued joints?
Most PVA-based glues become touch-dry in 10-15 minutes, allowing careful positioning of adjacent components. However, full cure takes approximately 24 hours under normal conditions. Avoid stressing joints until full cure is complete, as premature handling often results in bond failure requiring complete re-assembly.
Is it worth investing in expensive modeling glues?
For beginners, quality PVA glue from any major craft store provides excellent results for most applications. Advanced modelers often find that precision applicators and faster-setting specialized formulas justify higher costs through improved results and time savings. Start with basic materials and upgrade specific adhesives as your skills and requirements develop.
What should I do if glue gets on the printed surface of my model?
Act immediately while the glue remains wet. Use a barely damp cotton swab to lift wet adhesive, working from the outside of the spill toward the center to avoid spreading contamination. For dried glue, try softening with minimal moisture applied via cotton swab, then gently scrape with a plastic tool. Prevention through careful application remains the best approach.
